How to Replace Garage Door Extension Cable
Struggling with a broken garage door cable? Our guide provides expert, step-by-step instructions to safely replace extension spring cables, including essential safety tips, tool lists, and troubleshooting. Turn DIY frustration into confident repairs and keep your garage door running smoothly.
By: Kelly Larson | Published: May 21, 2025
Find Garage Door Repair Services
Get a fast & free quote | Schedule your service today
There are two types of garage door spring systems: torsion and extension. While both rely on cables to help offset the door’s weight, there are differences between how they work and how to replace them. In this guide, we’ll focus on how to safely replace extension spring cables, including step-by-step instructions, the tools you’ll need and how to troubleshoot any issues that come up during installation.
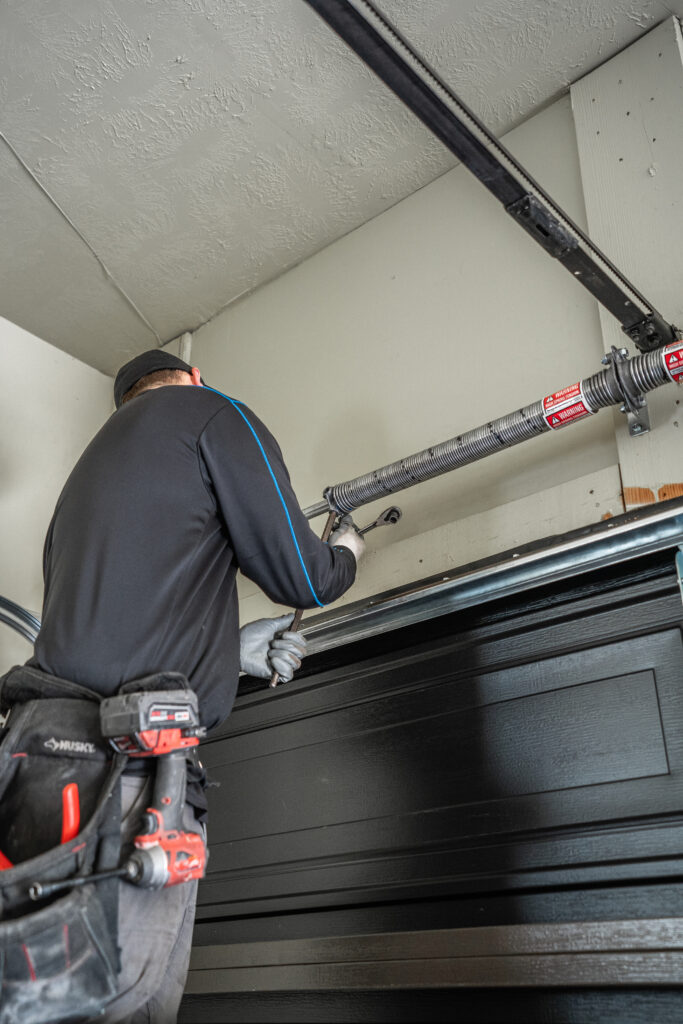
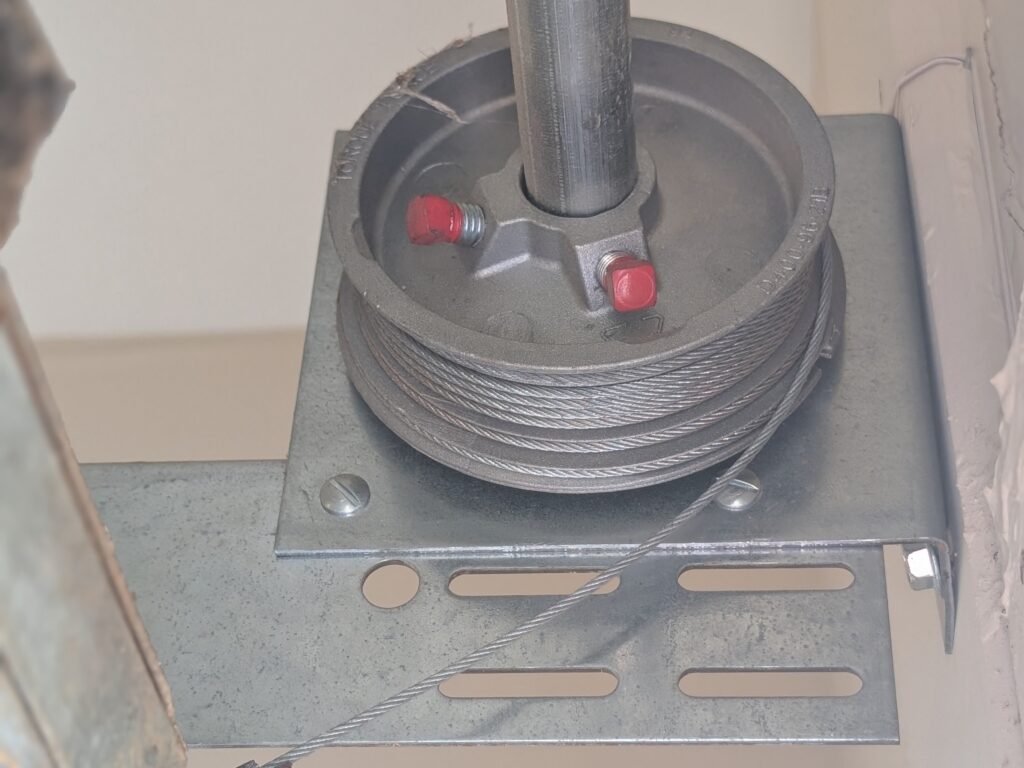
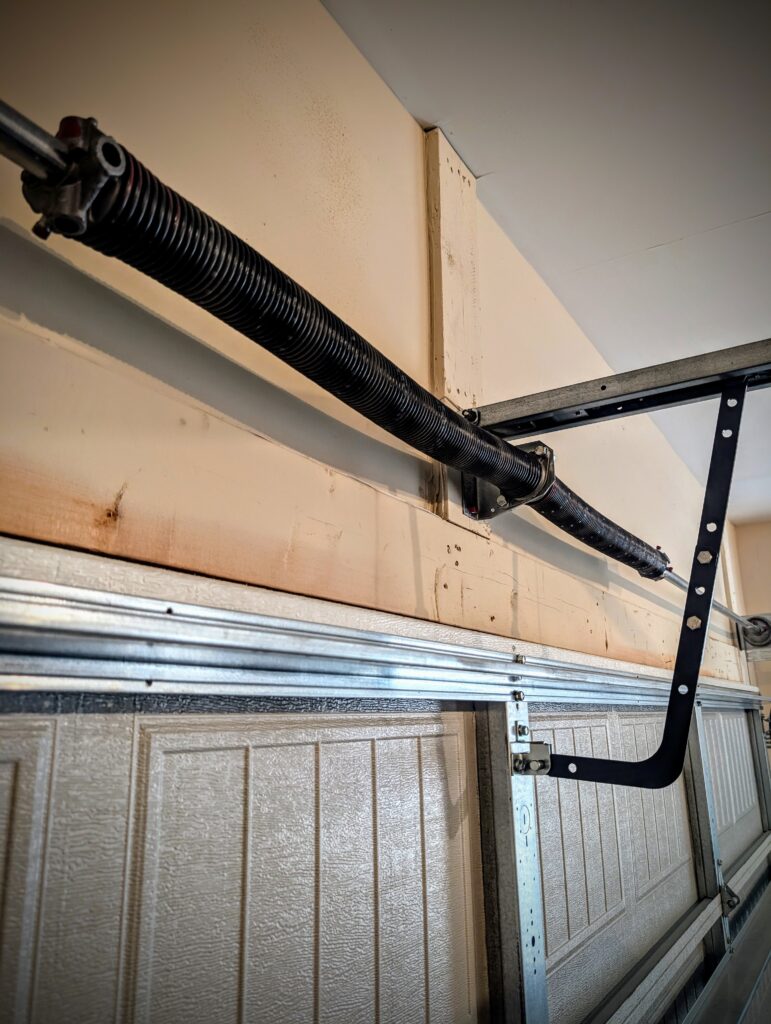
Extension spring cables, usually made of steel, are installed on both sides of the garage door. They attach to the bottom of the door on one end and to the spring via a pulley on the other. As the garage door opens, the cables run through pulleys, and the extension springs release their stored force. This process is crucial for offsetting the door’s weight and providing a smooth, even opening motion. When the door closes, the same process occurs in reverse while the extension springs reload with tension.
Safety Considerations Before Beginning Cable Replacement
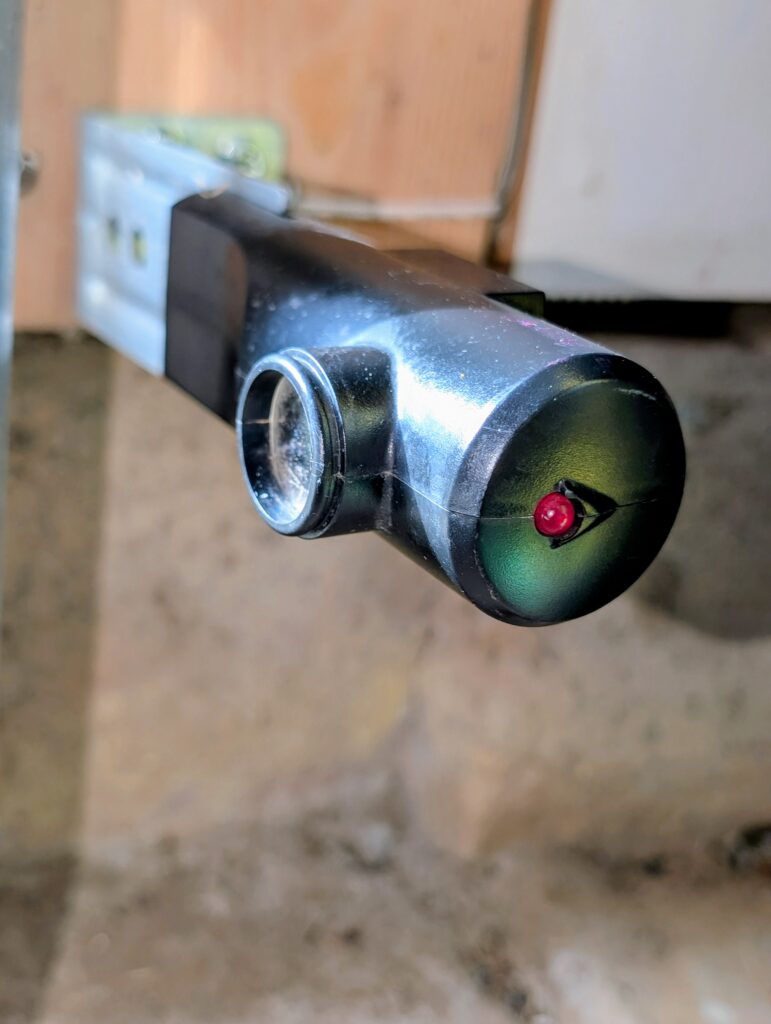
If one or both of the cables snap, not only could it lead to the door lifting unevenly (among other issues), but it could also cause severe injury if you’re under one of the springs. To help prevent this, safety cables run through the center of each spring to effectively catch them if the cable system fails.
Always take the necessary precautions before attempting any DIY garage project, but especially when working with springs. Before getting started, unplug the opener and disconnect the trolley from the track using the emergency release handle. After opening the garage door to release the springs’ tension, a critical safety step, lock the door in place with locking pliers on both ends of the door.
Tools and Materials Needed for Extension Spring Cable Replacement
After clearing out your workspace and putting on long pants, gloves and safety glasses, gather these tools and supplies.
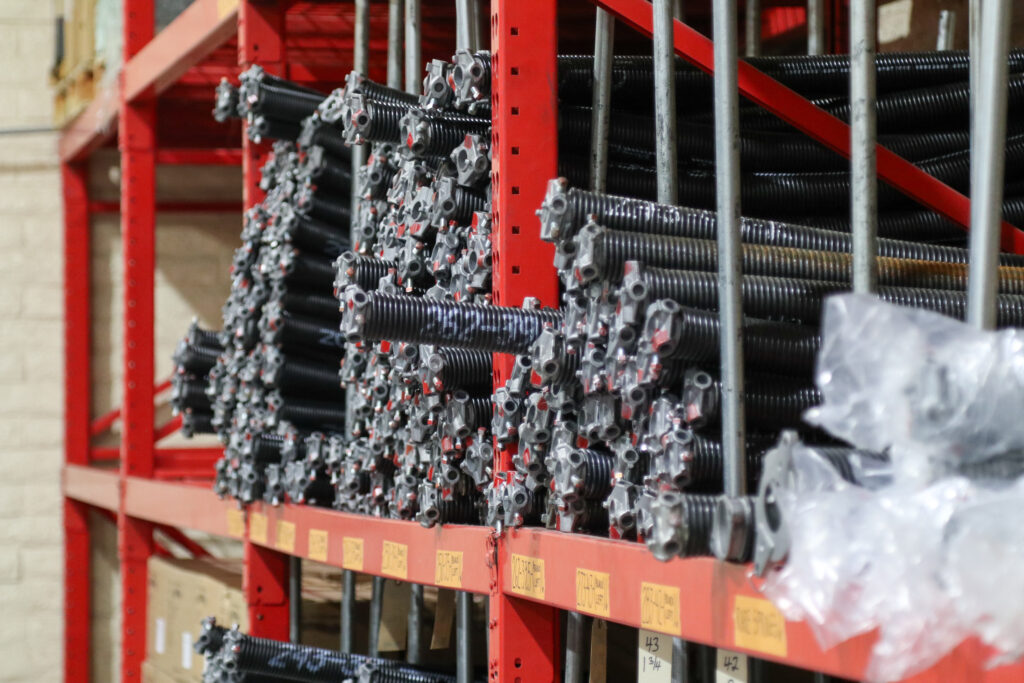
- Replacement cables: The most common cable diameter for residential garage doors weighing up to 400 pounds is 1/8”. If you have a heavy custom or wood door, you may need a 5/32” diameter cable or thicker. If your door is 7’ high, you’ll need a 144” long cable. If it’s 8’ or 9’, go with 156” or 168”, respectively.
- Stepladder: You’ll need to access the pulleys and cables at the top of the garage door.
- Locking pliers or C-clamps: For locking the garage door in place once it’s in the open position.
- Wrench and socket set: You’ll need these if you’re also replacing the pulleys.
- Measuring tape: The standard cable lengths may not be the exact size you need for your specific door. Have a measuring tape on hand in case you need to make any adjustments.
- Cable cutters: For cutting the new cables to the correct size, if needed.
You can purchase all of these items, including safety cables and pulleys if needed, on Amazon, at big box home improvement stores and at most local hardware stores. Our printable checklist will help you stay organized and ready for your extension spring cable DIY project.
| Tools | Safety Equipment | Materials |
|---|---|---|
| Stepladder | Long pants | Replacement cables |
| Locking pliers or C-clamps | Gloves | Pulleys (if replacing) |
| Wrench and socket set | Safety glasses | Safety cables (if not already installed) |
| Measuring tape | ||
| Cable cutters |
Preparing Your Garage Door for Cable Replacement
With your safety equipment on and tools in place, it’s time to prep the area and get started. Before switching out your old cables with the new ones:
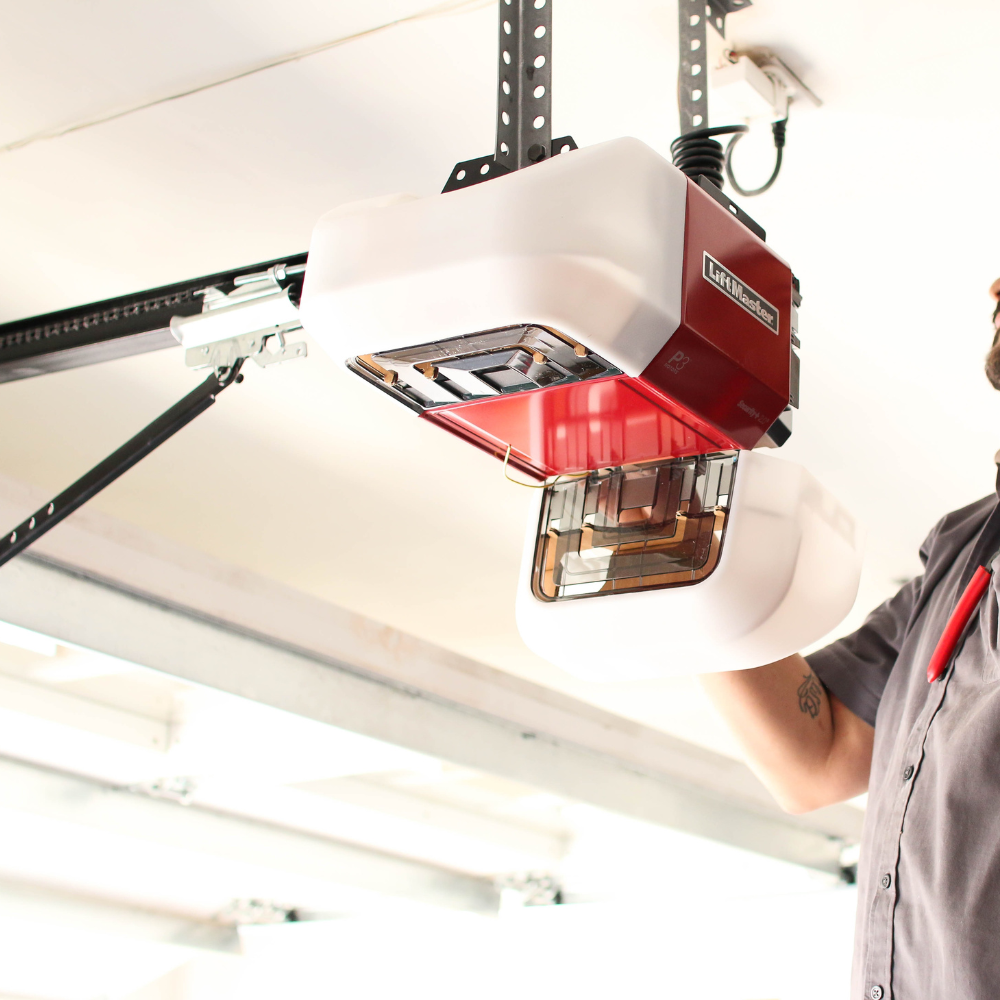
- Unplug the garage door opener: There should be no power to the opener when replacing cables in case someone accidentally engages the door while you’re working on it.
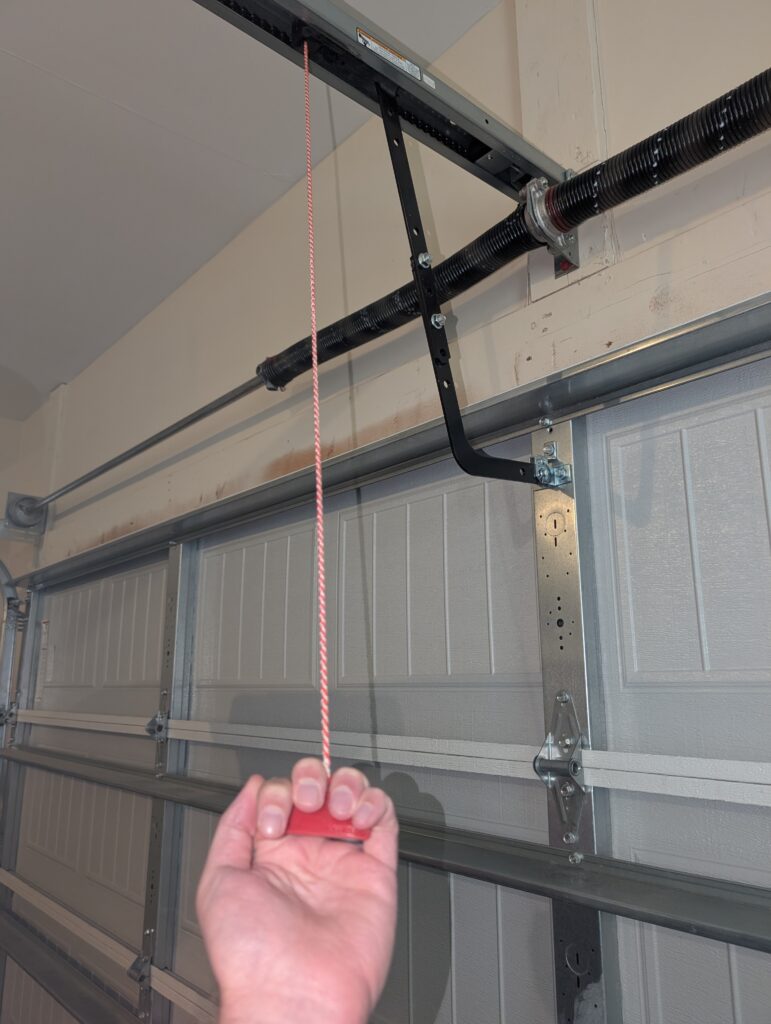
- Pull the emergency release handle: This disconnects the trolley from the track and allows you to manually raise and lower the door.
- Take some pictures: Take pictures of the cable and pulley setup both when the door is closed and again after you open it in the next step. You may not need them, but they’re a good reference point if you hit a snag.
- Open the garage door: When the garage door is open, the extension springs release the immense pressure they store when it’s closed. Releasing this tension is a crucial safety measure.
- Lock the door in place: Secure locking pliers or C-clamps on the vertical tracks under the bottommost rollers to lock the door in place.
Step-by-Step Guide: How To Replace Garage Door Extension Spring Cables
Releasing Tension Safely
If the garage door is locked in the open position as it should be, all of the tension in the extension springs will be released. You’ll know there’s no pressure left in the springs if they dangle slightly and show no visible signs of stretching or tension.
Removing the Old Cables
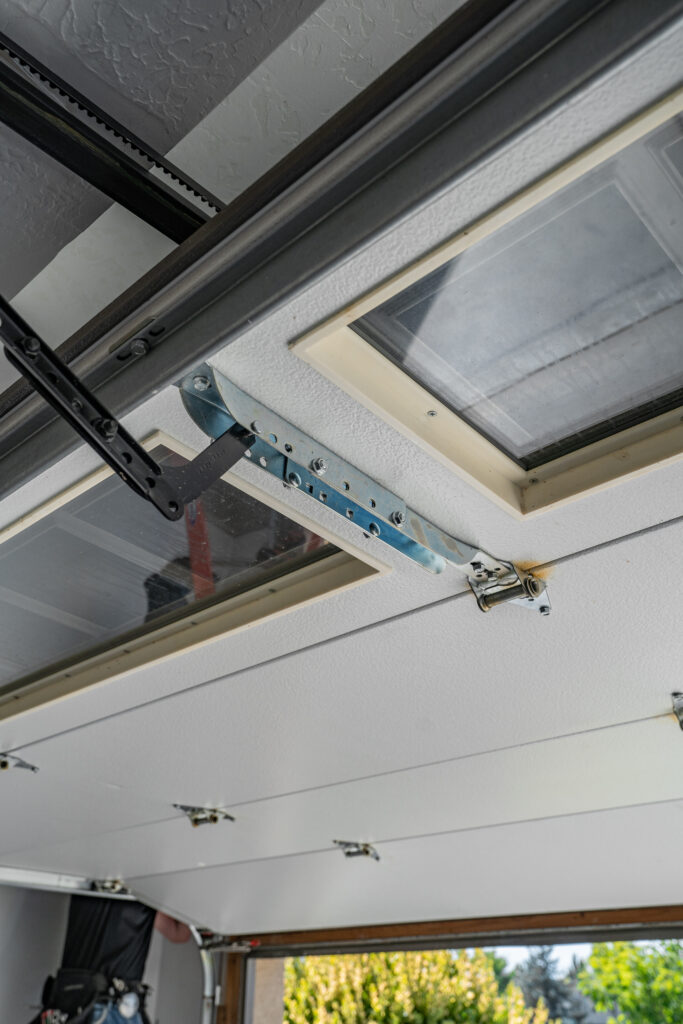
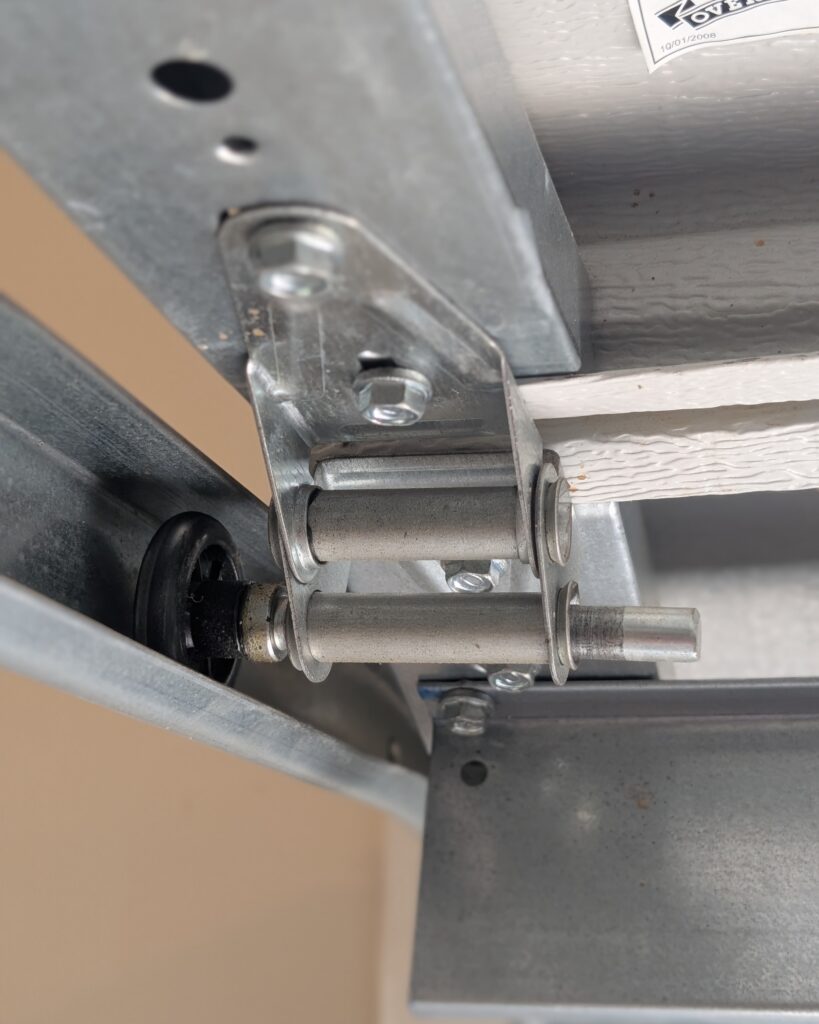
With the door up and the spring tension released, remove the looped end of the old cable from the cable anchor pin at bottom of the garage door. Next, remove the non-looped end, which is typically tied to a bracket and secured to the rear track hangar by an S hook. Remove the cable from both pulleys and repeat these steps on the opposite side of the door.
This is also a good time to inspect your pulley, brackets and other hardware for damage. We’d also recommend cleaning and lubricating any areas that may otherwise have been obstructed by the cables.
Measuring and Selecting Replacement Cables
Even though you’ll have already purchased replacement cables designed to accommodate the weight and height of your door, you’ll likely still need to make some modifications. To ensure the new cables are the correct length, compare them with the old cables using one of two techniques.
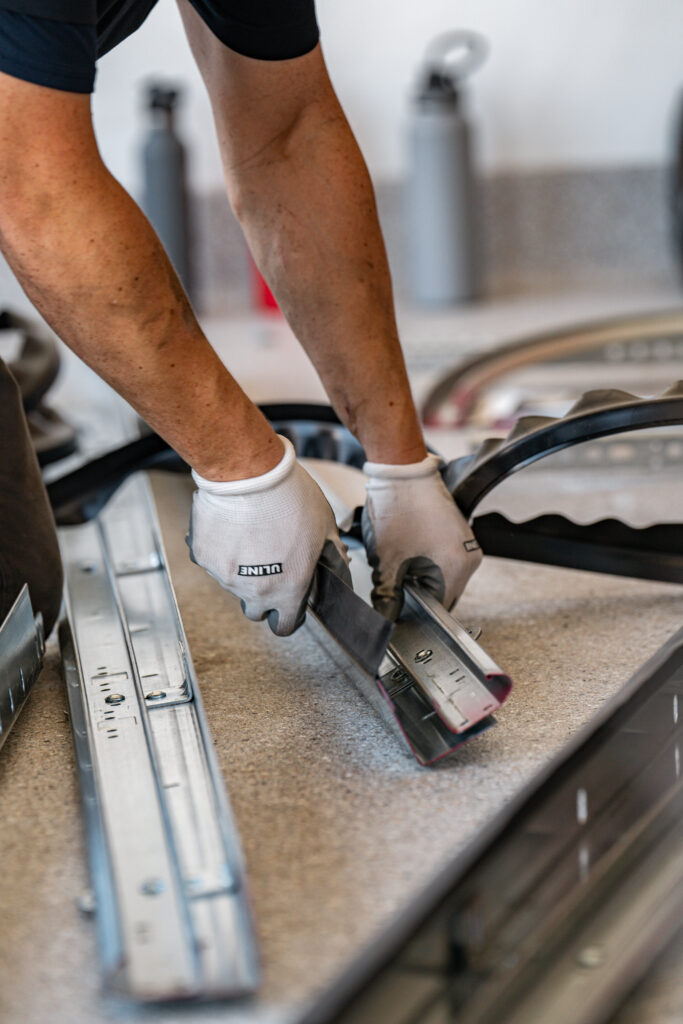
- Measuring tape: Measure the exact length of the old cables. Mark the lengths on the new cables and cut them down to size using wire cutters.
- Side-by-side comparison: Place the new cables next to the old ones, making sure they’re secured tightly and evenly on one end. Gently tug on the other end and cut any length of new cable that extends past the old cable.
Most standard garage door cables are ⅛” in diameter and 144” or 156” long.
Installing New Cables
Those pictures you took might come in handy during this step. Once you’ve cut the cables down to the correct size, tie the cut ends back onto the brackets that were previously secured by the S hooks. Feed the looped ends back through the pulleys using the same orientation you removed them with, then secure them to the cable anchor pins. Resecure the cut ends to the rear track hangar using the S hooks.
Give the new cables a final visual inspection to ensure both ends are securely attached and sitting properly in the pulleys.
Test Door Operation
Remove the locking pliers and manually open the door to the halfway point. If it’s properly balanced, it shouldn’t move at all. If it moves up or down on its own, you’ll need to tweak the tension until the movement stops. Check for other signs of misalignment or performance issues and revisit the installation steps if necessary.
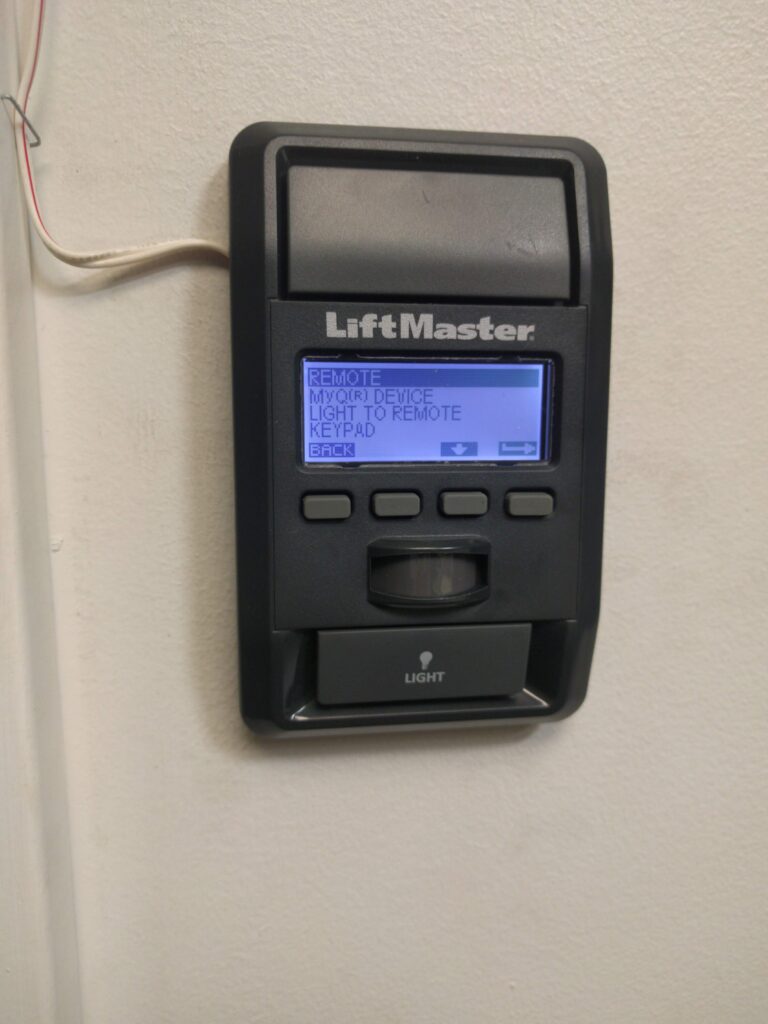
Once you’re happy with the door’s manual performance, re-engage the trolley to the track and plug the opener back in. Use your remote control or wall mount to test the door several more times and address any issues as needed.
Installing or Replacing Safety Cables: A Critical Safety Measure
Safety cables run directly through extension springs and are designed to prevent them from becoming dangerous projectiles if a cable or the springs themselves break. Most modern garage door systems will already have safety cables installed. If for some reason yours doesn’t, you should install them immediately. You can purchase a set of two from Amazon, Lowe’s or The Home Depot.
Like you would when installing lifting cables, first cut the power to the opener and secure the garage door in the open position with locking pliers or C-clamps. If you have existing safety cables and are replacing them, remove them from either side of the horizontal track, pull them out of the extension springs, and follow the same steps and orientation to install the new cables.
If no safety cable was already in place, start by wrapping one end around a support beam and feeding the bracketed end through the looped end. If you don’t have a safety beam, wrap the cable around the horizontal track’s support beam that’s attached to the ceiling. Thread the bracketed end through the looped end, then feed the cable through the extension cable. Secure the bracketed end to the opposite side of the horizontal track with a bolt.
Troubleshooting Common Problems After Cable Replacement
Here are a few common problems and troubleshooting tips if you’re still noticing performance issues after installing new cables and testing the door’s operation.
- Uneven door: If the door is uneven or functions poorly in any way, it could be a sign of improper installation. Go back and make sure the new cables are the exact same length and that they’re properly routed through the pulleys.
- Loose cables: If the new extension spring cables have any slack when the door is closed, you’ve likely cut them to uneven lengths. If needed, repeat the removal steps, cut the cables to the correct size and reinstall them.
- Loud noises or cables not staying in pulleys: If you’re experiencing either of these problems, it could be due to aging or faulty components. Perform a visual inspection of the cable-and-pulley system’s components and replace or repair them as necessary. Proper routine lubrication can also help prevent unnecessary wear and tear.
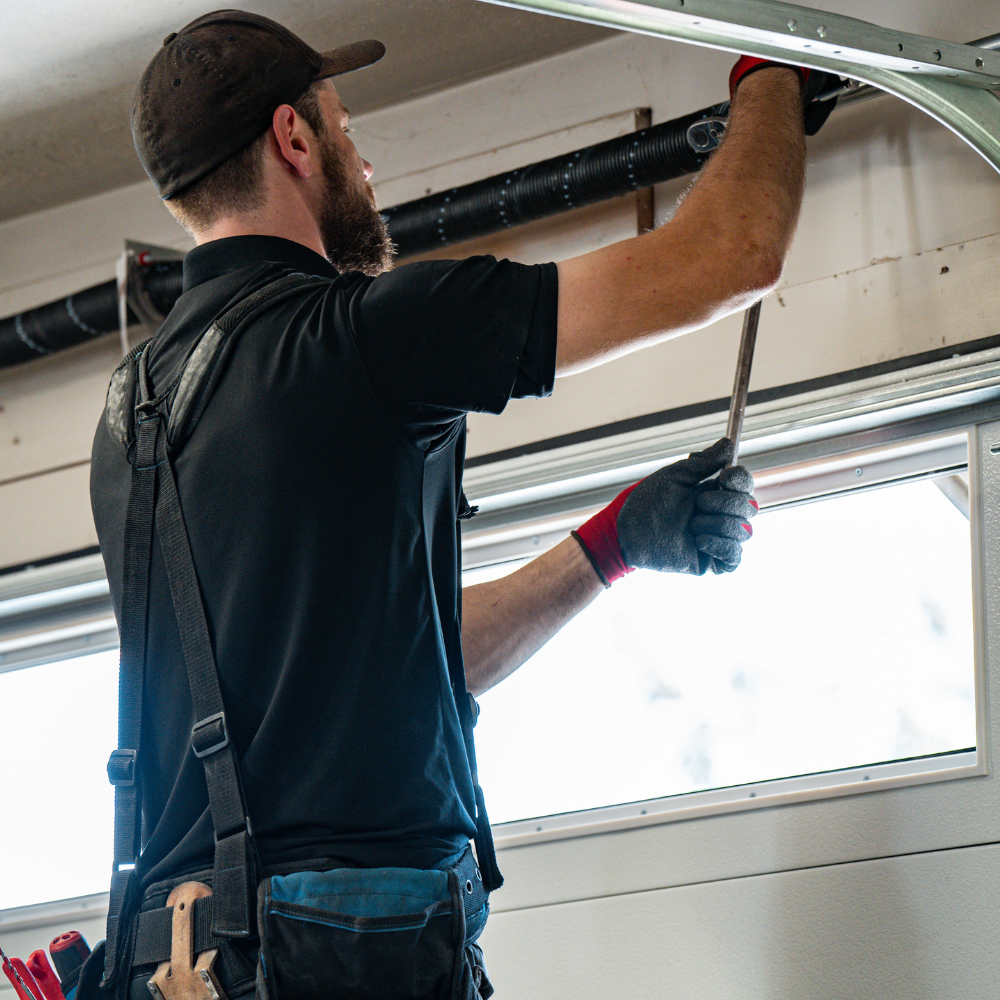
When To Call a Professional for Extension Spring Cable Replacement
Replacing your extension garage door cables requires attention to detail and the proper safety measures. Springs are under immense pressure and can quickly turn into dangerous projectiles in untrained hands.
If you lack the expertise or are at all concerned about taking on extension spring cable replacement as a DIY project, we recommend calling a professional. They’ll come to your house, assess the situation and provide a quote for the labor and any parts you need. Professional installation also typically comes with a labor warranty, and the installer will thoroughly test the garage door before leaving.
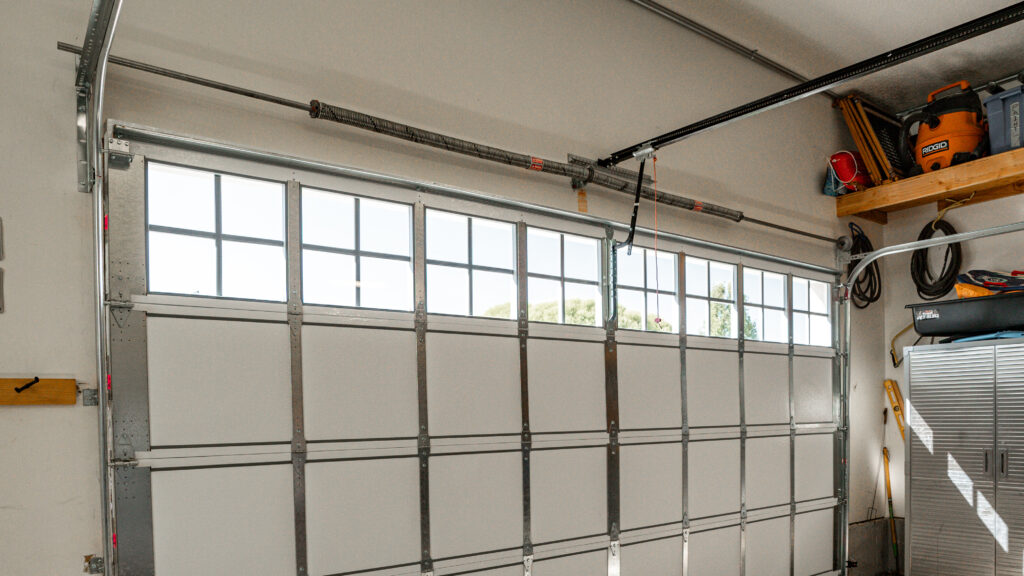
Extension Spring Cable vs. Torsion Spring Cable Systems: Understanding the Differences
Both extension spring cables and torsion spring cables run from the bottom of the garage door to the top of the vertical track. But while that’s where torsion cables stop, extension cables go on to run the length of the horizontal track to connect with the springs. Both are under immense tension and both present potential danger if not handled properly.
Torsion systems run horizontally above the garage door and are much more common in modern homes due to their increased power, fewer moving parts to maintain and other factors. Extension springs are situated above the horizontal tracks on either side of the garage door.
Replacing torsion cables is a more complex process than replacing extension cables, and more specialized tools are required. While we recommend hiring a professional to replace torsion system components, replacing extension springs is a more straightforward process.
Common Questions About Replacing Garage Door Extension Spring Cables
Get Your Free Quote and Schedule Your Garage Repair Today
Find top-rated companies for fast garage repairs and service to make sure your garage door system lasts. Get free quotes from garage door companies in your area.
Tips and Expert Advice for Your Garage
Stay informed with expert advice on garage door maintenance, garage door service, garage door replacement, and upgrades. Explore our blog for guides, troubleshooting tips, and more.