Garage Door Cable Replacement
Want to fix your garage door cables? Great! This guide will help you decide if it’s a DIY job or time to call a professional. We’ll cover the steps, crucial safety measures, warning signs for experts, cable replacement, common mistakes to avoid, and how to stay safe around the powerful torsion springs.
By: Kelly Larson | Published: April 29, 2025
Find Garage Door Repair Services
Get a fast & free quote | Schedule your service today
Torsion garage door cable replacement is similar to the process of replacing extension-spring cables, but it requires more steps and safety precautions. It’s a relatively inexpensive repair if you’re having a professional handle it, but many homeowners choose to tackle it on their own. We’ll walk you through how to replace your own cables, common DIY pitfalls and how to stay safe when dealing with dangerous torsion springs.
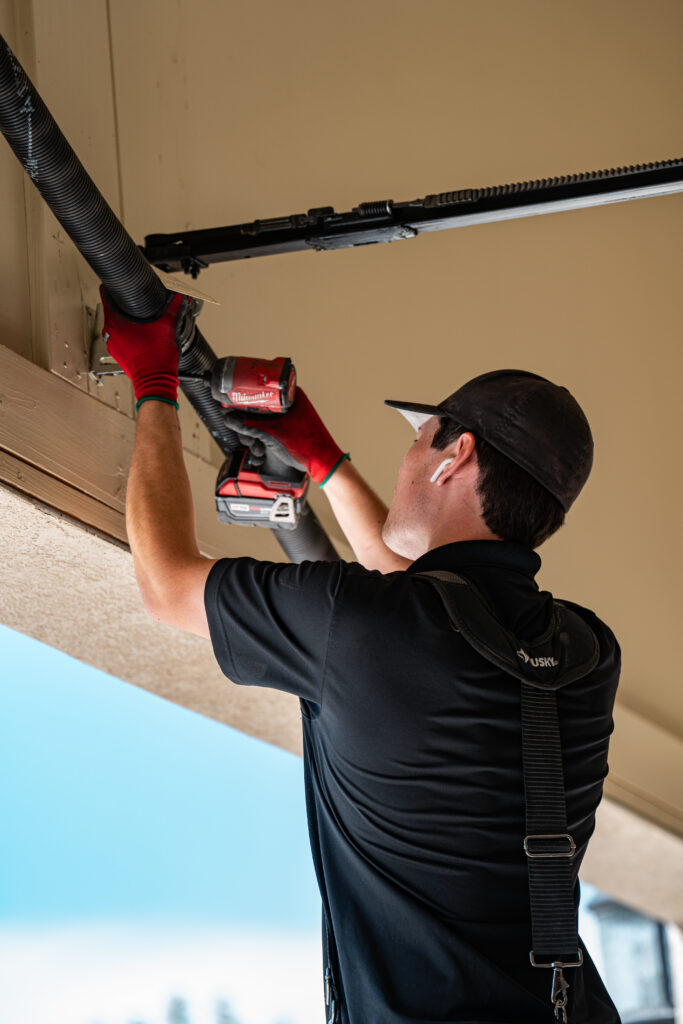
If you have a torsion spring garage door system, you’ll need to release the immense pressure stored in the springs before replacing the cables. The procedure requires specific training and specialized tools. Use extreme caution if you’re tackling the project on your own. If you’re not qualified or would rather err on the side of caution, Garage.com can put you in touch with professionals to service your garage door.
Understanding Garage Door Cables and Their Function
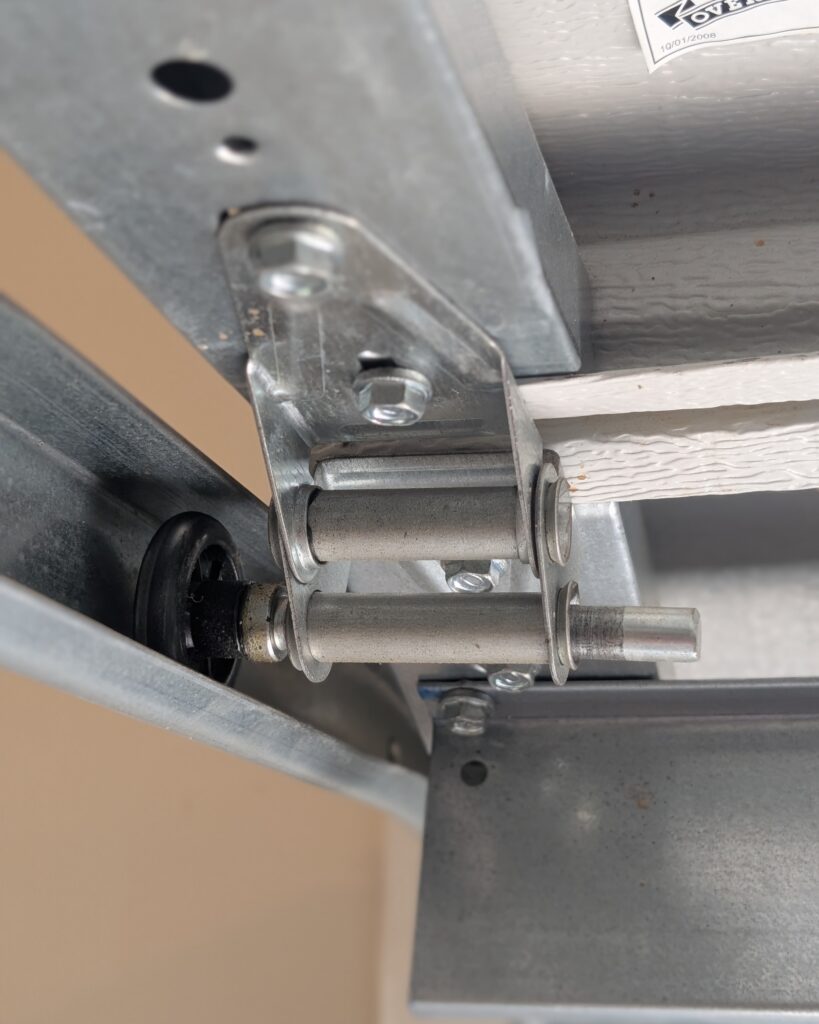
Garage door cables work with the torsion springs to offset the door’s weight when it’s raised and lowered. A typical residential cable has a looped end that attaches to a steel button on the door’s bottom bracket. The other end of the cable loops through a drum near the top of the door. They come in different diameters (the thicker the cable, the more weight it can lift) and are typically made of galvanized or stainless steel.
Cables play a crucial role to the safety of your garage door system and its overall performance. If the torsion springs were to break, cables help prevent the door from crashing to the ground. They also allow the door to raise and lower smoothly and evenly.
Signs of Garage Door Cable Problems
Visually inspect your cables at least twice per year and keep an eye out for visible signs of wear and tear, this is often part of a professional garage door tune-up. Rust is a common culprit, as are corrosion and fraying up and down the cable. Another sign that it’s time to replace your cables is if they become kinked or are anything but completely straight.
More obvious signs that your cables need attention will come from the garage door’s behavior when it’s opening and closing. If it’s uneven or struggling in any way, a failing cable could be to blame. Banging and noisy performance is another sign. If your garage door cables are displaying any of these warning signs, replacing them is not only the safest route, but it could save you more money for unnecessary repairs down the road.
Safety Precautions Before Attempting Cable Replacement
To counterbalance the significant weight of the garage door, torsion cables store massive amounts of pressure. Replacing your cables requires releasing this pressure, which is extremely dangerous if you don’t have the right tools or aren’t properly trained. Professional garage door cable replacement is a relatively low-cost repair—typically between $100 and $300—especially when weighed against the potential risks of going the DIY route.
Tools and Materials Needed for Torsion Cable Replacement
Before getting started, clear the work area of any clutter and debris. Gather your new cables and put on some long pants, leather work gloves and safety glasses. Other tools and equipment you’ll need include:
- Ladder or step ladder: You’ll be working toward the top of the garage door
- Locking pliers: For holding the door in the open position while you perform the work
- Winding bars: These are specialized tools used to unwind the torsion springs to relieve their pressure
- Socket wrench: For loosening and tightening bolts
- Flat-head screwdriver: The looped end of the cable may require some jimmying to be removed from the button on the garage door’s bottom bracket
- Silicon-based lubricant: Unlike lubricants like WD-40, spraying the cables and drums with a silicon-based lubricant helps repel dust and debris
The most widely used garage door cables are 1/8‘’ in diameter and 105’’ long—suitable for the most common residential door height of 7’. You can buy them on Amazon, at big box home improvement stores like Home Depot and Lowes, or at your local hardware store.
Step-by-Step Guide to Replacing Garage Door Cables
After you’ve cleared the workspace, gathered your supplies and tools, and put on the necessary safety gear, it’s time to start the repair. With safety top of mind, follow these steps:
Step 1: Turn the Power Off
Switch the breaker that powers your garage door and its components to the “Off” position before performing any work. Make sure there’s plenty of natural light coming in the garage and use a flashlight as well if needed.
Step 2: Disconnect the Opener
Pull down on the red emergency release handle to disengage the trolley from the motor. Though this turns your automatic garage door system into a manual one, the springs will still offset the weight of the door—making it easy to lift—until you release the pressure later.
Step 3: Open and Secure the Garage Door
Open your garage door and secure it in place by attaching the locking pliers to the track just below the door’s bottom roller.
Step 3: Release Tension From the Torsion Springs
This step is best performed by a professional to ensure your safety and the safety of your belongings. If you’re going it alone, refer to the owner’s manual for your system’s precise steps.
Start by slightly loosening the two red bolts at the end of the spring. Next, grab a winding bar and insert it into one of the holes near the red bolts. Use the leverage provided by the bar to push up or pull down (depending on which side the spring is) a quarter turn. Insert the second bar into the next hole and repeat quarter turns this way until the tension has been released. Perform the same steps on the other side if your garage has two torsion springs.
Step 4: Remove the Old Cables
Use your socket wrench to loosen the screws on the drums, then remove the loop end of the cables from the steel buttons located on either side of the garage door’s bottom brackets. Unwind the cables from the drums and safely dispose of them.
Step 5: Install the New Cables
Fit the knob on the non-looped side of the cable into the groove located on the drum. Carefully wind the cable across the drum, making sure there are no kinks and that it’s properly resting in the designated grooves. Once the cable is wrapped around the drum, secure the looped end to the garage door’s bottom-bracket button, tighten the screws on the drum and repeat these steps on the other side.
Step 6: Reapply Tension and Test the Door
Reverse the procedure from step 3 and follow the instructions in your owner’s manual for how many quarter turns to make. Once the proper amount of tension has been loaded back into the torsion springs, remove the locking pliers from the track, reconnect the trolley to the motor and test the door multiple times by opening and closing it.
Common Mistakes To Avoid During Cable Replacement
Like any DIY project, you might encounter some snags along the way. Attention to detail matters in every step, but pay particular attention to these common mistakes.
- Choosing the wrong cable size: Your owner’s manual will specify the diameter and length of the cables you should be using. Most standard 7-foot-tall garage door cables are cables are 1/8‘’ in diameter and 105’’ long.
- Drum winding mistakes: When reattaching the cables, make sure they sit perfectly in the drum’s grooves.
- Kinked or overlapping cables: If the left cable has a kink or overlapping section and the right one doesn’t, the door may open unevenly or experience other performance issues.
- Incorrect spring tension: Failure to restore the correct amount of tension to the torsion springs can make the door too heavy or too light, resulting in unnecessary wear and tear over time. Your owner’s manual will tell you how many quarter turns to make for optimal performance.
When To Call a Professional for Cable Replacement
Replacing your torsion garage door cables, specifically adjusting the tension of the springs, requires training, specific safety measures, specialty tools and attention to detail. If you lack the expertise or are at all concerned, we recommend calling a professional. They’ll come to your house, assess the situation and provide a quote for the labor and any parts you need. Professional installation also typically comes with a labor warranty, and the installer will thoroughly test the garage door before leaving.
Maintenance Tips To Extend Cable Life
Establishing a regular maintenance schedule can extend the lifespan of your garage door system and save you money on repairs in the long-term. Visually inspect your cables and other components for fraying, rust or other problems. Use a silicon-based lubricant on the cables every few months, and make sure your seals and weatherstripping are in good shape. Bad seals and insulation can allow rain, heat and cold into the garage, potentially damaging its components.
Common Questions About Garage Door Cable Replacement

Get Your Free Quote and Schedule Your Garage Repair Today
Find top-rated companies for fast garage repairs and service to make sure your garage door system lasts. Get free quotes from garage door companies in your area.
Tips and Expert Advice for Your Garage
Stay informed with expert advice on garage door maintenance, garage door service, garage door replacement, and upgrades. Explore our blog for guides, troubleshooting tips, and more.
