How to Insulate a Garage Door
Struggling with a garage that’s too hot or too cold? Insulating your garage door can solve this. Learn how to easily do it yourself using foam board or insulation kits. To insulate your garage door just measure, cut, and attach to the door panels for a more comfortable and energy-efficient space. Get the full guide for DIY tips and tricks here.
By: Sean Donnelly | Published: April 29, 2025
Find Garage Door Repair Services
Get a fast & free quote | Schedule your service today
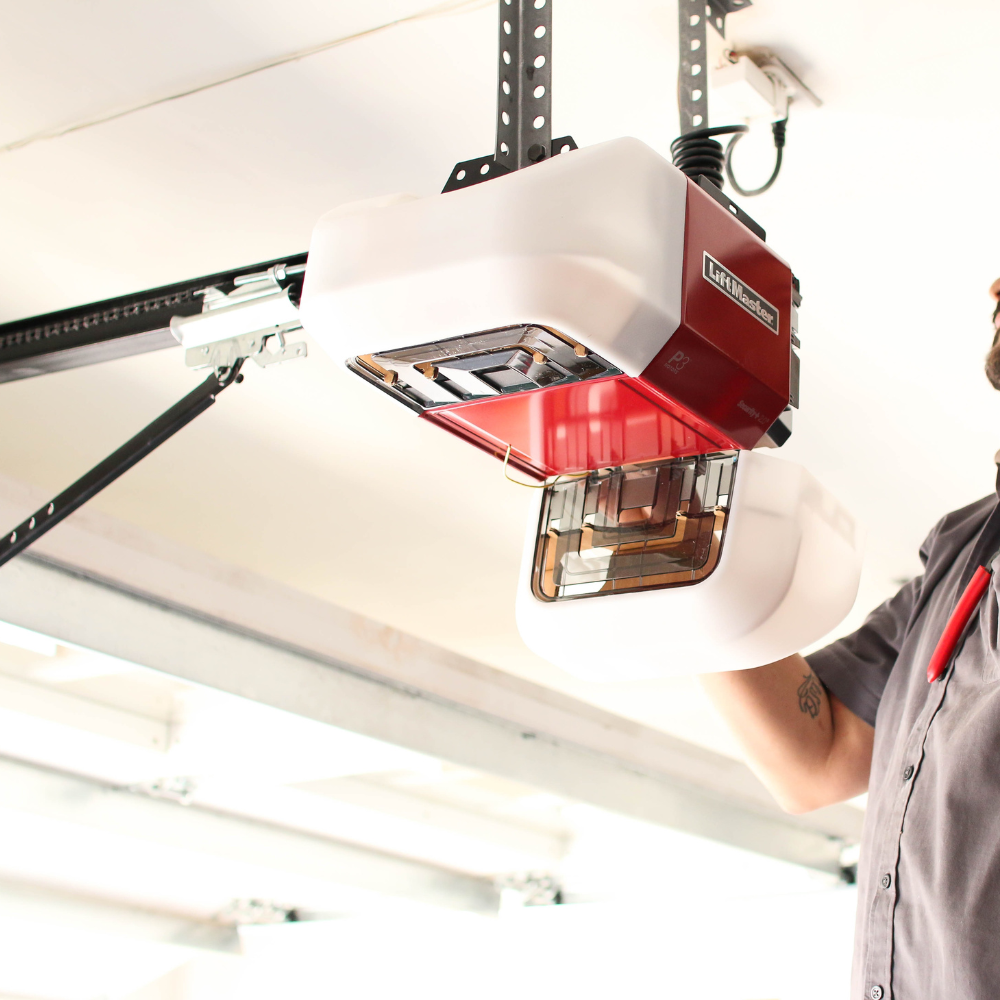
Insulating your garage doors can make your interior space more energy efficient, reduce road noise and lead to a longer lifespan for your garage door, springs and opening mechanism. Of course, you can hire professionals for any garage door maintenance or repairs. However, this is something that most homeowners can do on their own at a low cost and minimal hassle.
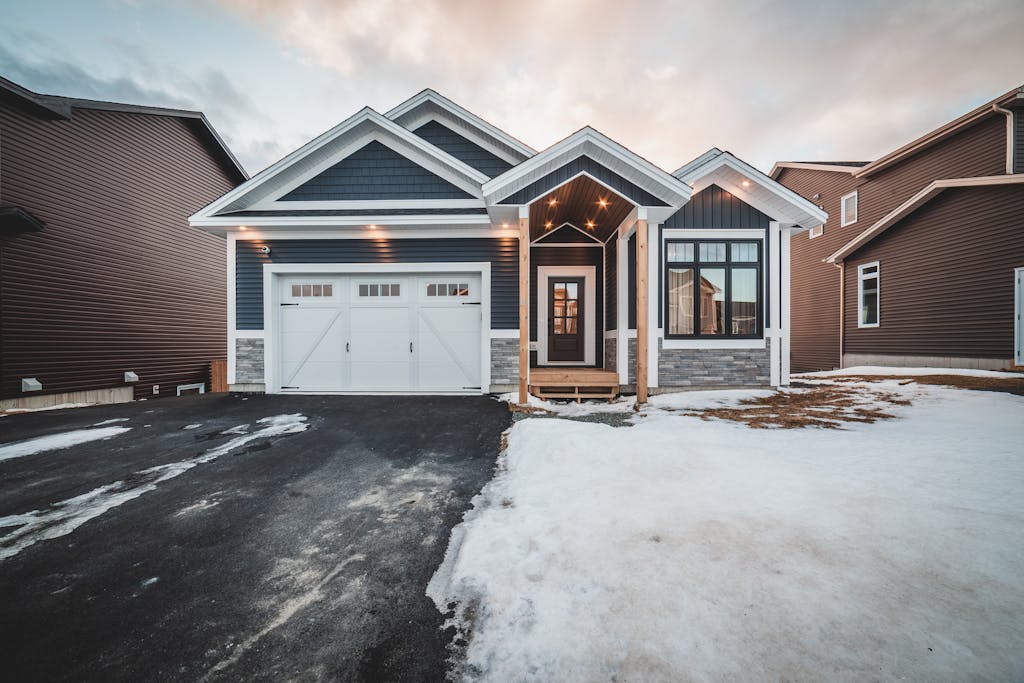
Before You Start: Planning Your Garage Door Insulation Project
The first step in any garage door insulation project is determining your insulation type. After you’ve cleaned your workspace and tested your garage door opener a few times, inspect your garage door’s interior cavities and take measurements.
From here, you can determine your insulation type and begin doing research into pricing for each option. We’ve included some price ranges here for garage door kits. However, you should note that custom solutions which require you to cut your own insulation will be more time-consuming and possibly more costly.
Choosing the Right Insulation Material for Your Garage Door
Your insulation type will depend on your weatherizing needs and door material. Metal doors can hold any insulation type. We don’t recommend fiberglass batts or polyurethane spray for wood doors due to their usually-small cavities. This reduces the amount of space you’ll have to secure insulation.
Some retailers offer pre-made single-door kits which can reduce your costs and time spent shopping. Be sure to look at customer reviews for these kits and fully research which doors a given kit is designed to fit before purchasing.
| Insulation Type | R-value range | Cost per door* |
| Reflective | R-3 and up | $40–$55 |
| Polystyrene | R-2 to R-10 | $52–$65 |
| Polyurethane | R-12 to R-19 | $170 per six-pack |
| Fiberglass batt | R-8 and up | $118–$160 |
*Source: Costs from Home Depot and Amazon for DIY kits.
Understanding Garage Door Insulation Kits
Most retailers offer insulation kits for garage doors. The most common type of insulation provided in these kits is rigid foam or polystyrene. In some cases, these panels come with reflective backing and adhesive tape for secure application. The cheapest kits come with one-size-fits-most foam boards and no additional frills.
Some brands, like Owens Corning, offer batt insulation kits. These have vinyl facing into the interior of the garage after application, which is an ideal option for all non-wood garage doors. Nearly all kits are designed to fit one single garage door, unless otherwise specified.
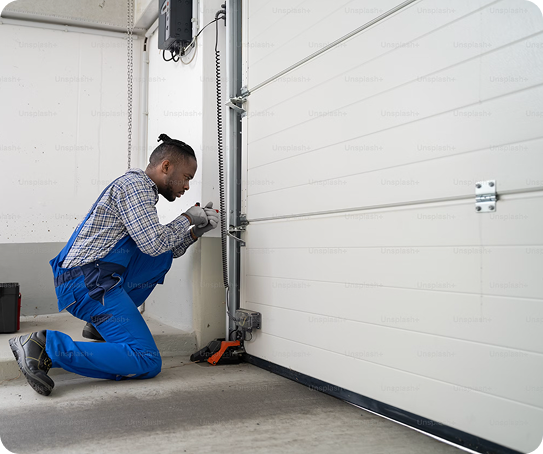
Step-by-Step Guide: How to Insulate a Metal Garage Door
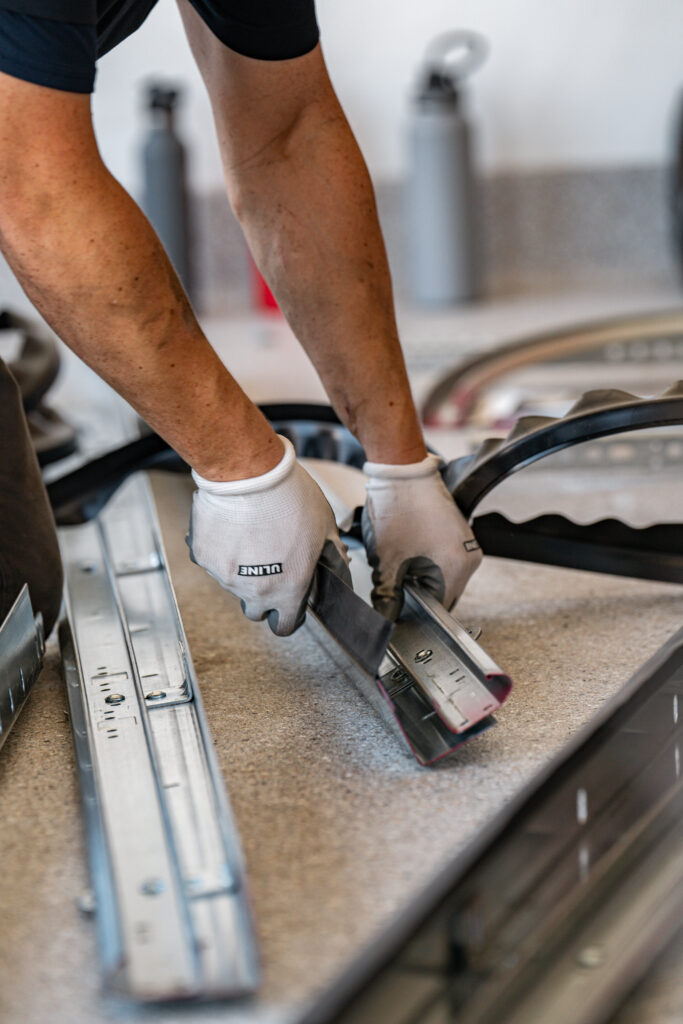
You can apply most insulation types to metal doors; luckily, it’s a simple process once you lower and secure your doors:
- Gather your tools for installing your insulation: These can include:
- Tape measure
- Straightedge
- Utility razor
- Stepladder
- Insulation material
- Double-sided adhesive
- Cleaning rags and supplies
- Measure the height, width and depth of all recessed spaces on your doors.
- Cut your foam board polystyrene insulation to fit these cavities.
- Clean your door with a damp rag. Use other light-grade cleaning products as needed to remove any dust or debris from your doors.
- Metal doors often have lips that overlap the cavity spaces. These can hold your insulation in these cavities. If that isn’t enough to hold your panels or sheets in place, apply double-sided adhesive around the edges of your cavity spaces. Duct tape or weatherproof tape works well here.
- Secure your panels or sheets to your adhesive strips.
- Note that you usually won’t have to apply a second layer of insulation here. With this in mind, we haven’t recommended that you cut around any hinges or hardware.
- (Optional) Apply reflective weather tape to the seams around your insulation.
Step-by-Step Guide: How to Insulate a Wooden Garage Door
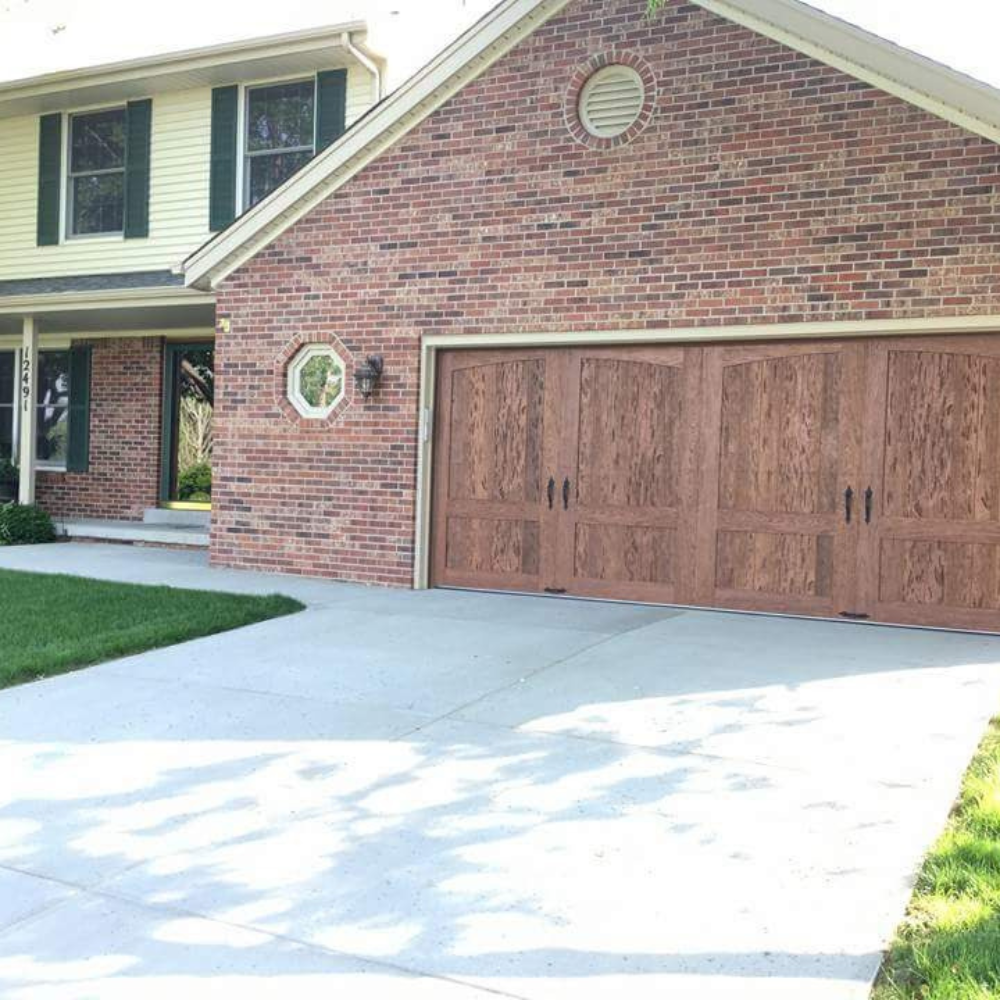
Many older wooden garage doors have less-recessed cavities in their panels. This may require that you apply multiple layers of insulation to achieve full weatherproofing. Wood does not make for light or affordable garage doors, but they are durable. To install foam board insulation, follow these steps:
- Gather your tools for installing your insulation: These can include:
- Tape measure
- Straightedge
- Utility razor
- Stepladder
- Insulation material
- Double-sided adhesive
- Cleaning rags and supplies
- Screws and washers
- Drill with drill bits and screwdriver heads
- Measure the height, width and depth of all recessed spaces on your doors: Note that some older doors have non-uniform cavity spaces. Measure each accordingly.
- Cut your foam board polystyrene insulation to fit these cavities.
- Clean your door with a damp rag. Use other light-grade cleaning products as needed to remove any dust or debris from your doors.
- Apply double-sided adhesive around the edges of each space. Both double-sided duct tape or weatherproof adhesive are adequate.
- Affix panels to the adhesive. These panels should be measured to be flush with the rest of the door.
- Next, you’ll apply a top layer of insulation. This will cover the raised ridges between the now-covered recessed spaces.
- Take measurements and cut your panels to fit around any hinges or windows.
- Apply double-sided adhesive to the raised ridges between already-secured panels.
- Affix your second layer of foam board insulation to the adhesive.
- (Optional) Use screws and washers to further secure your outer layer of boards to the doors. One screw and washer per corner of each board should suffice.
- (Optional) Apply reflective weather seal tape to the seams between the outer layer of insulation.
Working Around Windows and Hardware
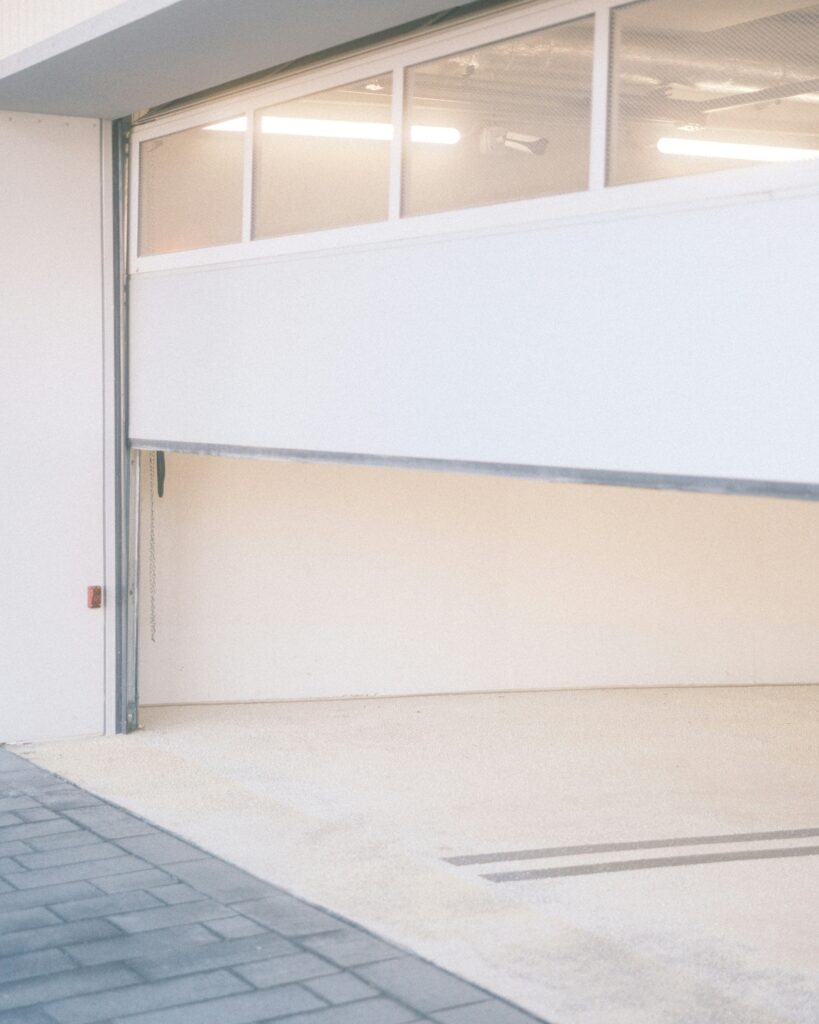
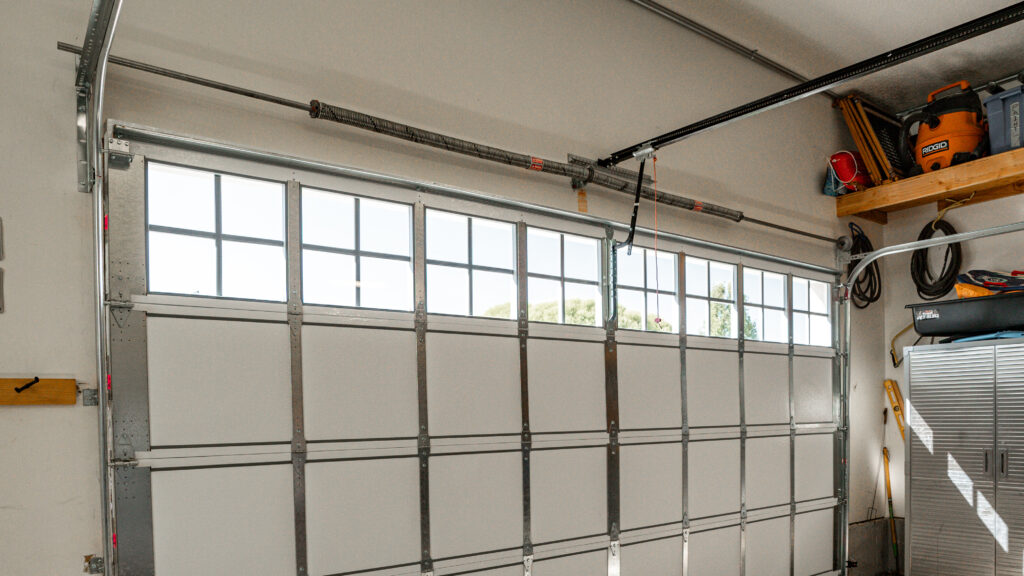
First and foremost, you should know that insulating a garage door with single-pane windows will not make a worthwhile difference in extreme hot- or cold-weather. Doors with double-pane or insulated windows are still worth insulating.
Most conventional metal garage doors won’t require that you work around the hinges and hardware. They will have prominent cavities that you will fill with your insulative material. If you’re working with a wood door with a flatter surface, we recommend taking detailed measurements on both the door and insulation panels.
Use a carpenter’s or construction pencil, straightedge and utility razor to make precise cuts in your material that line up with your hardware and windows.
Advanced Tips for Maximum Insulation Efficiency
There are a few additional steps you can take before and during your insulation installation process to ensure that your interior is as energy efficient as possible. Some of these are optional, but are worth considering:
- Replace weatherstripping and seals: Ensuring that the spaces under and around your doors don’t allow airflow into your space will help to regulate interior temperatures.
- Insulate your entire garage: Insulating your door won’t make any difference if your garage walls and ceilings are unprotected. While this will inflate your cost, you should consider a full-scale insulation before handling your doors.
- Measure your insulation multiple times before cutting: Tighter seals make for more efficient insulative barriers. Taking greater care when measuring and cutting will limit air gaps and condensation buildup between the insulation and door material.
Troubleshooting Common Garage Door Insulation Problems
With any DIY home upgrade, you could hit a few snags during or after the project is complete. When you insulate garage doors, these usually have to do with moisture entering gaps in your insulative materials or balance issues.
Polyurethane spray is the insulation type that offers the most airtight seal when applied properly. We recommend that you get professional assistance for polyurethane application to avoid dealing with toxic off-gas fumes as the insulation cures.
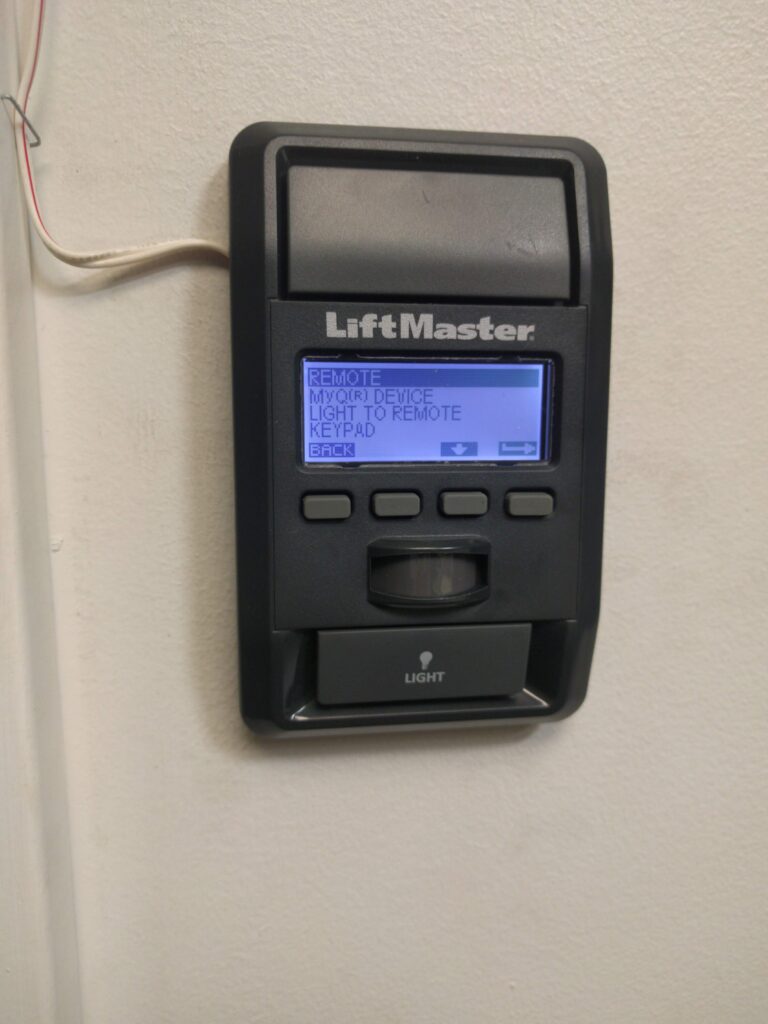
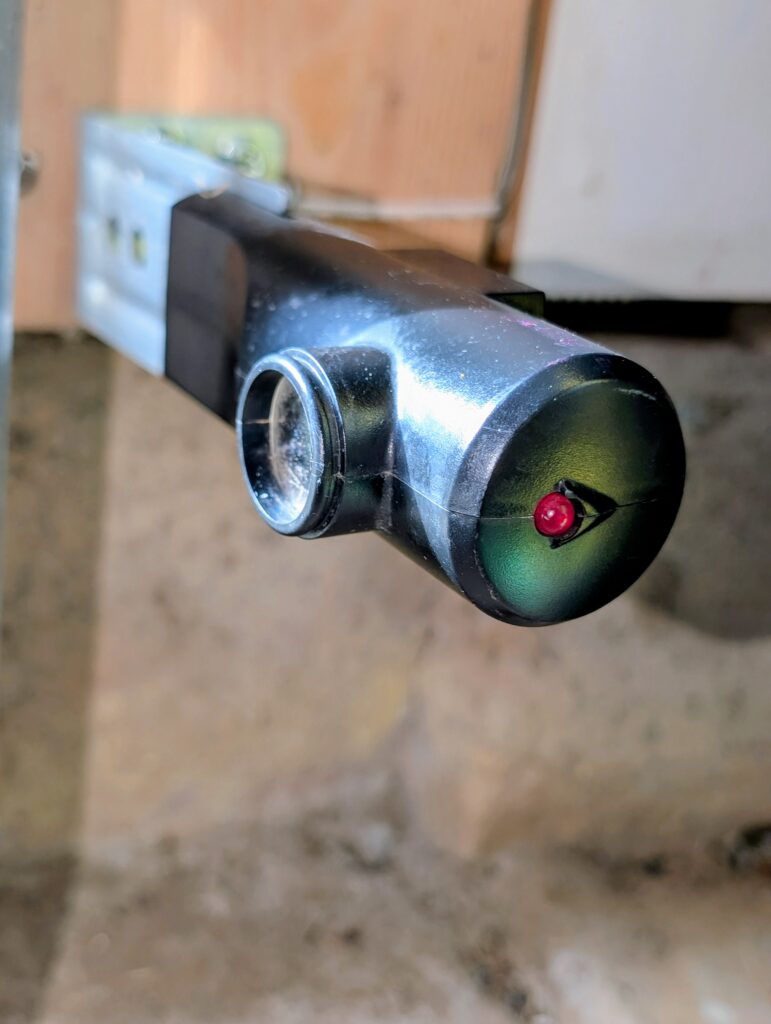
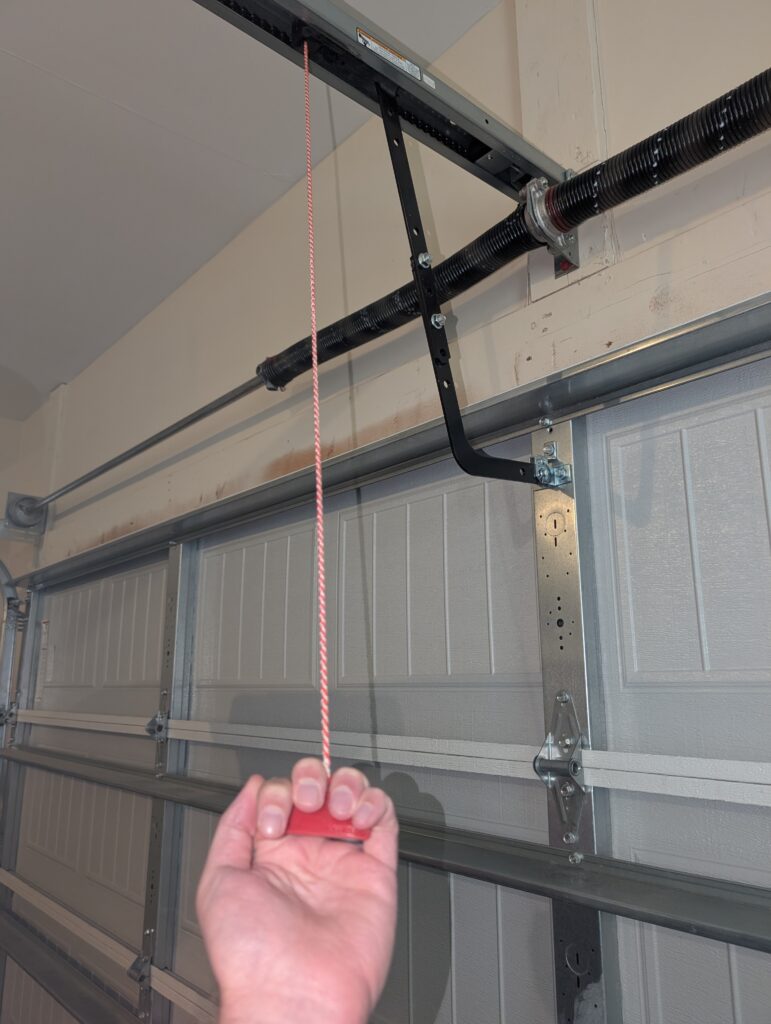
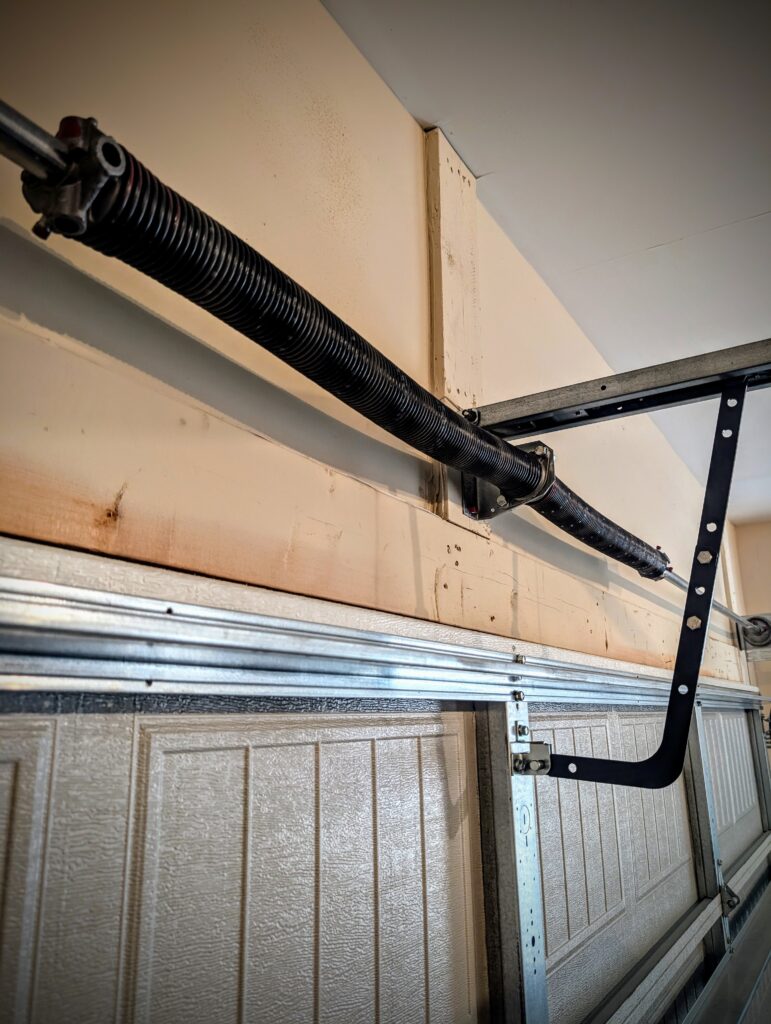
With all other insulation types, you should thoroughly clean your garage door before application and use a double-sided adhesive to minimize air gaps after application. After you install your insulation, you should complete a few test operations of your garage door opener. Monitor how evenly your door opens and adjust your springs accordingly.
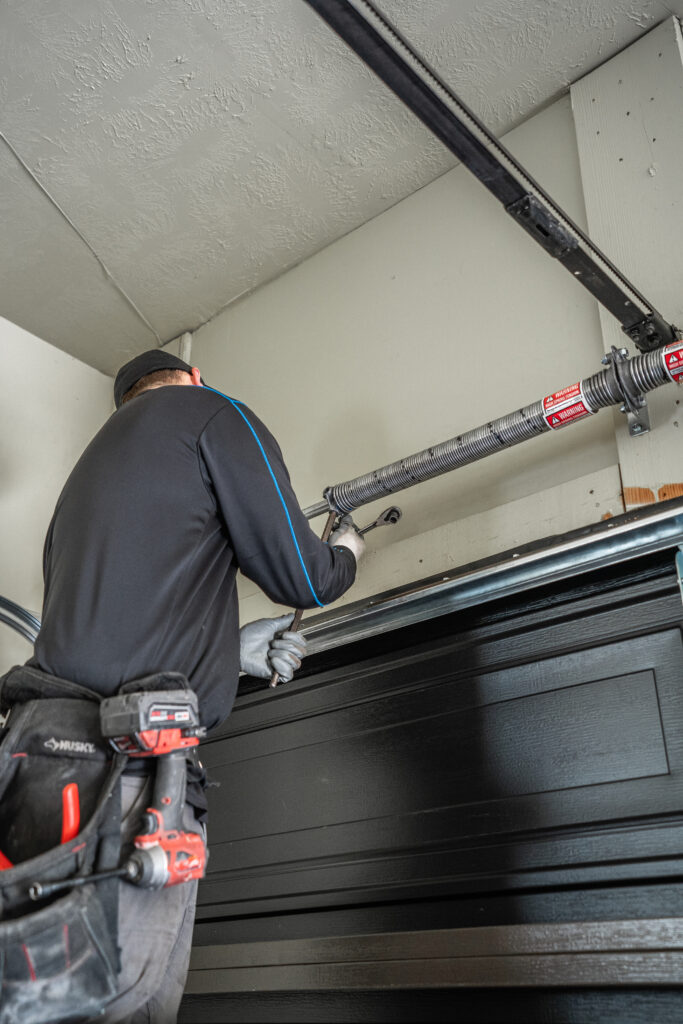
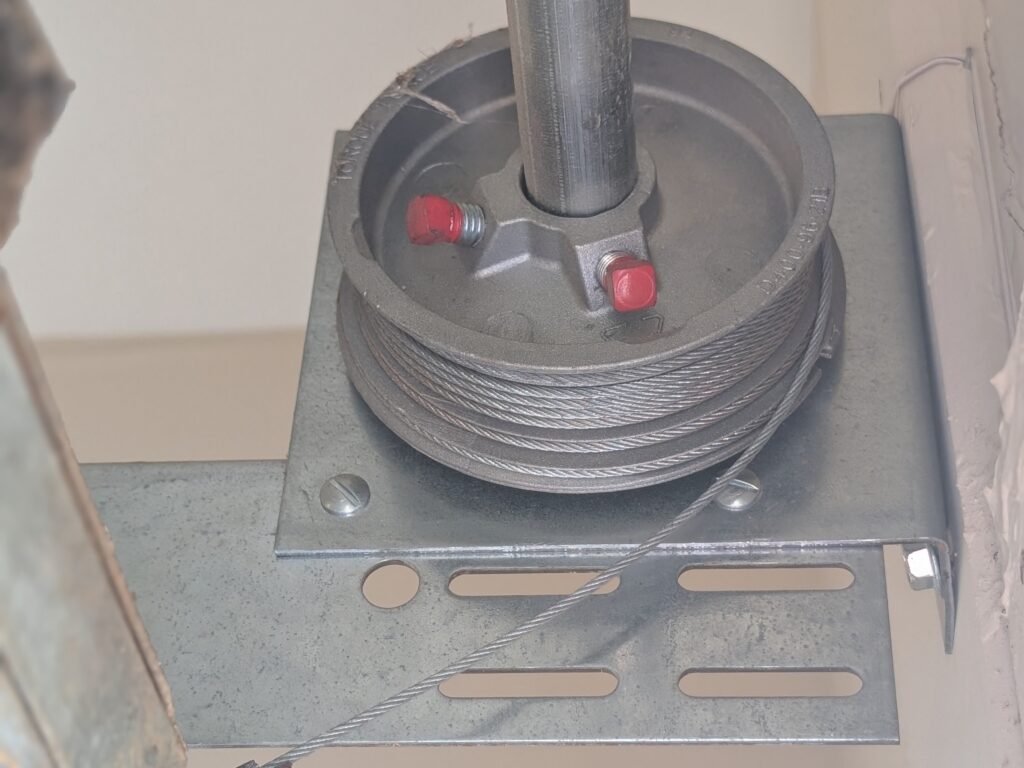
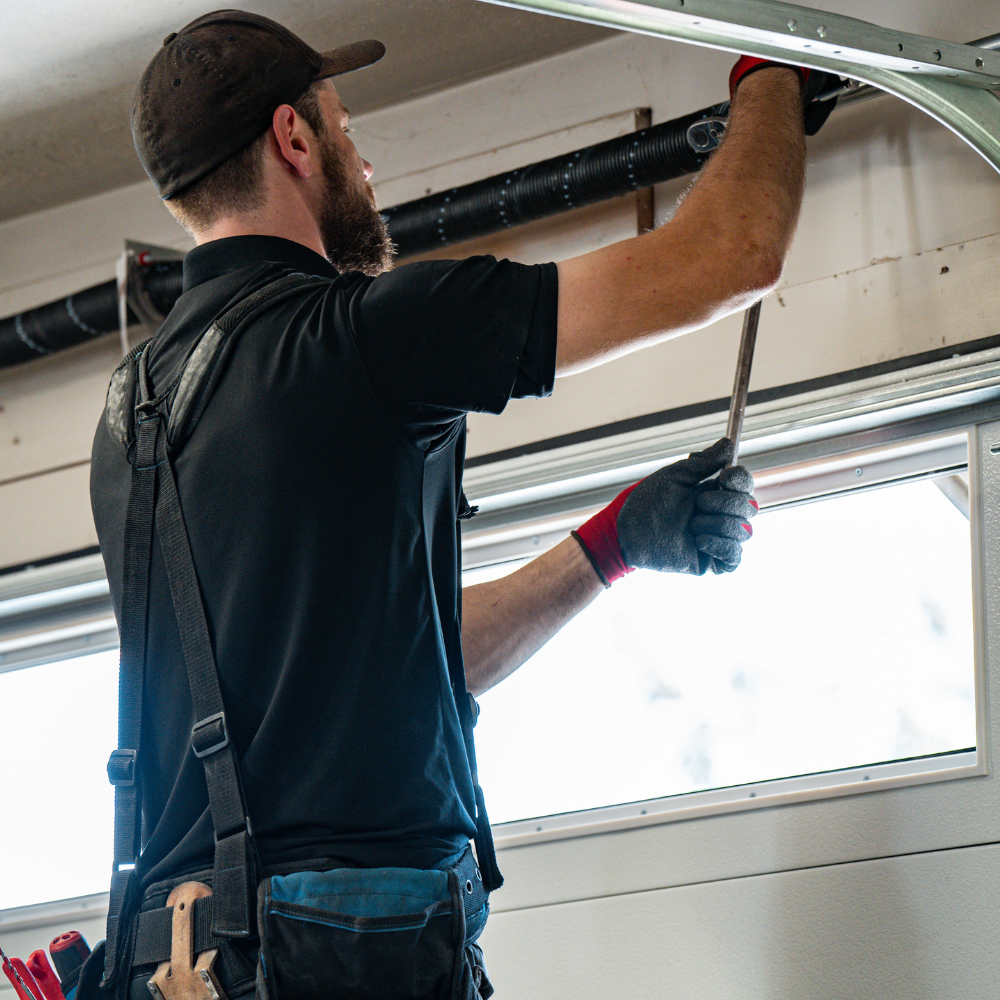
If you need to adjust tension or replace your springs, you should always get a professional consultation. Especially when you have torsion springs, adjusting tension with a winding rod can be dangerous.
Frequently Asked Questions About Insulating Your Garage Door
Get Your Free Quote and Schedule Your Garage Repair Today
Find top-rated companies for fast garage repairs and service to make sure your garage door system lasts. Get free quotes from garage door companies in your area.
Tips and Expert Advice for Your Garage
Stay informed with expert advice on garage door maintenance, garage door service, garage door replacement, and upgrades. Explore our blog for guides, troubleshooting tips, and more.