How To Repair a Loose or Sagging Garage Door Chain
Worried about that noisy, sagging garage door chain? Our guide makes DIY repair easy! Quickly tighten it by locating the adjustment nuts on the trolley, loosening them, adjusting the chain tension until it’s ½” above a T-rail or ¼” above a square rail, and then re-tightening the nuts. Get all the details and learn when it’s time to call in the pros.
By: Kelly Larson | Published: May 21, 2025
Find Garage Door Repair Services
Get a fast & free quote | Schedule your service today
In most cases, spotting a loose garage door chain is as easy as looking up, but it’s not always that straightforward. To the untrained eye, a chain might appear to be sitting properly along the rail when it’s actually loose. If you notice any abrupt noises, jerky door movements or other signs of a damaged system, your chain might be the culprit.
To help keep things on the rails, we’ll go over common warning signs that your chain might be loose and provide step-by-step instructions for how to perform a DIY repair.
Understanding Garage Door Chain Drive Tension
Chain drives are the most popular garage door systems for homeowners thanks to their durability, strength, wide availability and budget-friendly price point. When you press the button on your remote control or wall unit, the garage door opener’s motor activates and guides the metal chain around two sprockets and across the rail via the trolley.
When the system is functioning properly, the door opens and closes evenly and with minimal noise (though chain drives are inherently noisier than belt drive or screw drive systems). When it’s not, one or more of the symptoms below might be to blame.
Signs of a Loose or Sagging Garage Door Chain
Performing routine maintenance and visible inspections at least twice per year can help you catch potential chain-related issues before they become a bigger problem. But if you see or hear any of these warning signs between inspections, you’ll want to hop on them sooner rather than later.
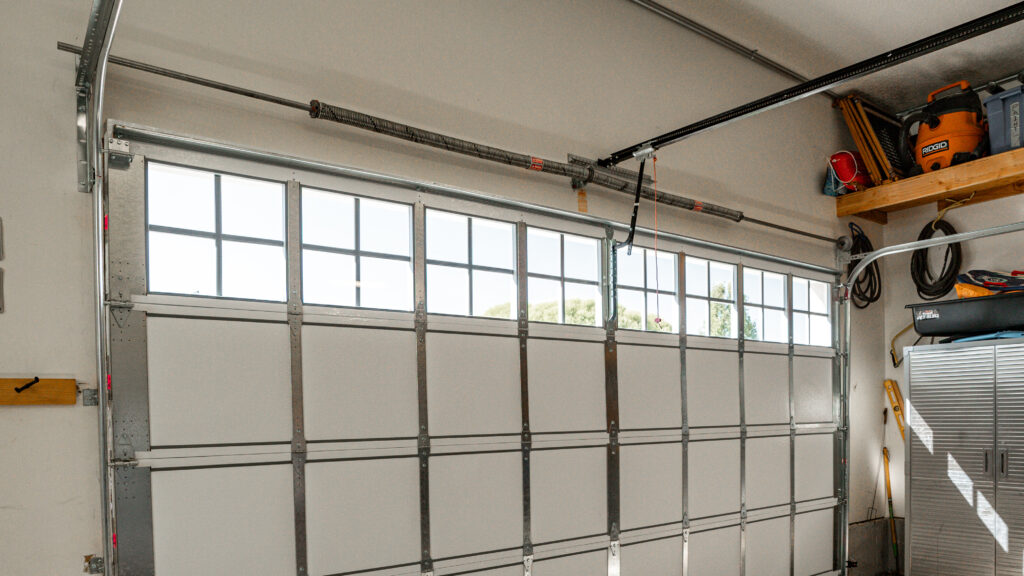
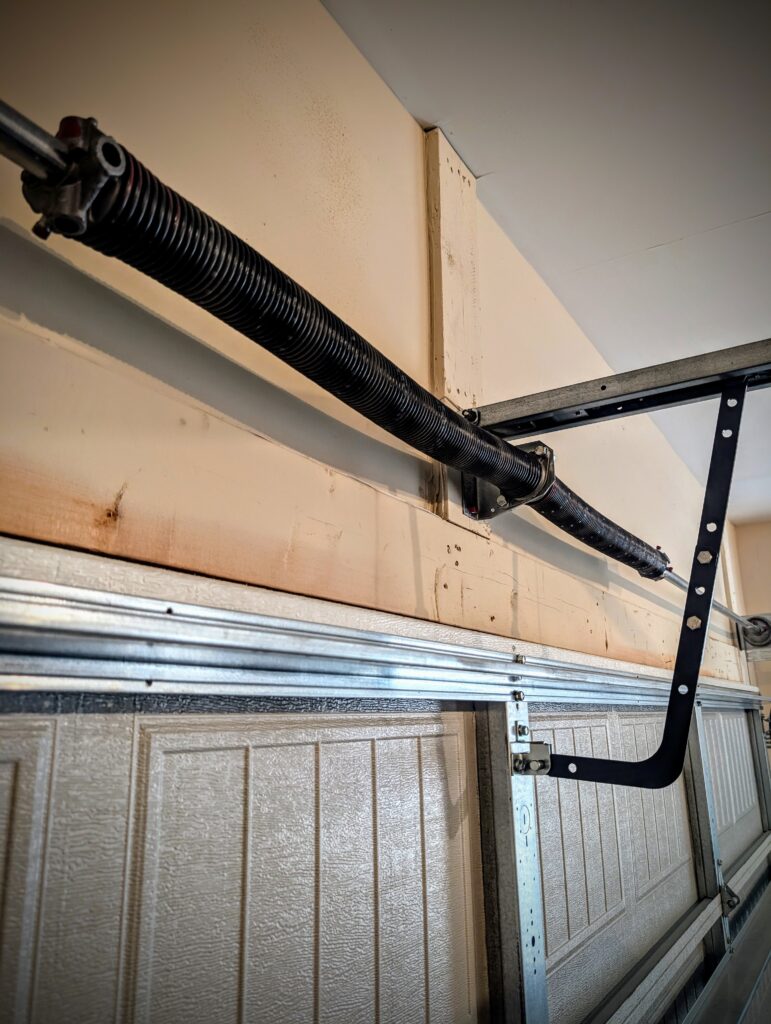
- Visible sagging: The chain is properly tensioned when it rests ½ inch above the bottom of a T-rail and ¼ inch above a square rail at their midpoint. If the chain is resting at or below the rail, it’s time for an adjustment.
- Unusual noises during operation: While chain drives will always be louder than belt, screw or other types of garage door openers, you shouldn’t hear any rattling, grinding or slapping when the door is opening and closing. These sounds are often the result of a loose chain slamming against the rail or other components.
- Jerky or inconsistent door movement: A properly functioning door should open smoothly and without unexpected movements. If your door makes erratic movements or quickly jerks when you open and close it, your tension may be to blame. Given their immense weight, unpredictable garage door movements can be dangerous and need to be addressed immediately.
- Chain slips off the sprocket: If your chain becomes increasingly loose over time, it could slip off the sprocket altogether, making it hard not to notice the sagging. Not only will this prevent the door from opening and closing, but it can also lead to more severe damage if left unchecked.
- Door reverses before closing completely: If a loose chain causes enough resistance, it can trick your garage door system’s safety sensors into thinking there’s an obstruction. If your door won’t fully close, first check the safety sensors. If they’re functioning properly, move on to the chain and look for visible signs of sagging.
Tools and Materials Needed to Adjust Garage Chain Tension
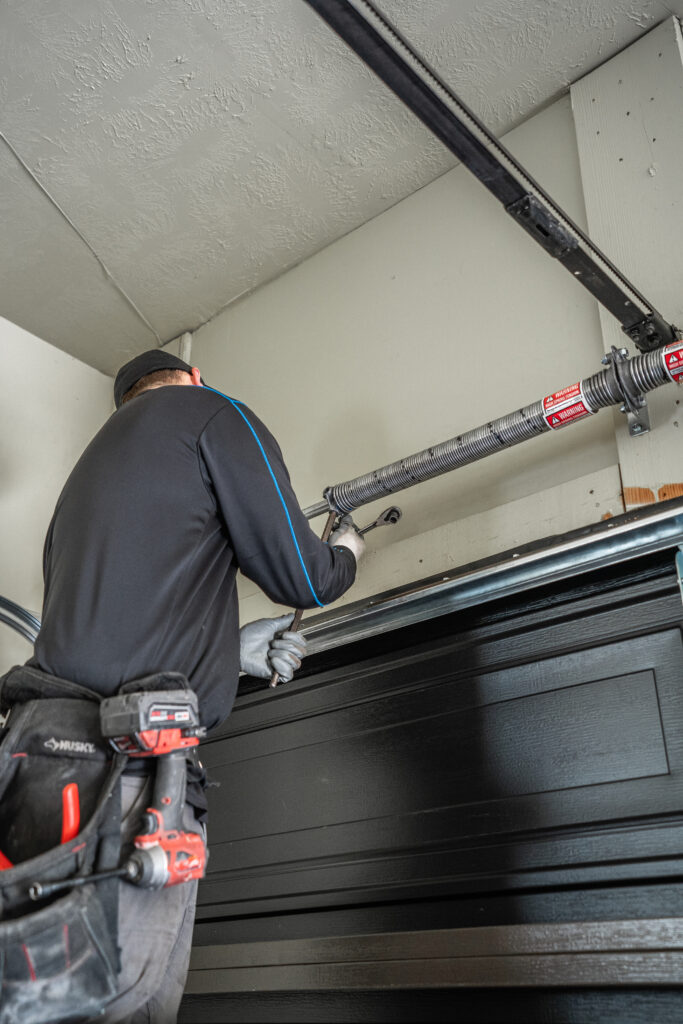
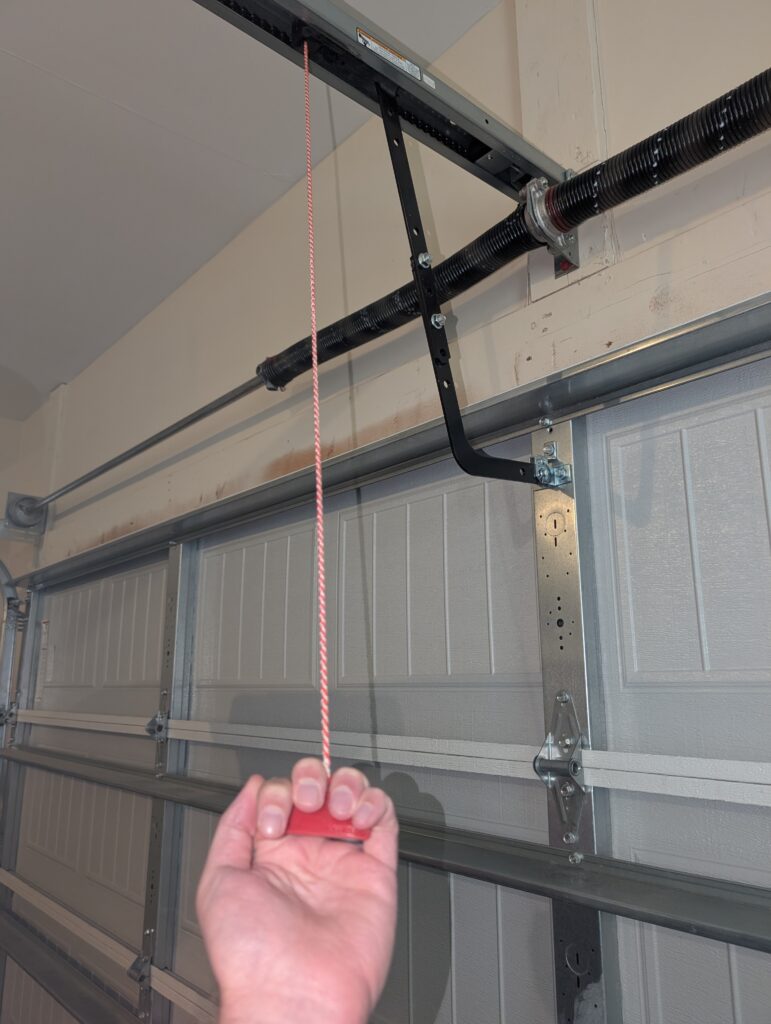
Before taking on any DIY garage door project, unplug the motor and disconnect the trolley from the track by pulling down on the emergency release cord. Maintaining your garage door chain isn’t a complex process, but it could become dangerous if someone accidentally opens the door while you’re working on it.
After taking the necessary safety precautions and putting on safety glasses and work gloves, clear the workspace and gather these tools:
- Stepladder
- Two ½” wrenches
- Pliers
- Tape measure
- Silicone-based lubricant
- Microfiber towel
4-Step Process to Repair a Loose Garage Door Chain
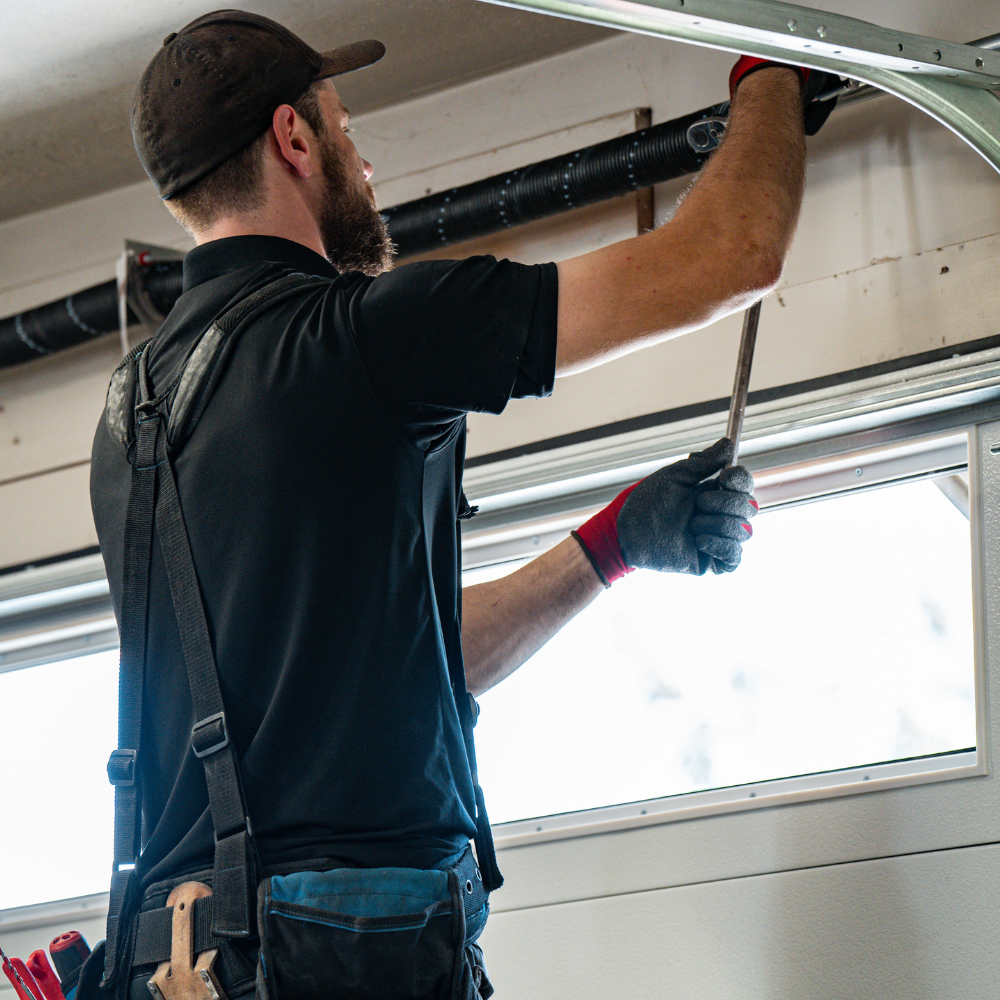
As far as DIY fixes go, tightening a loose garage door chain is a straightforward one. If you’re short on time or have safety concerns, Garage.com can connect you with a licensed professional in your area. If you’re going the DIY route, follow these 4 steps:
Step 1: Disconnect the Garage Door Opener
It bears repeating that all power needs to be cut from the garage door system before any work is performed. If someone who lives in your home is unaware you’re working on the door, they could accidentally open it, which could result in injury.
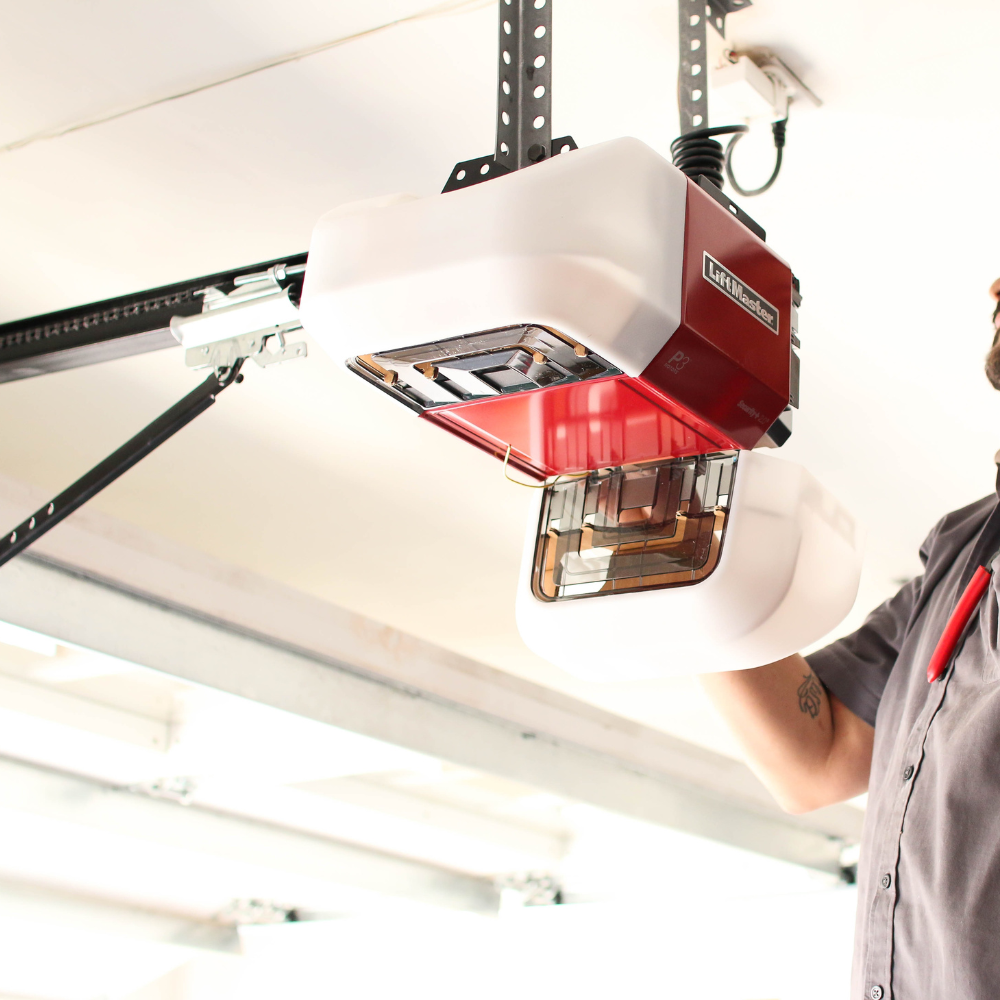
To disconnect the power, climb the stepladder and unplug the garage door opener from the ceiling. Once the power is off, pull down on the emergency release cord to disengage the trolley from the track. The door should be down while you’re tightening the chain.
Step 2: Locate the Locking and Adjustment Nuts
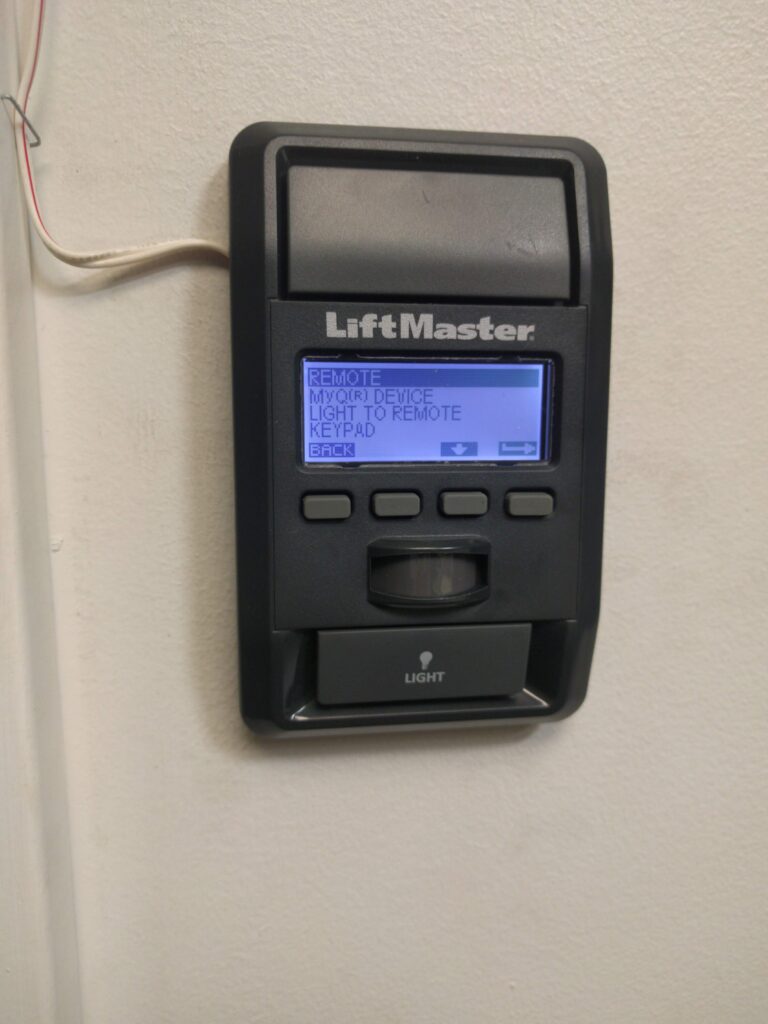
Most major brands like Genie, Chamberlain and LiftMaster have the same locking and adjustment nut configuration. It can be found on the trolley assembly and includes a threaded bolt with one nut on both sides of a metal divider. If you’re facing the trolley assembly with the garage door to your left, the locking nut is on the right side of the divider, and the adjustment nut is on the left.
Step 3: Adjust the Chain Tension
Now that you’ve located the bolt and nut assembly, grab your wrenches, pliers and measuring tape. Use a toolbelt or a ladder bag to keep your hands free for the repair and follow these steps:
- Take your two ½” wrenches and place one over each bolt. Simultaneously rotate the adjustment nut (left) upward and the locking nut (right) downward to loosen them from the metal divider.
- Clamp the pliers over the chain to keep it in place and loosen the locking nut with a wrench until it’s about ¼” to ½” from the metal divider.
- With the locking nut loose, it’s time to tighten the chain tension. Hold the chain in place with the pliers like you did in the previous step, then rotate the adjustment nut downward until the chain is fully tightened.
- Use a measuring tape to check for proper tensioning. It should rest ½” above the bottom of a T-rail and ¼” above a square rail at the midpoint.
- When you’re happy with the tension, tighten the locking nut by hand, then firmly resecure both nuts to the metal divider with the two wrenches.
While you’re on the stepladder, perform a visual inspection of the trolley, rail and chain, and lubricate all moving parts with a microfiber towel and lithium-based lubricant.
Step 4: Test and Fine-Tune the Adjustment
When you’re satisfied with your work, plug the garage door opener back in and reconnect the trolley to the track. Test the chain by opening and closing the door multiple times. If the chain is still making contact with the rail, repeat the steps above to tighten it a bit more, then retest.
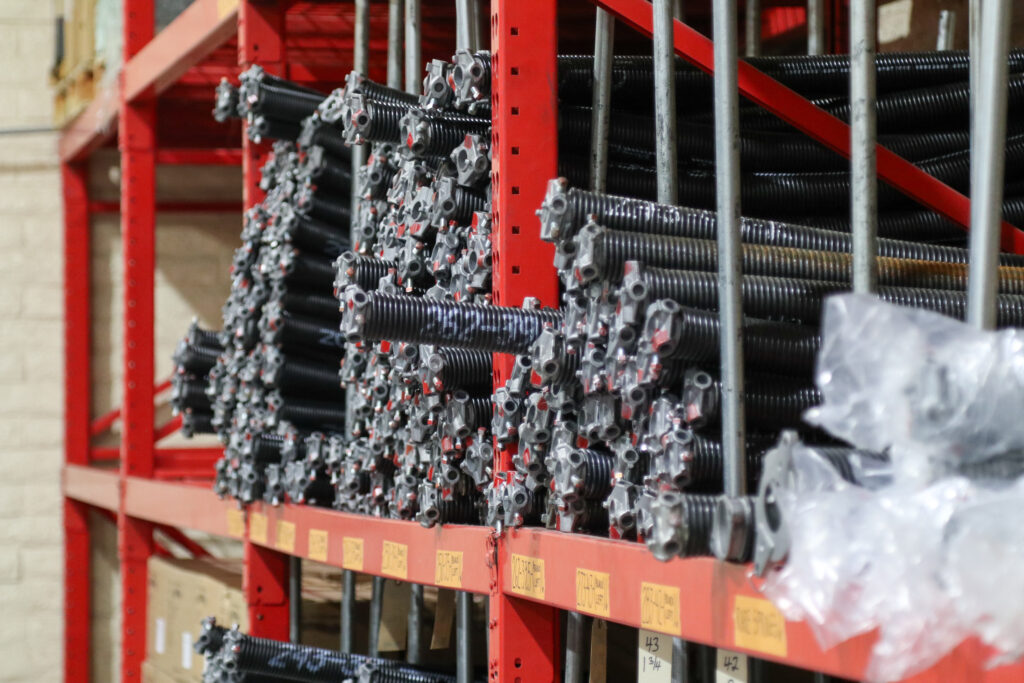
When To Replace Instead of Adjust Your Garage Door Chain
The chain should remain in place for several months to a year after you tighten it. If you notice it sagging or clanging against the rail before then, it’s time to have the chain replaced by one of Garage.com’s licensed garage door pros.
Other signs that indicate that you might need a new chain include visible wear and tear, such as rust or damaged links. We’d also recommend a replacement if it’s past its typical lifespan of 10 to 15 years. If you’re going the DIY route, a new chain will typically cost between $50 and $70. Hiring a professional costs $150 to $400 on average for parts, labor and any service call fees.
Preventing Future Chain Tension Problems
Establishing and sticking to a routine maintenance schedule is the best way to identify and prevent issues with your garage door chain. At a minimum, inspect and lubricate the chain and its components twice per year, ideally at the start of the hot and cold seasons.
Chains can expand and contract in extreme heat or cold. Periodically check the chain’s tension and watch it in action as the door raises and lowers. If it sags or becomes too tight, you may need to make seasonal adjustments depending on your climate.
By keeping a watchful eye on your garage door’s components, you can prevent premature wear and tear and increase the lifespan of your chain.
When To Call a Professional
If you see rust, dented links or other signs that the chain needs to be fully replaced, a professional can do the job quickly and effectively, often with a parts and labor warranty. Adjusting a loose chain is a straightforward fix, but you should contact a professional if you’re at all hesitant about performing the work yourself. Not sure where to start? Garage.com works with a large network of licensed professionals and can put you in touch with someone in your area today.
FAQs About Garage Door Chain Repair
Get Your Free Quote and Schedule Your Garage Repair Today
Find top-rated companies for fast garage repairs and service to make sure your garage door system lasts. Get free quotes from garage door companies in your area.
Tips and Expert Advice for Your Garage
Stay informed with expert advice on garage door maintenance, garage door service, garage door replacement, and upgrades. Explore our blog for guides, troubleshooting tips, and more.