Garage Door Seal: Complete Guide to Types, Benefits and Installation
Protect your garage from the elements and improve energy efficiency with the right garage door seal. This guide covers various types of seals, including garage door weather stripping, bottom seals, and threshold seals, providing installation tips and maintenance advice. Choose the best garage door weather seal replacement to keep out pests, water, and drafts.
By: Kelly Larson | Published: March 28, 2025
Find Garage Door Repair Services
Get a fast & free quote | Schedule your service today
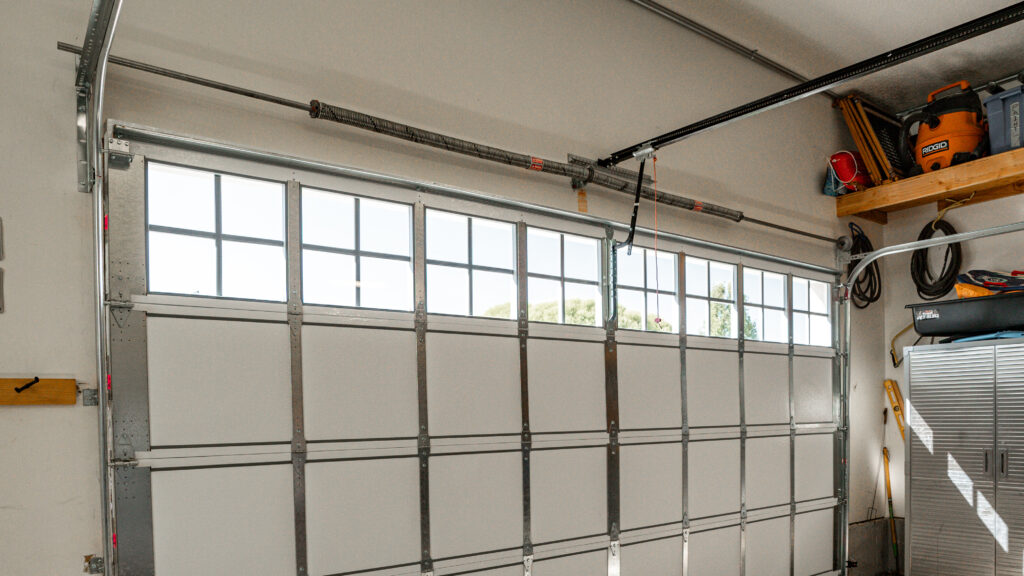
Without garage door seals, your garage is exposed to dust, debris, rain, snow and pests all year long. A properly sealed garage also boosts the energy efficiency of your home and helps keep it at a stable temperature. Installing bottom and perimeter seals is easy and inexpensive whether you hire a professional or do it yourself.
But since this isn’t a one-size-fits-all product, you’ll need to familiarize yourself with the different types of garage doors and seals, their materials and how much they’re going to cost you on average. We’ll unpack these important nuances, plus offer the pros and cons of each seal type.
Types of Garage Door Seals: Which One Do You Need?
Garage door seals can be divided into two core categories: bottom seals and side-and-top seals. There are six main types of bottom seals—t-shape, bulb shape, j-shape, p-shape, brush seals and threshold seals. Side and top seals are available in various materials and form a barrier around the perimeter of the garage door.
Which one is right for you depends on your budget, the surface of your garage floor, the climate you live in, how much you use your garage door, and other considerations.
Bottom Seals
Installing and maintaining a bottom seal is crucial for reducing drafts, increasing energy efficiency and protecting your garage from insects, rodents and the elements. There are several styles at multiple price points, each with different advantages and disadvantages.
| Seal Type | Price Range | Materials | Best For |
|---|---|---|---|
| T-Shape | $1 – $1.75 per sq ft | Vinyl, Rubber, TPE | Level floors |
| Bulb Shape | $1.50 – $3 per sq ft | Vinyl, Rubber, TPE | Uneven floors |
| J-Shape | $3 – $5 per sq ft | Vinyl, Rubber, TPE | Commercial use |
| P-Shape | $1.50 – $2.50 per sq ft | Vinyl, Rubber, TPE | Wind and rain |
| Brush Seal | $5 – $7 per sq ft | Nylon, Polypropylene, Polyester | Commercial use |
| Threshold Seal | $7 – $20 per sq ft | Rubber, Vinyl, Aluminum with rubber insert | Uneven floors |
T-Shape Seals
T-shape seals attach to a single-channel track at the bottom of the garage door, forming a T shape at the top of the stripping. If your garage door doesn’t have a pre-existing track, you can install a t-shape seal with a strong adhesive or by screwing it directly into the bottom of the garage door. They’re durable, inexpensive and a popular choice for homeowners with level garage floors.
Pros
- Durable
- Inexpensive
- Easy to install
Cons
- Less effective on uneven floors
- Can crack over time
Bulb Shaped Seals
Bulb seals have much of the same functionality as t-shape seals, but they’re designed to fill any gaps, holes or uneven surfaces on your garage door floor. They’re made of vinyl, rubber, or thermoplastic elastomer (TPE). On average, they’re only slightly more expensive than T-shape seals.
Pros
- Seals holes and uneven surfaces
- Inexpensive
- Strong, airtight seal
Cons
- Quicker to wear out
J-Shape Seals
Popular in commercial applications due to their excellent durability and effectiveness at keeping dust and debris outside, J-shape seals are workhorses made to stand the test of time.
Pros
- Extremely durable
- Can withstand commercial use
Cons
- May not seal large gaps
- Expensive
P-Shape Seals
Thanks to their closed, p-shaped top, these seals provide an airtight barrier between your garage and the elements. They quietly expand and contract as the door opens and closes and are made of vinyl, rubber or TPE.
Pros
- Airtight seal
- Inexpensive
- Quiet
Cons
- Visible appearance
- Loses flexibility over time
Brush Seals
Brush seals are made of thousands of nylon, polypropylene or polyester bristles that create an iron-clad barrier against dust, debris and pests. But they tend to let in drafts and are most commonly used in commercial settings.
Pros
- Protects well against elements
- Quiet
Cons
- Drafty
- Commercial product
- Bristles wear down over time
Threshold Seals
Unlike the other types of bottom seals, threshold seals attach to the garage floor itself instead of the door. They’re great for uneven or cracked floors since they cover up the affected area. Threshold seals also provide an excellent barrier against rain and snow since they sit just above the surface of the garage floor.
Pros
- Great for cracked or uneven floors
- Excellent rain and snow barrier
Cons
- Tripping hazard
- Damaged by your car over time
- Expensive
Side and Top Seals
Perimeter seals are just as important as bottom seals for protecting your garage. They’re typically made of vinyl, rubber, bristles or foam and can be installed using nails or included adhesive tape. Average prices range from $5 to $50 per 10 to 20 feet. The least expensive seal type is foam tape and the most expensive are brush seals.
Benefits of Installing Quality Garage Door Seals
According to the U.S. Department of Energy, you could save an average of $283 per year by weatherizing your home. Windows and doors are a must, but factoring in your garage door is just as important. In addition to the cost savings you’ll realize, installing quality garage door seals also:
- Prevents water damage and flooding
- Provides comfort in extreme temperatures
- Reduces noise
- Keeps pests and rodents out
- Reduces dust and debris
- Extends the garage door’s lifespan
- Improves security
- Increases air quality
- Protects the contents of your garage
Signs Your Garage Door Seal Needs Replacement
Ignoring signs of garage door seal failure can lead to more costly repairs down the road. Understanding what to look for and quickly addressing the issue can save you time and money in the long run.
Visual indicators of seal degradation include visible cracking, brittleness or tearing. You may also notice that the seal appears flat or has lost its flexibility, making it less effective at sealing gaps. Drafts, utility bill spikes and visible signs of water penetration are also common signs that the seal is no longer doing its job. Pests like rodents and insects will also find it easier to slip through compromised seals.
Routine inspections and proper installation can prevent premature deterioration and maximize the life of your seals. Garage.com can help you get in touch with qualified professionals in your area.
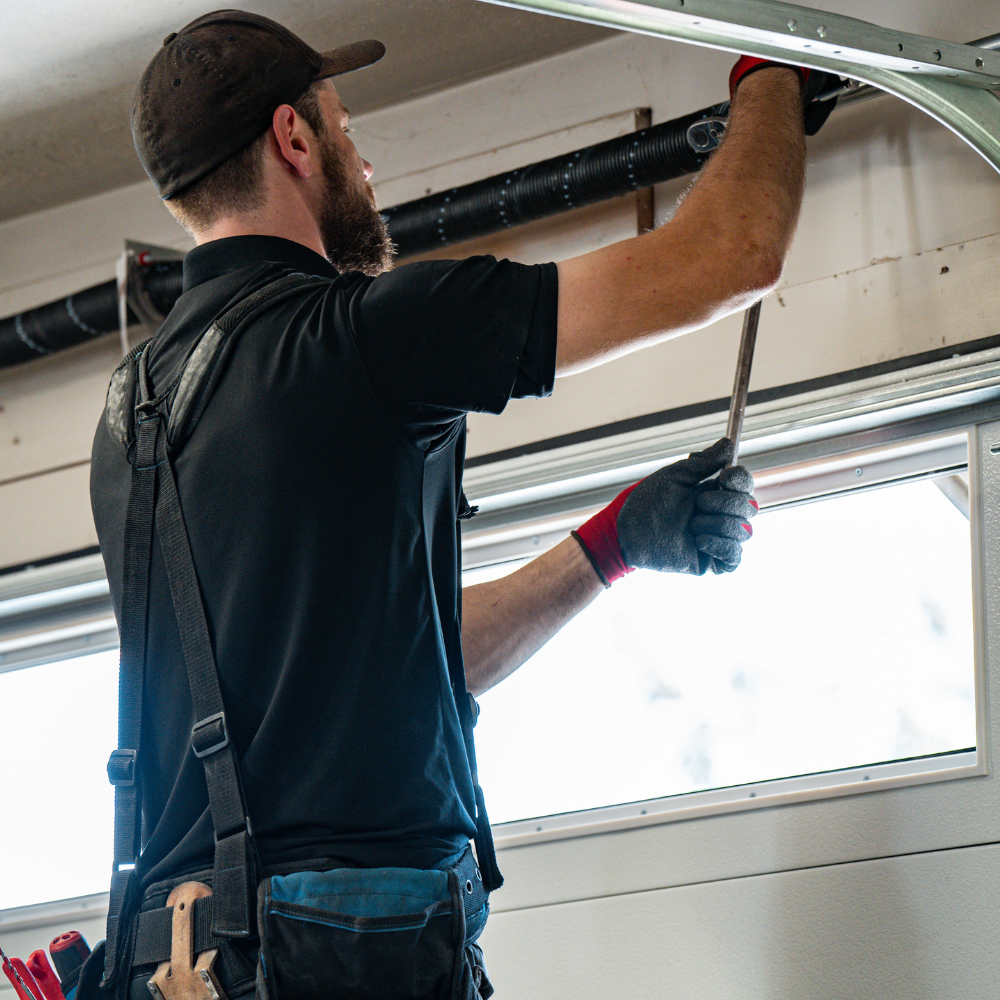
Garage Door Seal Installation: DIY vs. Professional Options
Installing garage door seals yourself is an easier and less expensive undertaking than repairing or replacing more complex components like the springs, doors and opener. But you’ll forfeit any labor warranties offered by professional installers, and any garage repair is a time-consuming project.
Get Expert Advice >>>Garage Door Repair
Benefits and Drawbacks of DIY Installation
Know what you’re signing up for before deciding to go it alone.
Pros
- Budget-friendly: The most common types of garage door seals are inexpensive, and you won’t be paying for labor.
- Customization: Mixing and matching seal types and materials would likely be a parts and labor upcharge if you requested it from a professional. As your own project manager, you can customize your seals as much as you want.
Cons
- No labor warranty: Professional installers often offer warranties on the work they perform. You forfeit that potentially money-saving convenience when you go the DIY route.
- Time-consuming: As with any home improvement project, installing garage doors takes time. Make sure you carve out enough of it to get the job done properly.
- Risk of injury: Though seal installation isn’t as potentially dangerous as installing tightly wound coils, for example, you’re still working with heavy components.
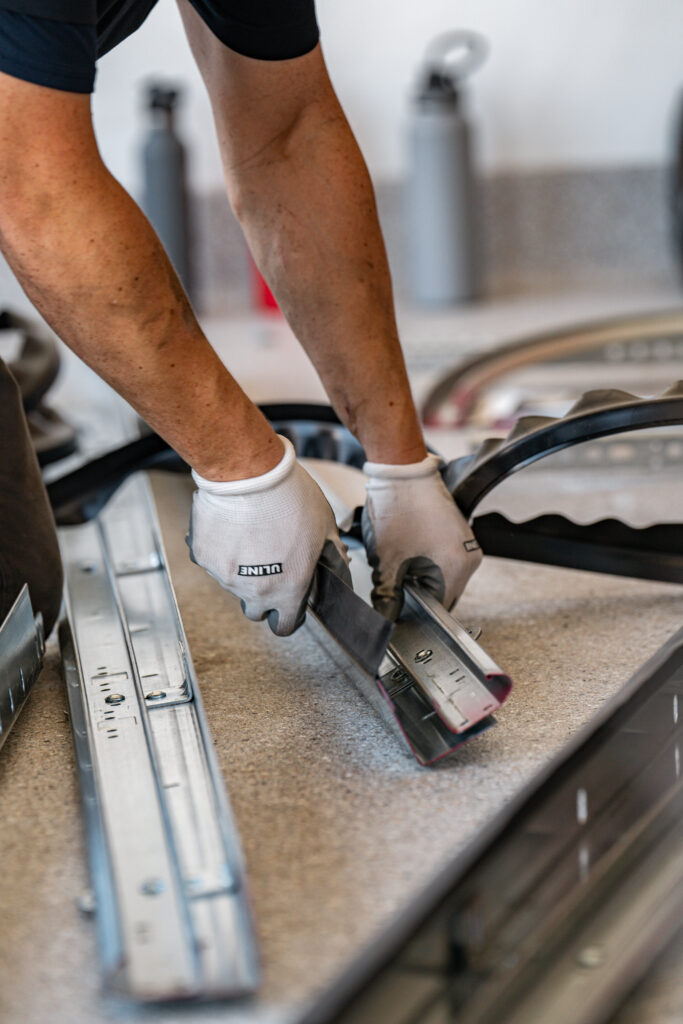
DIY Installation Steps
If you do decide to install the seal or seals yourself, follow these directions after reading all of the manufacturers’ safety and instructional materials.
- Measure the garage door: To know how much material you’ll need, take exact measurements of the top, sides and bottom of your garage door.
- Pick a type of seal and its material: The most common seal types for residential households are t-shape, bulb-shape and threshold seals. Common materials are rubber and vinyl.
- Remove any existing seals and prep the area: Removing an old seal from a track is as simple as sliding it out. Adhesive strips and nails or screws will take a bit more elbow grease. Once that’s done, you’ll want to remove any residual adhesive, nails or screws and clean the area thoroughly before applying the new seals.
- Attach the new seal: Once the application area is clean and free of debris, adhere, nail or slide the seal to the bottom or perimeter of the garage door.
- Test the installation: Open and shut the door multiple times and inspect the seal(s) from multiple angles to check your work.
Benefits and Drawbacks of Professional Installation
There’s no shortage of qualified, licensed, professional installers across the country. Consider the pros and cons of using one before making your decision.
Pros
- Peace of mind: Hiring a professional means you can count on a tight fit and proper installation under the umbrella of warranty and insurance protection.
- Saves time: You’re busy. And even though this is a minor project compared to other garage-related upgrades, it’s still time-consuming. Hiring a pro frees you up to focus on other things.
- Warranty and insurance protection: DIY projects can save you money on labor, but what if something goes wrong after you’re done? Reputable garage door companies offer comprehensive warranties that guarantee the work and parts for a specified period. They also carry insurance to protect you and your property during the installation process.
Cons
- Labor cost: In addition to parts and accessories, you’ll need to shell out for labor fees when you hire a professional.
- Schedule dependency: When you hire an installer, you’re beholden to their schedule and need to make yourself available when they are.
DIY installation is a wallet-friendly option if you’ve got the time and know-how to pull it off. Professionals provide the expertise, efficiency and warranties that guarantee a secure seal for your garage door.
Maintaining Your Garage Door Seals for Maximum Lifespan
Basic seasonal garage maintenance can help keep your garage door seals ticking well into their golden years. Before the change of each season, check for cracks or gaps that might be letting dust, debris, gusts or insects into your garage. Pay particular attention to the seals around the bottom of the door since they’re the most exposed to wear and tear.
Regular cleanings are also important. For rubber and vinyl seals, use a mild soap solution and a soft cloth to remove dirt and debris. Avoid harsh chemicals that can degrade the materials over time. Before winter, apply a silicone-based lubricant to rubber or vinyl seals to prevent them from becoming brittle in the cold. Before the dog days of summer set in, apply a UV protectant spray to prevent UV damage to the seals. A garage door tune-up, either done yourself or by a professional, should also include your seals.
Common Questions About Garage Door Seals
Get Your Free Quote and Schedule Your Garage Repair Today
Find top-rated companies for fast garage repairs and service to make sure your garage door system lasts. Get free quotes from garage door companies in your area.
Tips and Expert Advice for Your Garage
Stay informed with expert advice on garage door maintenance, garage door service, garage door replacement, and upgrades. Explore our blog for guides, troubleshooting tips, and more.