Garage Door Sensors: Safety, Troubleshooting and Maintenance
Garage door sensors are vital for home safety, preventing accidents by stopping the door if an obstruction is detected. This comprehensive guide covers the basics of garage door sensors, their types, troubleshooting tips, and the latest technology, ensuring you understand how these critical safety components work and how to maintain them.
By: Kelly Larson | Published: April 4, 2025
Find Garage Door Repair Services
Get a fast & free quote | Schedule your service today
Garage door sensors are critical for ensuring the safety of your family and the protection of your belongings. Mandated by UL 325 safety standards, garage door safety sensors are a seemingly small part of your garage door system, but they have a big job—protecting you and your loved ones from a 400-pound door.
In this article, we’ll cover the basics of garage door sensors, describe the three main types, provide some troubleshooting tips, and check out the latest tech in the sensor space.
Understanding Garage Door Sensors: What They Are and How They Work
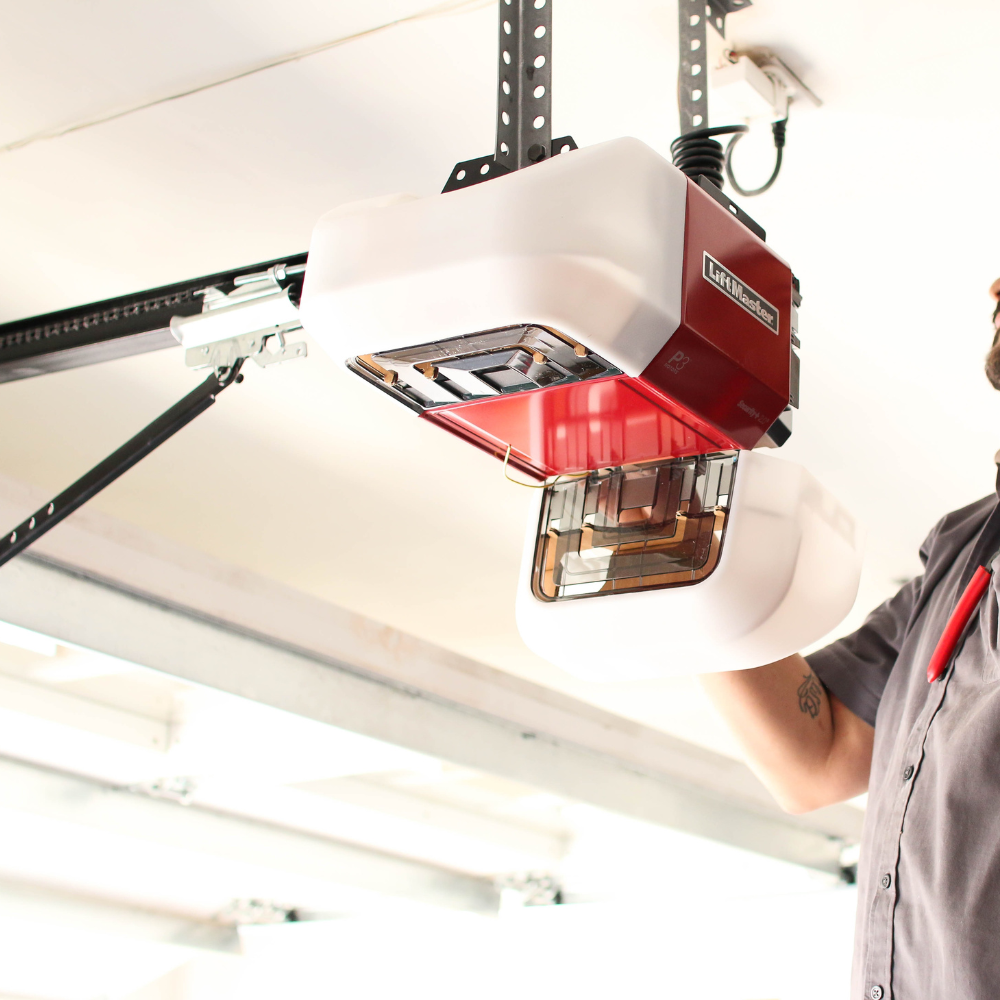
Garage door sensors, often called safety sensors or photo eyes, help prevent accidents by stopping or raising the door if an obstruction is detected. If you’ve ever seen a viral video of someone running out of their garage, jumping across the threshold and slamming their head against the lowering garage door, you have garage door sensors to thank.
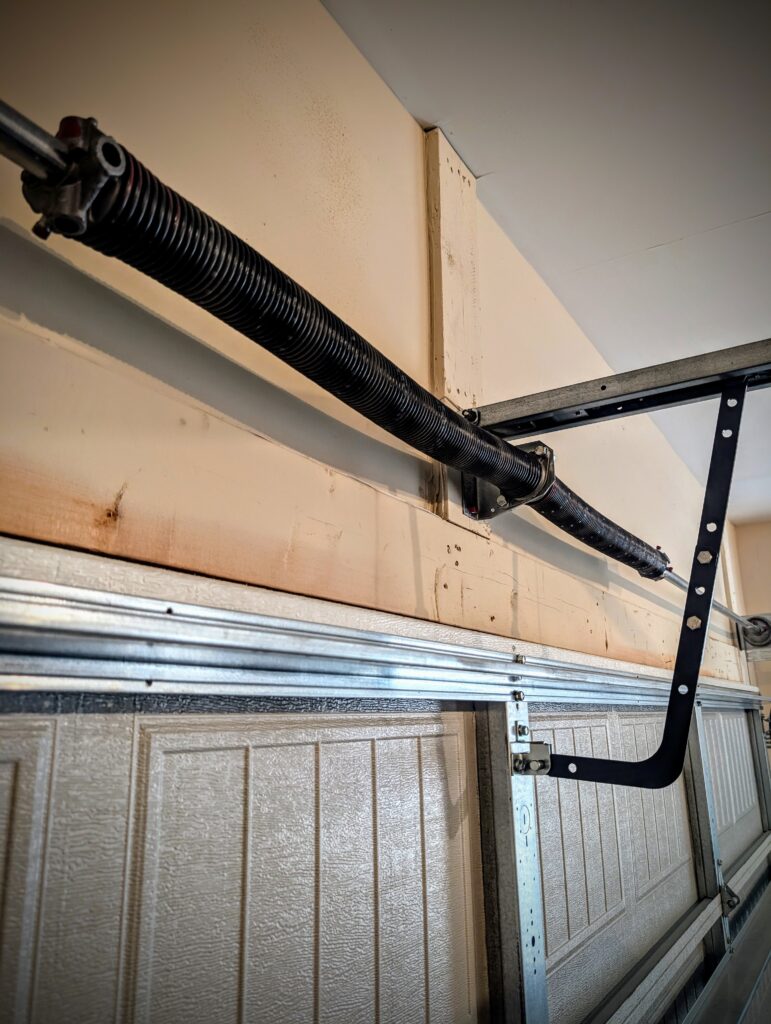
The sensors are mounted a few inches off the ground on either side of the garage door and send a continuous infrared beam between them. When the beam is broken by a person, pet or other obstruction, it sends a signal to reverse the direction of the garage door.
It’s an essential safety feature that became mandatory in 1993 under a rule published by the Consumer Product Safety Commission. The rule resulted in garage door sensors becoming standard in both residential and commercial applications and dramatically reduced injury and death to children and pets.
Types of Garage Door Sensors
There are three main types of garage door sensors: infrared sensors, pressure sensors and carbon dioxide sensors. You’ll also find dozens of smart sensors with advanced features and connectivity.
- Infrared sensors are the most common type. Two units are attached to either side of the garage door. One emits an infrared beam and the other detects it. When the beam is interrupted by even the slightest obstruction, it automatically signals the garage door to reverse.
- Pressure sensors can be used alone but are more often used as a backup to infrared sensors. They attach to the bottom or sides of the door and reverse its course if any amount of resistance (or pressure) is detected.
- Carbon dioxide sensors are also add-ons that some homeowners opt for. The average vehicle emits around 400 grams of CO2 per mile, and it can be deadly if it reaches a certain level in your garage. A CO2 sensor automatically raises the garage door if it detects a dangerous amount of the gas.
Many modern garage door sensors also include smart capabilities that connect with your smart home or to an external app. Among other features, smart sensors allow you to open and close your garage door remotely and send push notifications if it’s open for too long.
Did You Know?
Certain garage door opener brands use proprietary sensors that may not be compatible with other brands’ products. If you’re planning on replacing or installing a new sensor component, make sure it works with your existing opener.
Common Garage Door Sensor Problems and Their Causes
Over time, your garage door sensors can become damaged or show signs of aging, but even newer systems can malfunction. Familiarizing yourself with the manufacturer’s LED lighting indicators can help you pinpoint a problem, but sometimes the issue is more involved.
| Sensor Issue | Potential Causes | Warning Signs |
|---|---|---|
| Misalignment | Someone or something bumped into a sensor and moved it out of position | The door fails to open or close or reverses for no apparent reason |
| Dirty or Obscured Lenses | Anything from dust and spiderwebs to your kid’s fingerprints | No door functionality, no response to obstructions |
| Wiring and Power Issues | Frayed wires, loose connections, faulty outlets, tripped breakers | Loss of functionality, glitchy household electricity when garage door is in use |
| Environmental Factors | Extreme weather conditions, direct sunlight, heavy rain or snow | Poor performance or unresponsiveness during or after weather events |
| Incompatibility | Installing sensors that aren’t from the same manufacturer as the garage door opener | Unresponsive sensors even when first installed |
Diagnosing Garage Door Sensor Issues
If you suspect a problem with your sensors, give them a visual inspection before going any further. Look for signs of misalignment between the two units, remove any spiderwebs, dirt or debris, and inspect the wiring for fraying or loose connections. For an extra troubleshooting layer, use a multimeter or a non-contact voltage tester to make sure the sensors are receiving enough power. Also, take a look at the sensor’s LED lights and read the manufacturer’s guide to find out what each status means.
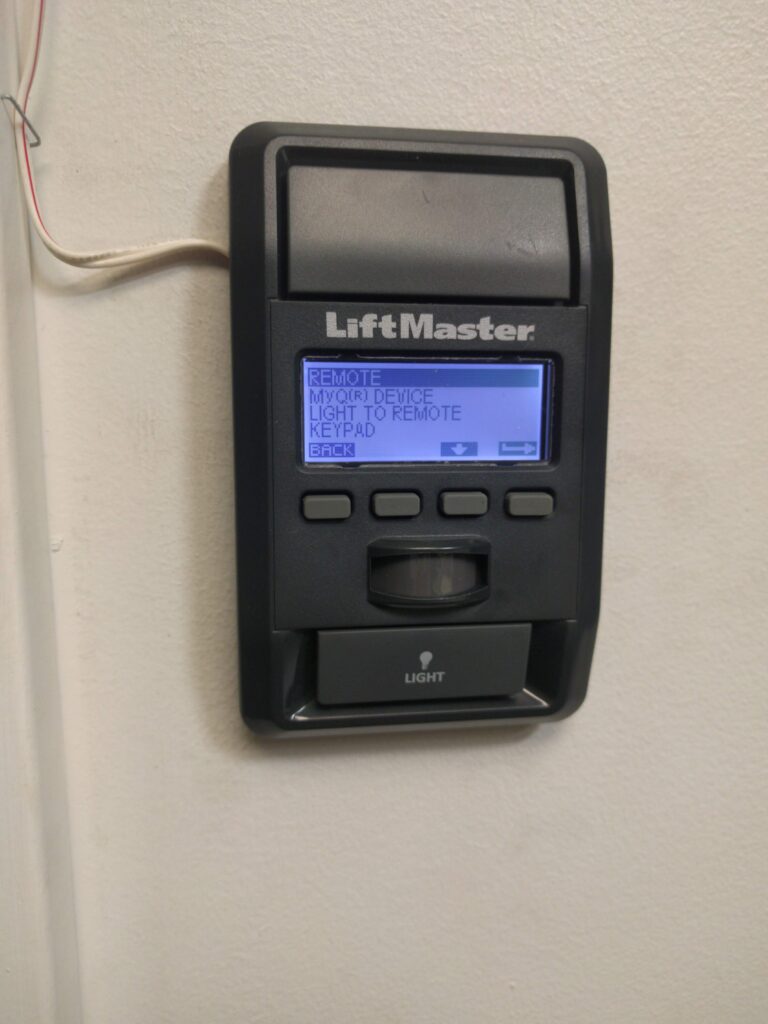
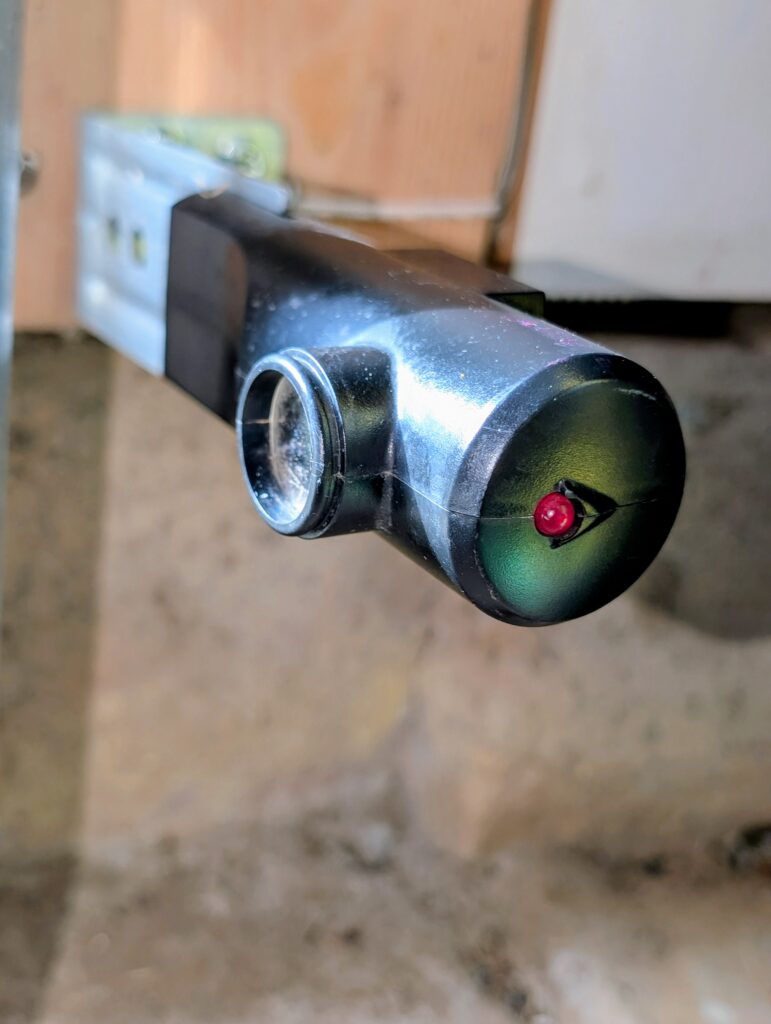
Understanding Sensor LED Indicator Lights
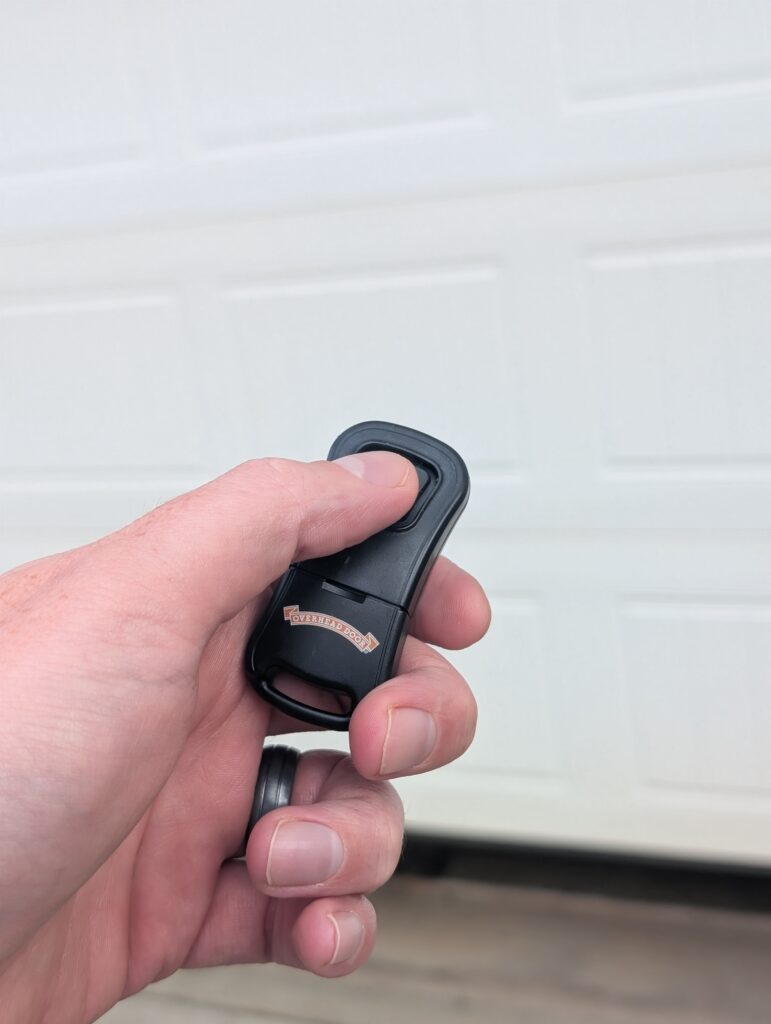
Keeping an eye on your sensor’s LED indicator lights can help you identify an issue before it becomes a bigger problem. Most garage door brands, including Raynor, Overhead Door and Precision Garage Door Service, use the following light patterns and colors to indicate a sensor’s status.
Solid green or amber: Sensors are aligned and functioning properly
Blinking red or amber: Sensors are misaligned, an obstruction is present or wiring is faulty
If the LED lights aren’t working at all, it’s likely indicative of a breaker problem, disconnected wire or other power issue.
Troubleshooting Garage Door Sensor Problems
Once you’ve correctly identified the problem, it’s time to fix it. While there are several steps you can take to resolve some issues on your own, you should contact a licensed electrician or garage door installer if you’re experiencing an electrical problem. After cleaning and realigning the sensors, test the door several times using various obstructions.
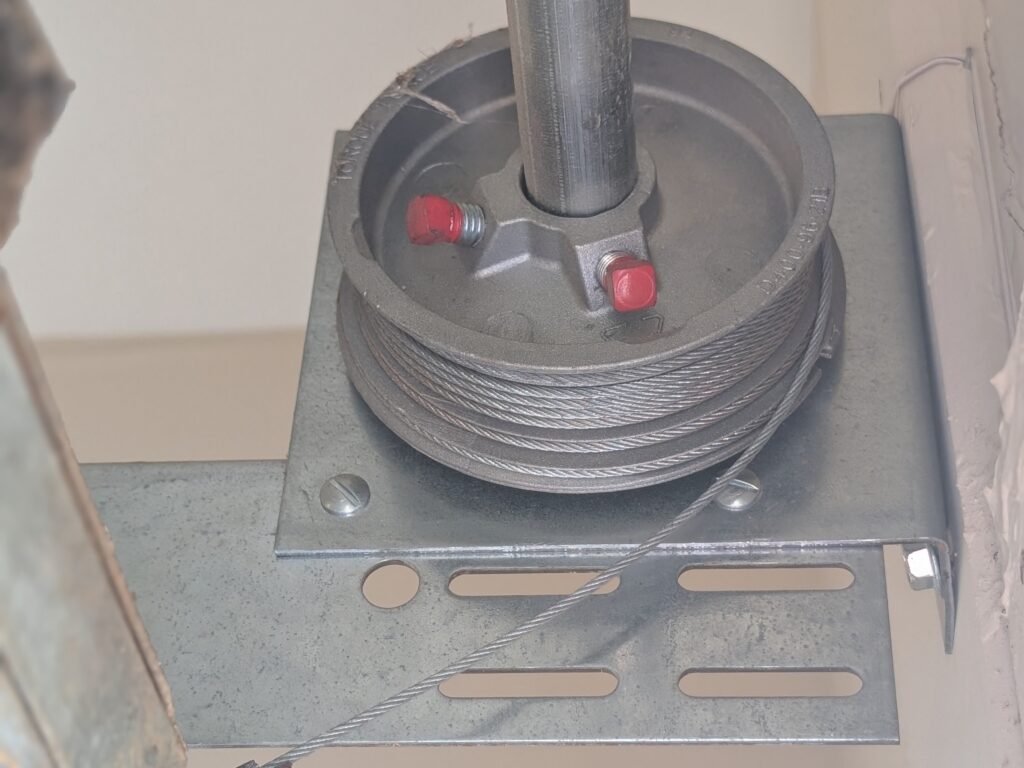
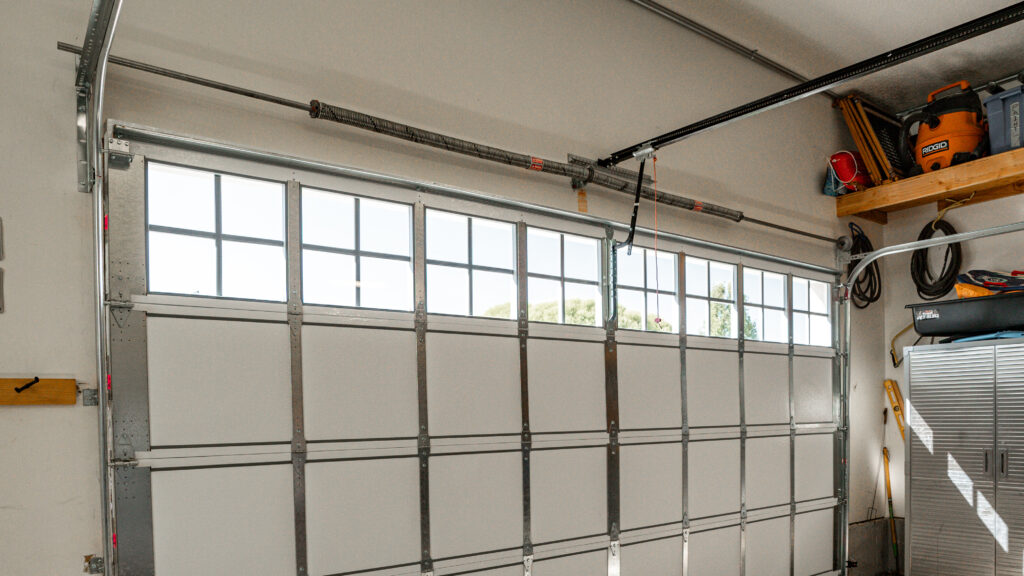
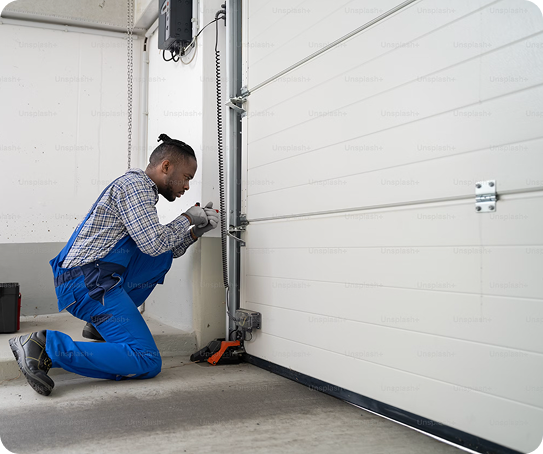
Sensor Alignment Techniques
If the two infrared sensors are misaligned, start by manually adjusting them to see if you can get away with an easy fix. If they’re still not working, use a string or laser level to position them directly across from one another. To raise or lower the bracket that connects the sensor to the vertical track, loosen the screws, reposition it, then tighten them back in place. Test the repair by opening and closing the door with and without an obstruction under it. The LED light should also be solid green if the problem is fixed.
Cleaning and Maintaining Garage Door Sensors
Depending on the season and how much debris tends to accumulate around your property, you should clean your garage door sensors every month or two as a preventative measure, this is often part of routine garage tune-ups. Use a microfiber cloth to gently wipe the lenses. Never use paper towels or other materials that could scratch the surface and interfere with the infrared signal. If needed, dampen the cloth and use a mild soap. You can also use a can of compressed air to remove micro-debris.
Garage Door Sensor Replacement
If you or a professional installer have attempted to fix the sensor and it’s still not working, it’s likely time to replace it. Before purchasing a new set of sensors, make sure the brand you’re buying is compatible with your existing garage door opener.
There are hundreds of sensors to choose from ranging in price based on their functionality and features. Below are a few sample prices for basic infrared sensors from popular brands.
| Brand | Price Range |
|---|---|
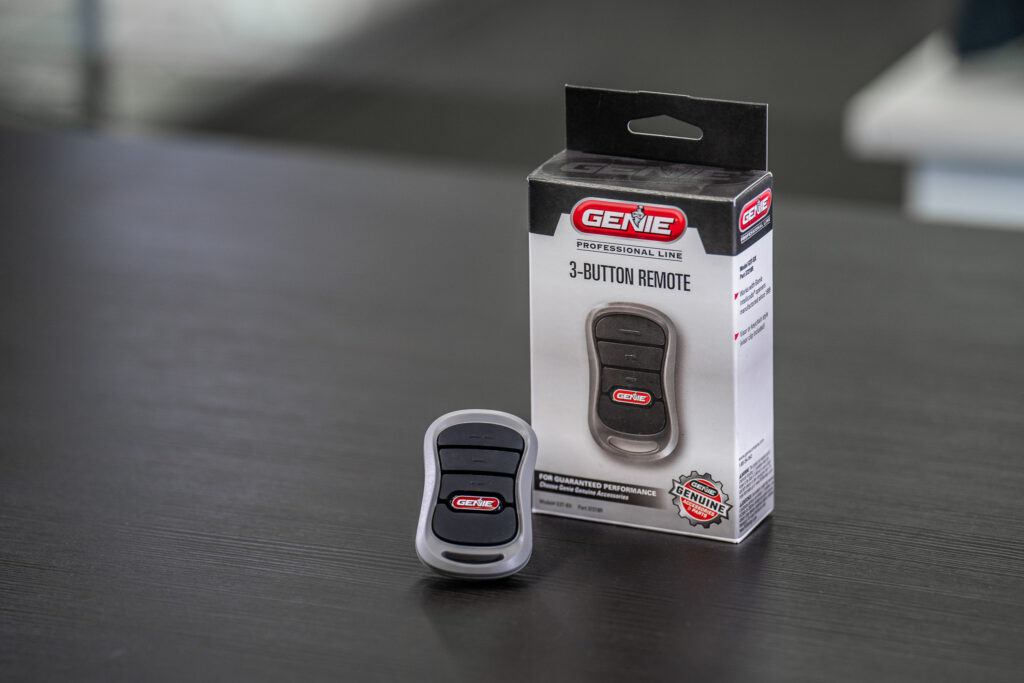
| Genie | $20 – $60 |
| Chamberlain | $15 – $45 |
| LiftMaster | $15 – $40 |
| Craftsman | $40 – $50 |
Professional Installation vs DIY
Compared with some other garage door projects like installing a new door or opener, replacing your garage door sensors is fairly straightforward. On a high level, you’ll need to switch off the breaker that powers your garage door, remove the old sensors, connect the sensor wires to those of the main unit, install and line up the new sensors, restore power and, finally, test them out.
Some of the tools you’ll need for DIY installation are:
- Screwdrivers
- Wire stripper/cutter
- Wire connectors
- Pliers
- Adjustable wrench
- Laser level
- Gloves
- Ladder
If the repair or replacement turns out to be more complicated or involves significant electrical work, the safest route is to contact a garage door professional to get the job done. Garage.com can help put you in touch with qualified installers in your area.
Advanced Garage Door Sensor Technologies
Basic infrared sensors are by far the most cost-effective garage door sensors out there. But if advanced features and connectivity with your home and devices are important to you, you’ll be happy to hear that you’re spoiled for choice.
Some sensors implement AI algorithms that can predict patterns and notify homeowners of any suspicious activity. Others feature voice-control capabilities and connect with platforms like Amazon Alexa, Google Assistant and Apple HomeKit.
Other tech-forward upgrade options include:
- Battery backup systems that keep your sensors functioning during a power outage
- Energy-efficient sensors with low-power modes to help extend battery life
- Wireless sensors for easier installation and low-maintenance repairs
- Integration with your home security system to alert you if there’s an intrusion
Garage Door Sensor Safety and Regulations
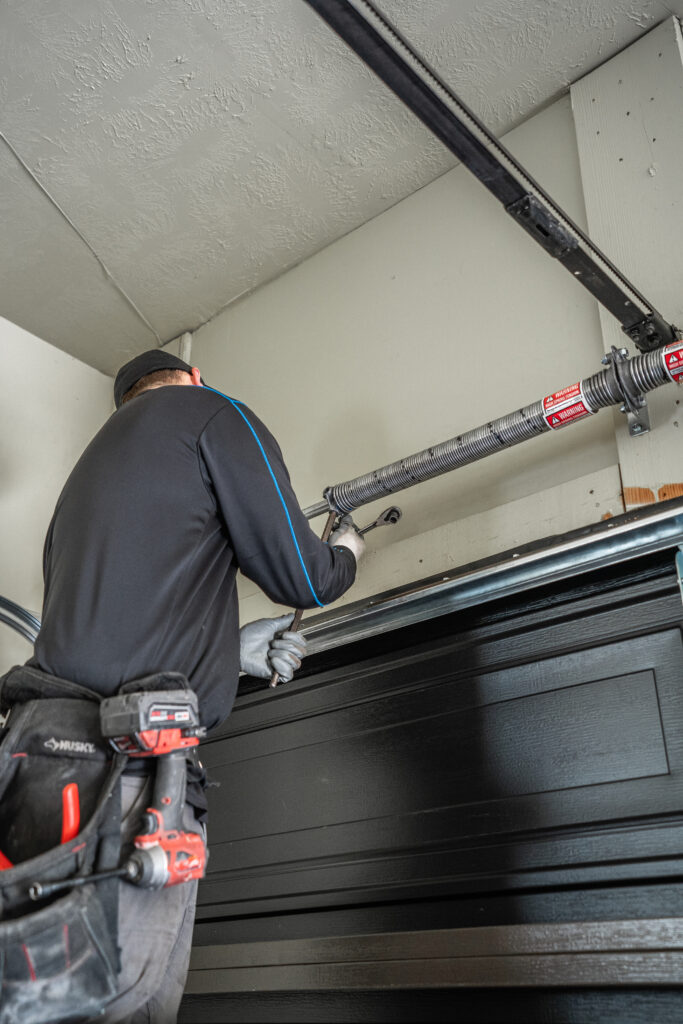
Despite how simplistic they might seem on the surface, garage door systems are intricate and complex. Garage doors weigh hundreds of pounds and are capable of causing injury or even death if not installed and maintained properly.
The Consumer Product Safety Commission created a rule that all automatic residential garage door openers comply with the safety requirements outlined in UL 325, “Safety for Door, Drapery, Gate, Louver, and Window Operators and Systems.” Put another way, all modern garage door systems need to have safety sensors installed.
Tampering with or disabling garage door sensors violates federal regulations and increases the risk of injury or death if the system malfunctions.
Common Questions About Garage Door Sensors
Get Your Free Quote and Schedule Your Garage Repair Today
Find top-rated companies for fast garage repairs and service to make sure your garage door system lasts. Get free quotes from garage door companies in your area.
Tips and Expert Advice for Your Garage
Stay informed with expert advice on garage door maintenance, garage door service, garage door replacement, and upgrades. Explore our blog for guides, troubleshooting tips, and more.