How to Reset Your Garage Door Opener
Garage door opener not working? This guide provides step-by-step instructions to reset and reprogram openers from top brands, helping you troubleshoot issues and regain garage access.
By: Abby Drexler | Published: March 26, 2026
Find Garage Door Repair Services
Get a fast & free quote | Schedule your service today
If your garage door opener isn’t responding the way it should, resetting it is usually the easiest place to start. It clears out old remotes and connections so you can reconnect everything cleanly.
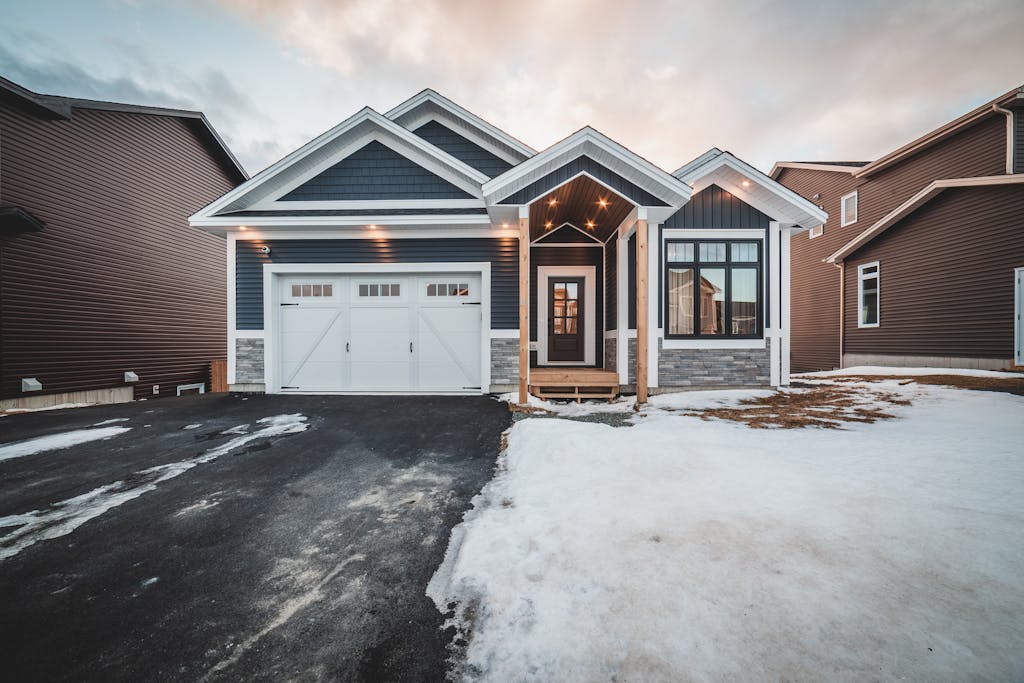
This is especially helpful if you’ve moved into a new home, lost a remote, or your opener is acting inconsistent. If you’re dealing with older equipment or ongoing issues, it may also be worth looking into newer garage door openers to see what’s changed.
Quick Steps to Reset Your Garage Door Opener
In most cases, resetting your opener looks like this:
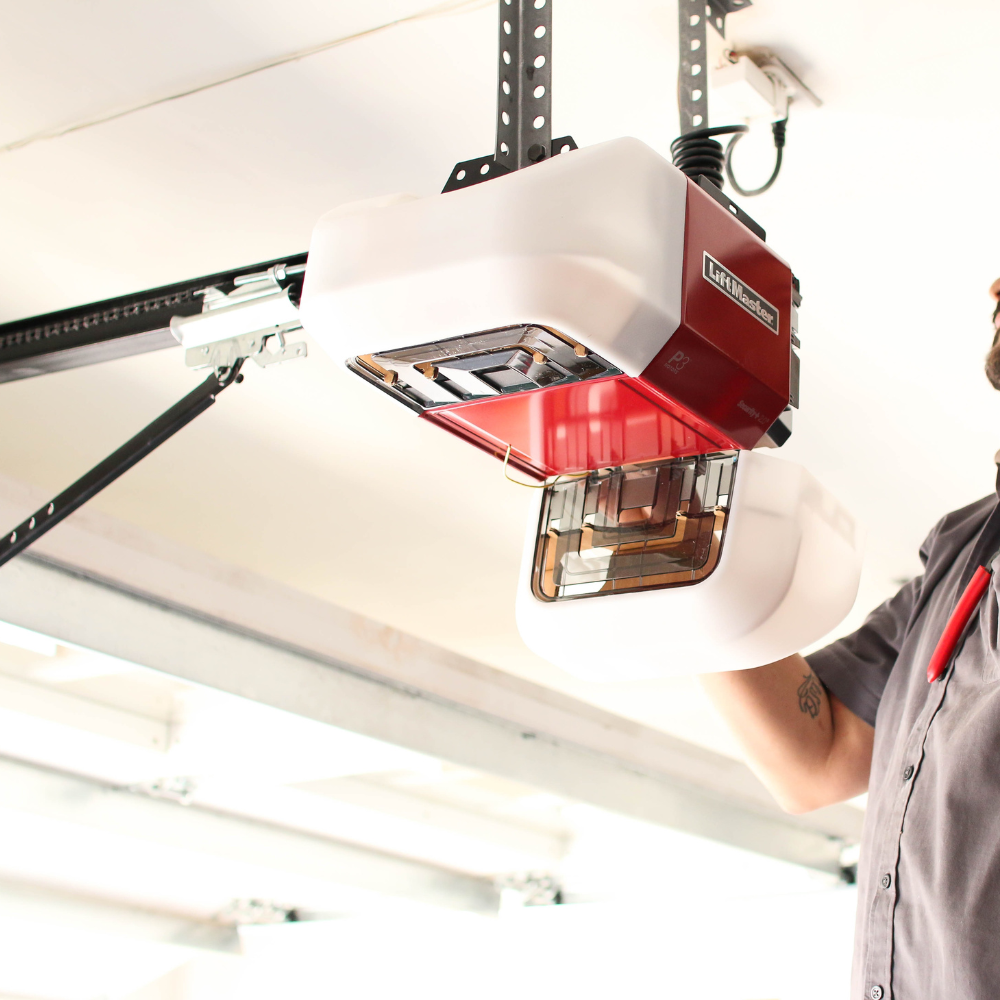
- Locate the Learn or Program button: Usually on the side or back of the opener unit
- Hold it for 6–10 seconds: The small light next to it will turn off or start blinking
- Press it again: This puts the opener in pairing mode
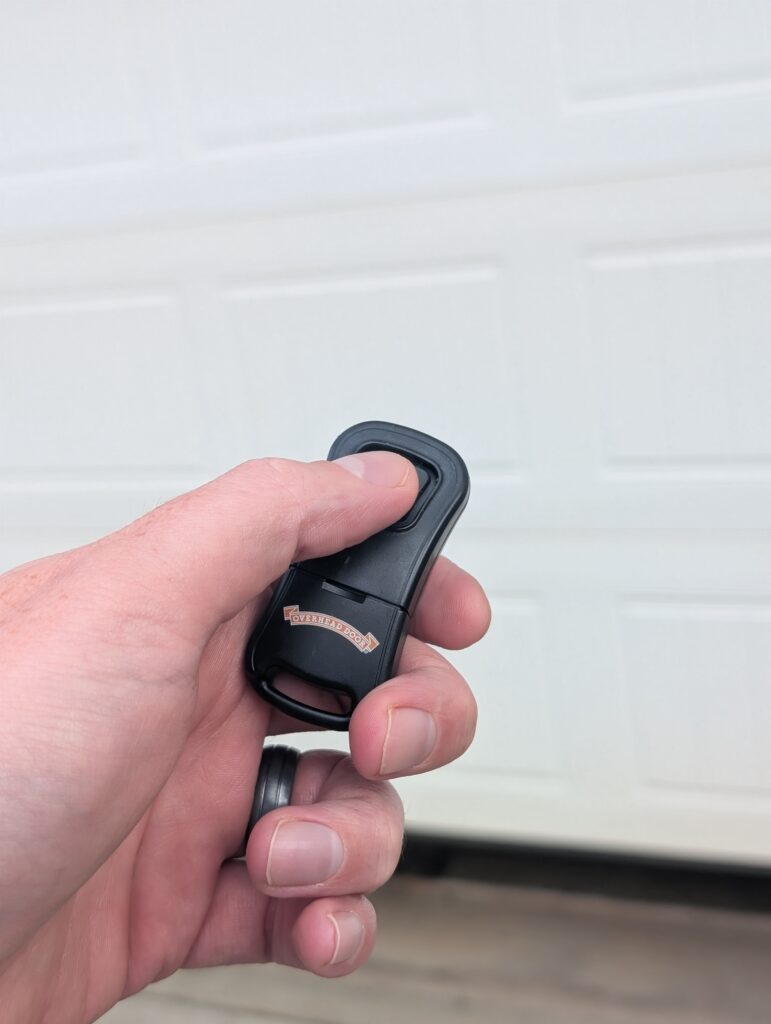
- Press your remote within 30 seconds: The opener will confirm the connection
If your remote stops working after clearing memory, the reset worked.
Before You Reset
Resetting your opener clears all remotes, keypads, and vehicle connections. That means you’ll need to reprogram everything once you’re done.
Before jumping into it, make sure the area around your garage is clear, and you have all remotes nearby, so you’re not rushing through the pairing window. It’s also worth checking a few simple things first. A lot of the time, the opener isn’t the actual problem. Common causes include:
- Dead or weak remote batteries
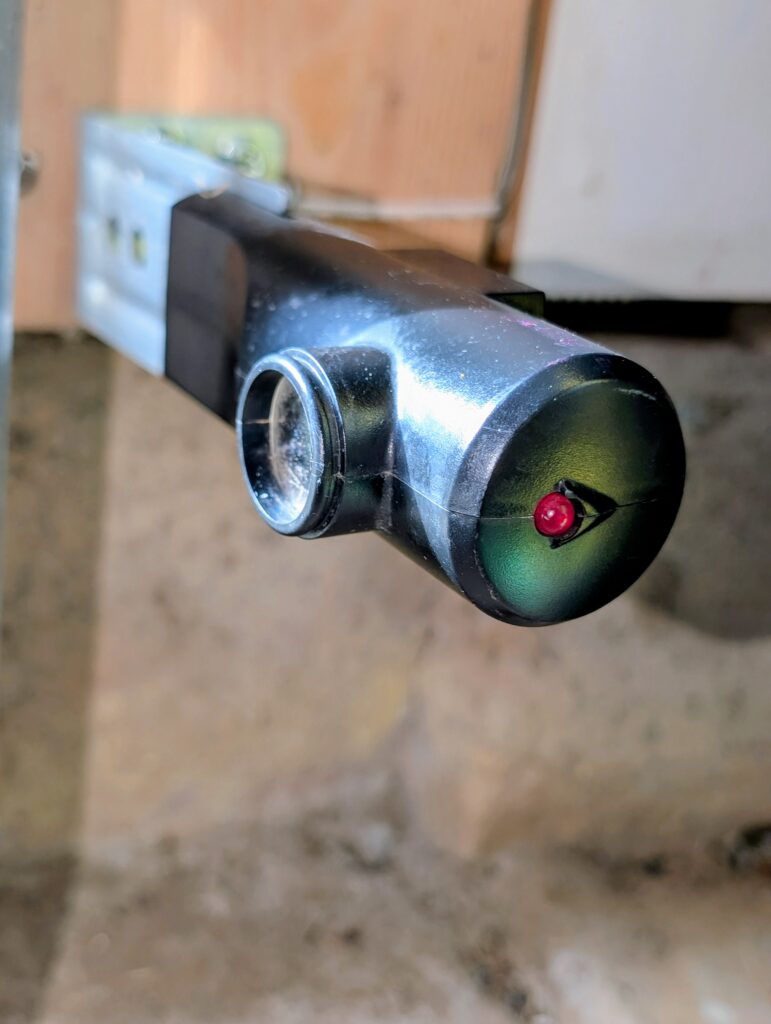
- Misaligned or blocked safety sensors
- Power interruptions or unplugged units
If your remote is damaged or unreliable, replacing it can sometimes resolve the issue without a full reset.
How to Reset and Reprogram Your Garage Door Opener
Once you’ve reset your opener, you’ll need to reconnect everything. Here’s how the full process works:
- Locate your opener model: Check the back or side of the unit for the manufacturer and model number. If you don’t have the manual, you can usually find it online.
- Find the Learn or Program button: This is typically on the side or back of the opener. On older units, it may be behind the light cover.
- Clear the opener memory: Press and hold the Learn or Program button until the indicator light changes (turns off or starts blinking).
- Enter pairing mode: Press the Learn button again. You’ll have about 30 seconds to reconnect devices.
- Reprogram your remote: Press your remote button until the opener light flashes or you hear a click confirming the connection.
- Test the system: Open and close the garage door a few times to ensure everything is working properly.
Common Mistakes When Resetting a Garage Door Opener
The process is straightforward, but there are a few things that can trip people up:
- Holding the Learn button too long and wiping everything without reprogramming
- Missing the 30-second pairing window
- Skipping battery replacement before assuming something is wrong
- Expecting a reset to fix sensor or power issues
Taking a minute to go through it carefully usually avoids extra troubleshooting.
Resetting Remote Controls, Keypads, and Vehicle Systems
Once the opener is reset, everything needs to be paired again.
For remotes, press the Learn button to enter pairing mode, then press the remote button until the opener confirms the connection. Some systems require multiple presses, while others only need one.
For wireless keypads, press the Learn or Program button, then enter your new PIN within the pairing window and confirm it. After that, test the keypad to make sure it works.
For vehicle systems like HomeLink, hold the outer buttons in your car until the indicator light flashes. Then press the Learn button on your opener and return to your vehicle to complete pairing within the time window.
Resetting Smart Garage Door Openers
Smart openers work a little differently since they connect to Wi-Fi and a mobile app. In most cases, resetting involves holding the reset button long enough to clear stored devices, then reconnecting the opener through the app. After that, you can reprogram remotes and other controls.
If the opener still won’t reconnect, it’s often not the opener itself. A weak or inconsistent Wi-Fi signal in the garage is a common issue, so it’s worth checking that before digging deeper.
How to Reset Garage Door Openers by Brand
Most systems follow the same basic process, but there are a few differences depending on the manufacturer.
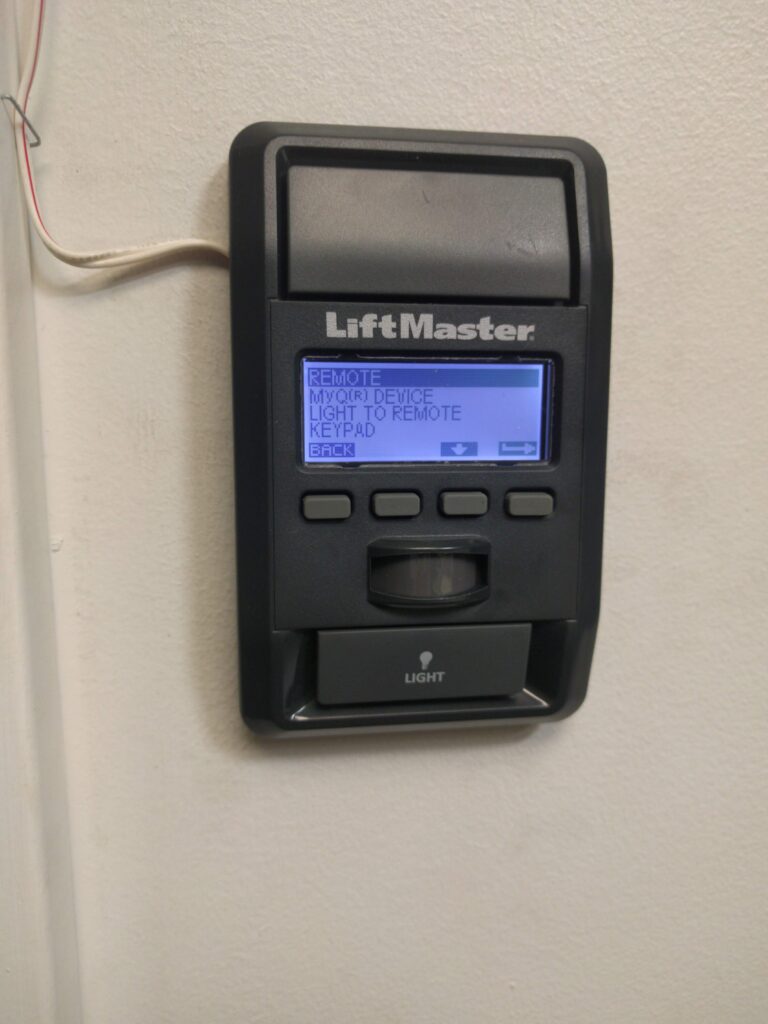
- LiftMaster and Chamberlain: Use a color-coded Learn button (yellow, red, or purple). Hold it to clear memory, then press it again to enter pairing mode and reconnect your remote.
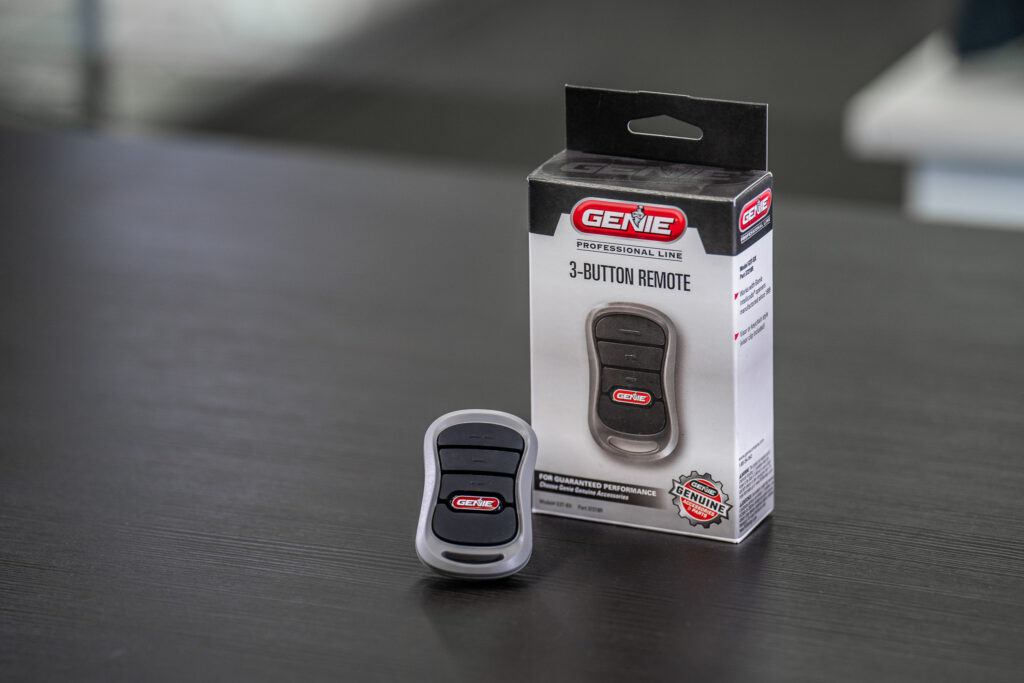
- Genie: Uses a Program or Set button instead of Learn. Hold it until the LED turns on or starts flashing, then press your remote to pair it.
- Craftsman: Some models use a Learn button, while older ones rely on dip switches. If you have dip switches, they need to match exactly between the opener and remote.
- Older openers: Use dip switches only. Resetting means matching the switch positions exactly.
When to Reset Your Garage Door Opener
Resetting is usually the right move in situations like:
- Moving into a new home
- Losing a remote or keypad
- Adding or removing remotes
- Noticing inconsistent or unreliable operation
If you’re not sure who has access to your opener, resetting it helps ensure only your current devices are connected.
What to Do If a Reset Doesn’t Fix the Problem
If your garage door opener still isn’t working after a reset, the issue usually isn’t related to programming. In many cases, it comes down to something else:
- Misaligned or blocked safety sensors
- Dead or weak remote batteries
- Power supply or wiring issues
- Worn internal components or circuit board problems
- Connectivity issues on smart systems
If your system is older or keeps experiencing issues, it may make more sense to upgrade your opener rather than continue troubleshooting.
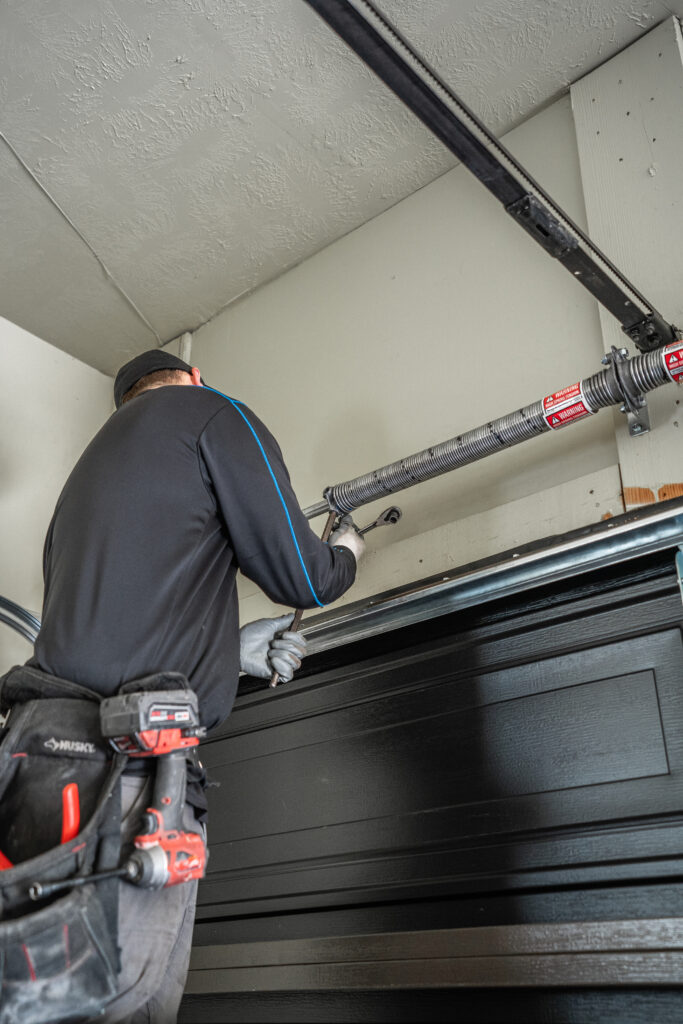
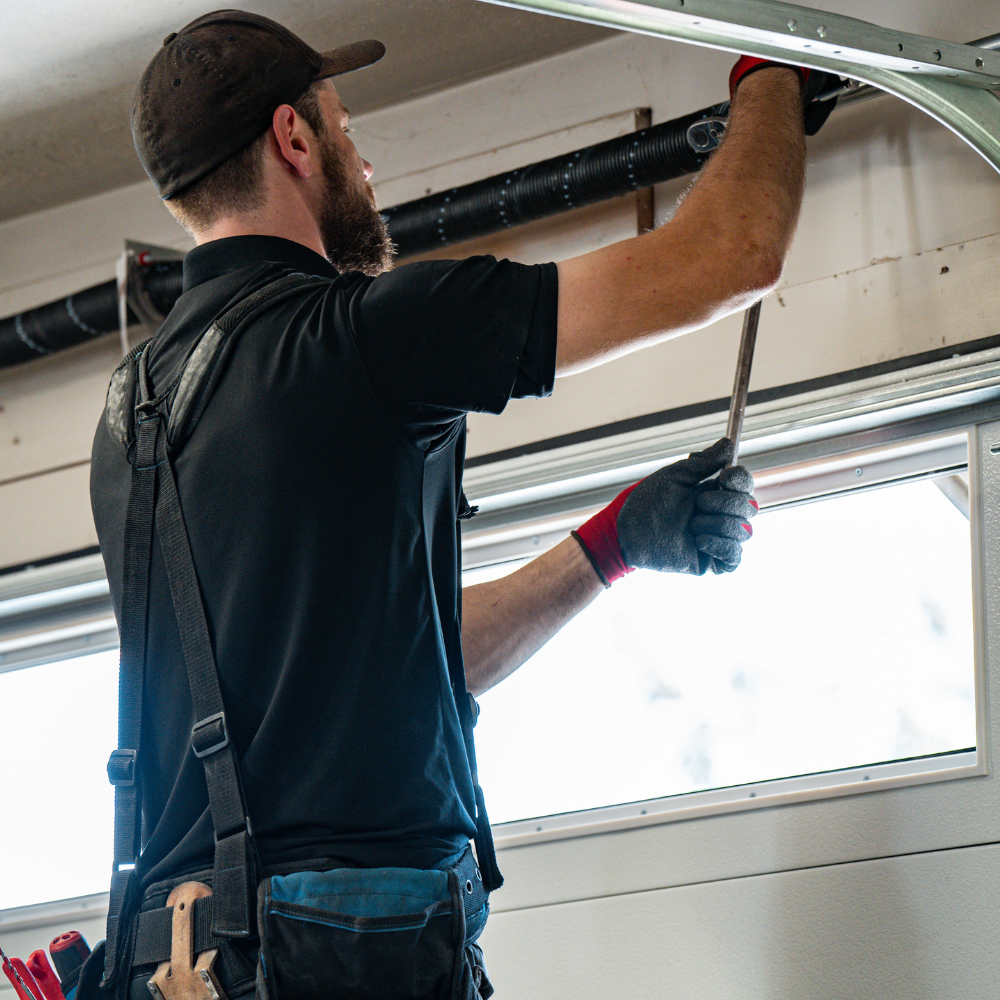
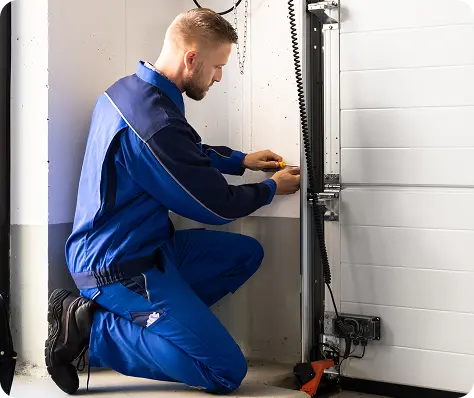
When to Call a Professional
A reset can fix many common issues, but it won’t solve everything.
If your garage door is opening unevenly, making unusual noises, or still not responding after a reset, it’s probably time to have it looked at. A technician can diagnose the issue and make sure everything is working safely.
Garage Door Opener Reset FAQs
Get Your Free Quote and Schedule Your Garage Repair Today
Find top-rated companies for fast garage repairs and service to make sure your garage door system lasts. Get free quotes from garage door companies in your area.
Tips and Expert Advice for Your Garage
Stay informed with expert advice on garage door maintenance, garage door service, garage door replacement, and upgrades. Explore our blog for guides, troubleshooting tips, and more.