How To Align Garage Door Sensors
Want to make sure your garage door sensors are working right? It’s all about alignment! Just set them 4-6 inches off the ground and adjust them until both sensor lights show a steady color – that means they’re talking to each other. This guide will show you how to troubleshoot, maintain, and get those sensors in tip-top shape, quick and easy.
By: Kelly Larson | Published: April 29, 2025
Find Garage Door Repair Services
Get a fast & free quote | Schedule your service today
Garage door sensors play a crucial role in ensuring the safety and security of the people and pets in your household. Without them, there’s nothing stopping your garage door from closing on someone or something. Ensuring proper garage door sensor alignment will keep your system running smoothly, and it’s a simple, routine maintenance, process that can be performed in less than 30 minutes.
Tools and Preparation for Sensor Alignment
You’ll need to check a few boxes before aligning your garage door safety sensors. As a safety measure, disconnect the garage door system from its power source before doing anything else. From there, gather these tools:
- Screwdriver
- Level
- Laser level or string
- Measuring tape
- Gloves
- Safety glasses
- Flashlight
- Microfiber towel
From there, put on your gloves and safety glasses and perform a visual inspection of the sensors and their wires. Remove any dust, debris or smudges from the lenses with a microfiber towel, make sure the wires aren’t cracked or disconnected and check for any obvious obstructions. After you’ve determined the sensors are in good shape, it’s time to begin the alignment process.
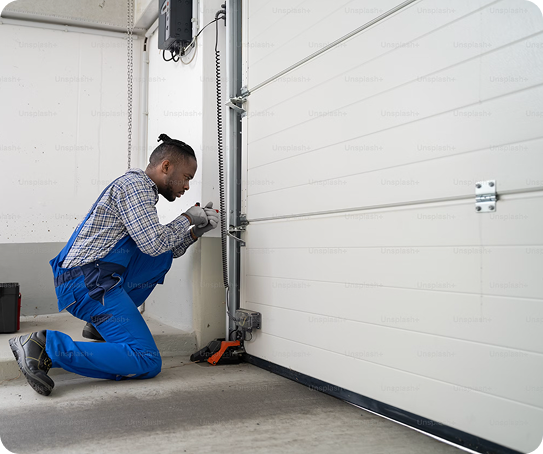
Step-by-Step Guide to Aligning Garage Door Sensors
Aligning your safety sensors is one of the easiest DIY garage door projects to perform, but it takes precision and attention to detail. Follow these 5 steps to ensure a smooth process:
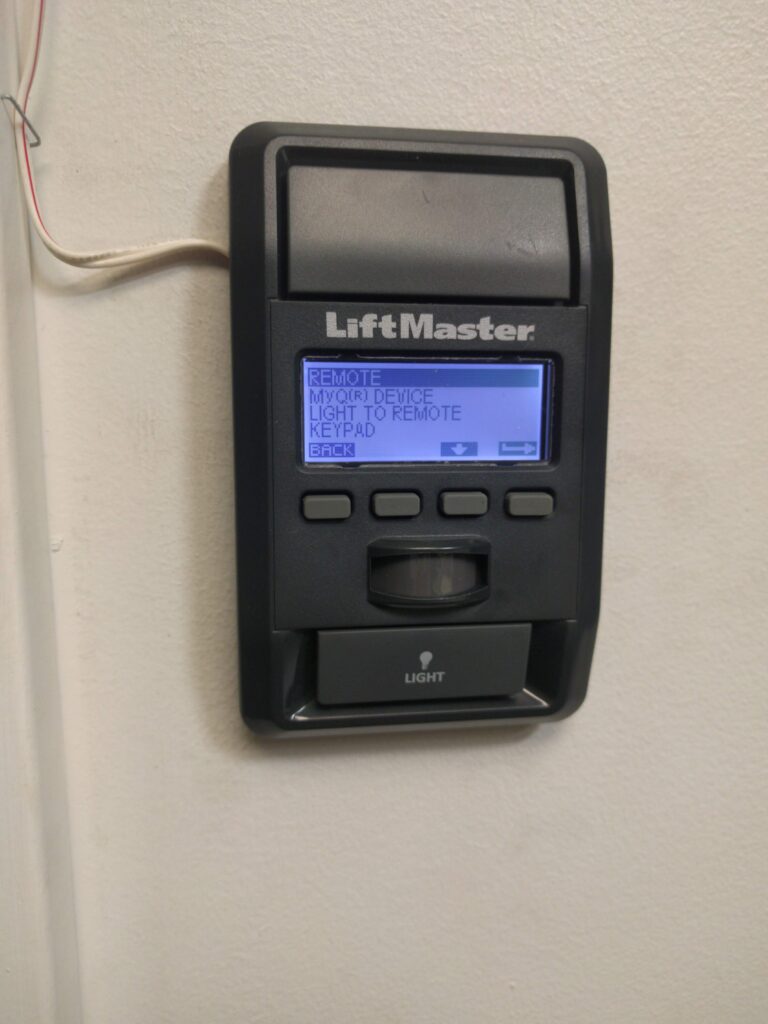
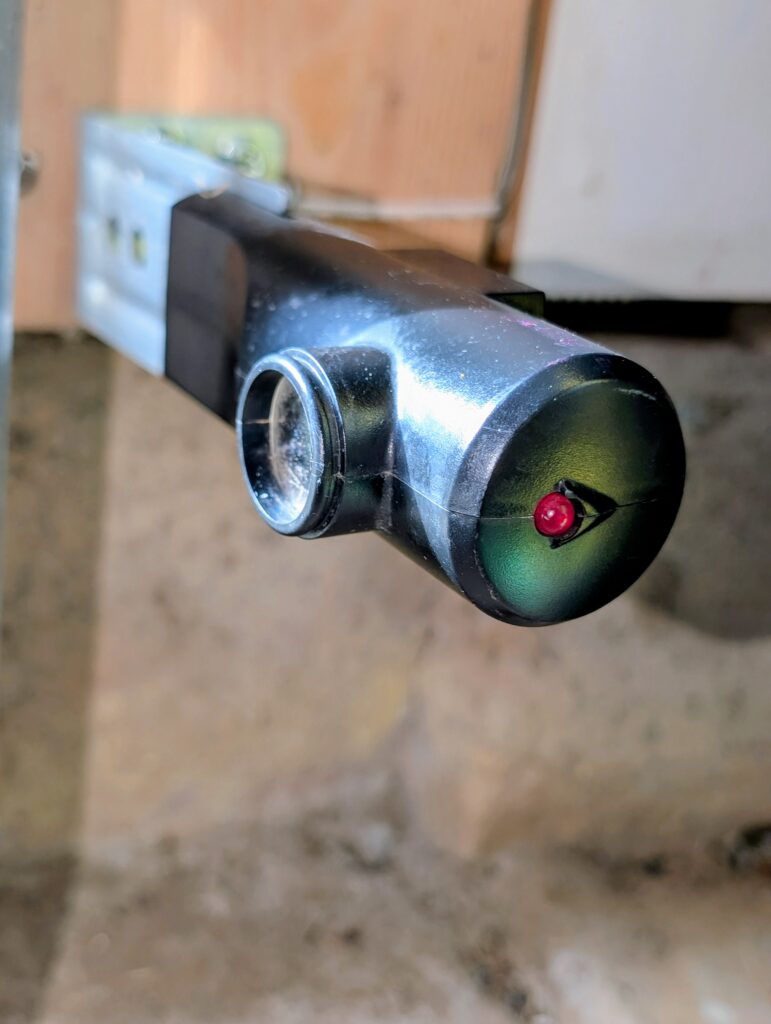
Step 1: Get To Know Your Status-Indicator Lights
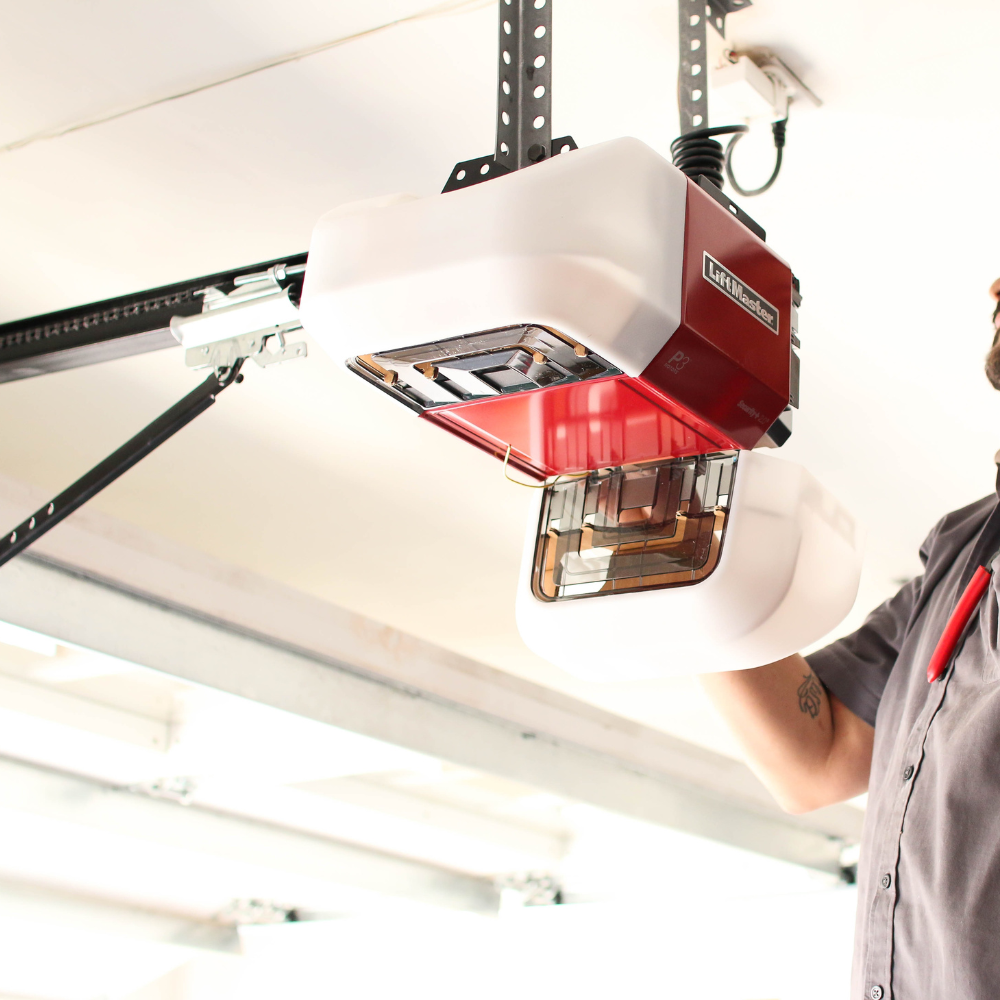
Each of your garage door safety sensors is equipped with tiny LED lights responsible for letting you know if the system is functioning properly. Major brands like LiftMaster, Chamberlain and Craftsman display a solid yellow light on the sending sensor and a solid green light on the receiving sensor if they’re aligned correctly. Some brands, however, have two green lights, two red lights or other variations, so check your owner’s manual for information on your specific unit. If one of the two lights is blinking, it’s typically indicative of misalignment or an obstruction.
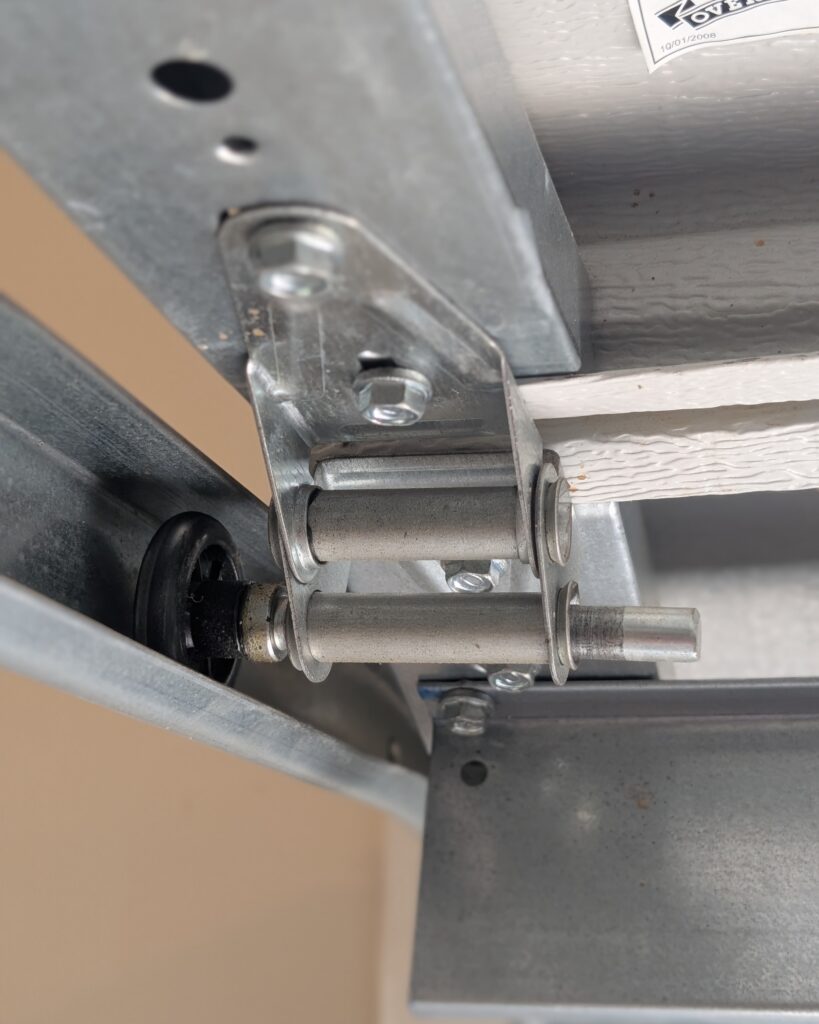
Step 2: Check Your Mounting Brackets
Before making any actual adjustments to the sensors, check the mounting brackets and hardware for any damage or signs of weakening. Make sure they’re firmly attached to the vertical tracks by tightening any loose screws or hardware.
Step 3: Measure and Adjust the Sensor Height
In order to respond to both big and small obstructions, your sensors should be placed 4 to 6 inches off the ground. Loosen the wing nuts and raise or lower both sensors to the same precise height using a measuring tape and a level. You can also use a laser level or piece of string to make sure they’re positioned at the same height.
Step 4: Align the Sensors Horizontally
In order to function properly, the sending signal needs to be positioned directly across from the receiving signal. Failure to align the sensors sends the infrared beam into a void instead of triggering the reversal of the garage door. To avoid this, simply adjust the position of the sensors until both LED lights are a solid color.
Step 5: Tighten the Screws and Test the System
Once the sensors are at the correct height and facing each other, tighten the bracket screws and give them a final onceover to make sure both lights are still a solid color. Test your work by opening and closing the door while breaking the infrared beam with various obstructions, including your feet and hands. Rinse and repeat until you’re confident the sensors are working perfectly.
Troubleshooting Common Sensor Alignment Issues
If your sensors aren’t working, all it typically takes is a quick and easy tweak to get things functioning properly again. If either LED light is blinking, make sure the sensors are directly facing each other, then check for any obstructions. Make a regular practice out of cleaning the lenses, checking for loose or damages wires and making sure the brackets and hardware are securely attached. Though rare, interference from direct sunlight can also keep your sensors from working. If this happens, try repositioning them or installing sun shields. Still not working? Garage.com will help you find a professional in your area to perform a diagnostic test and fix the issue.
Advanced Sensor Issues Beyond Alignment
Alignment issues are the most common reasons for garage door sensors failing to work, but it’s not always that cut and dry. A few examples of common issues that are more involved include:
- Electrical problems: If the sensors’ LED lights aren’t working, the circuit breaker keeps tripping or the wires are frayed and damaged, you might be dealing with an electrical issue. To ensure the safety of your home and family, contact a licensed electrician to identify and address the problem.
- Old or damaged unit: Unfortunately, garage door sensors aren’t designed to last forever. Over time, their components will fail and they may succumb to external damage or wear and tear from the elements. A garage door professional can help you troubleshoot any issues, but sometimes the only option is replacement.
- Compatibility issues: If you’ve recently installed a new garage door opener but didn’t replace the safety sensors, the two systems may not be compatible. Check your owners manuals for compatibility before switching out any components.
If you’re experience persistent issues or your sensors are nearing the end of their functional life, upgrading to newer sensor technology is the way to go.
Preventative Maintenance for Garage Door Sensors
Before each season (or at least twice per year if you live in an area with a stable climate) we recommend a garage door tune-up. For your sensor alignment, remove any dirt and debris from the sensors with a microfiber towel or compressed air. Check the alignment and look for signs of wear and tear to the wires, screws and hardware. Establishing a routine maintenance schedule and sticking to it will increase the lifespan and overall performance of your garage door sensors.
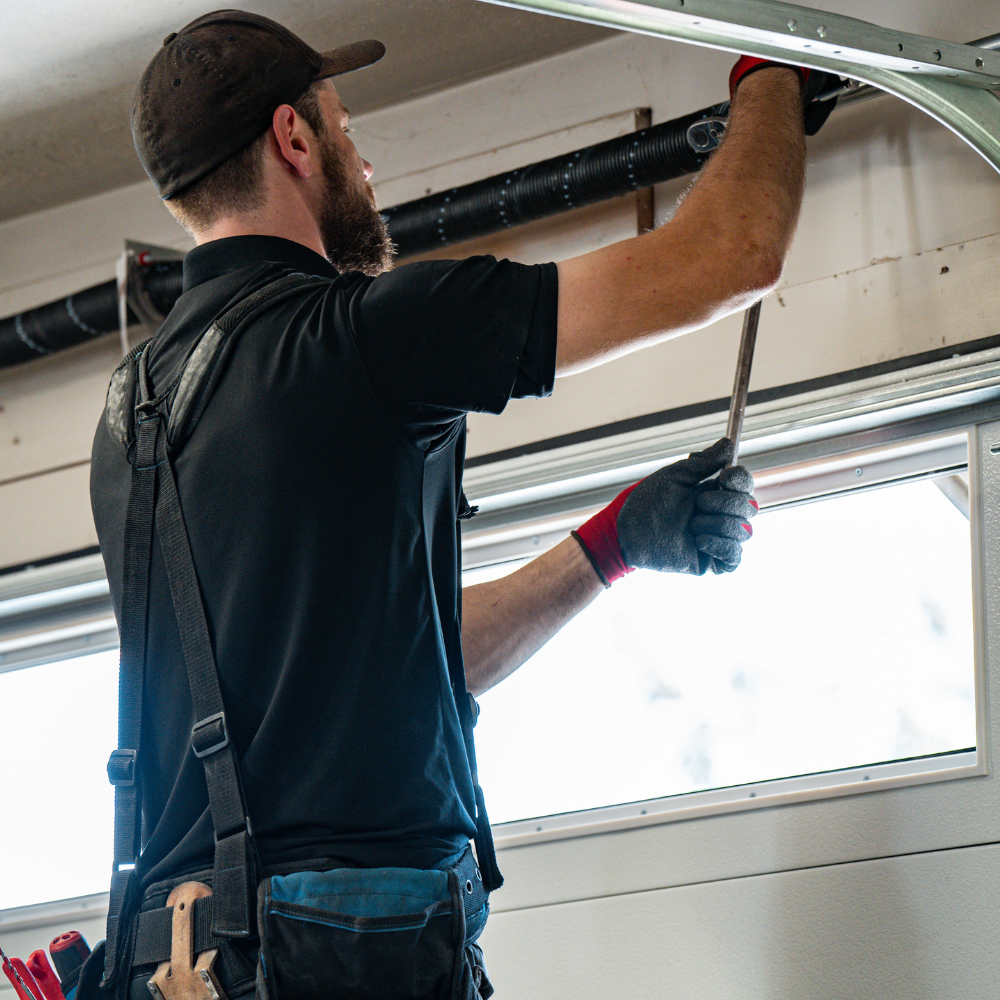
When To Call a Professional for Sensor Alignment
Don’t take on any DIY project that you’re not comfortable with or qualified to perform. If safety is even a question—especially when it comes to electrical issues working with heavy parts—call a professional to perform the work. Beyond any safety concerns, you might also find yourself at a loss after trying multiple DIY fixes without fixing the problem. A licensed professional can help diagnose to root cause of the issue, provide a quote and perform the work.
Frequently Asked Questions About Aligning Your Garage Door Sensors
Get Your Free Quote and Schedule Your Garage Repair Today
Find top-rated companies for fast garage repairs and service to make sure your garage door system lasts. Get free quotes from garage door companies in your area.
Tips and Expert Advice for Your Garage
Stay informed with expert advice on garage door maintenance, garage door service, garage door replacement, and upgrades. Explore our blog for guides, troubleshooting tips, and more.