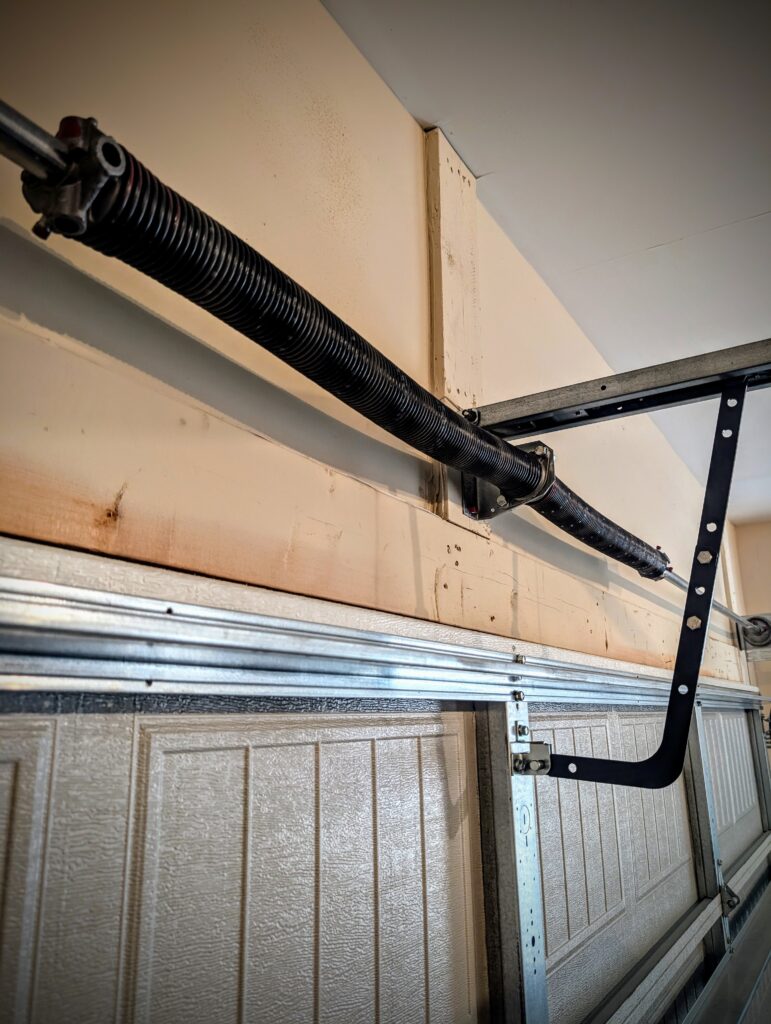
How to Replace Garage Door Seals
Want to boost your garage’s energy efficiency and keep out the elements? Learn how to easily replace your garage door seals in this comprehensive guide! To replace the seal simply remove the old seal, measure and cut the new one, then slide or fasten it into place.
By: Abby Drexler | Published: March 17, 2026
Find Garage Door Repair Services
Get a fast & free quote | Schedule your service today
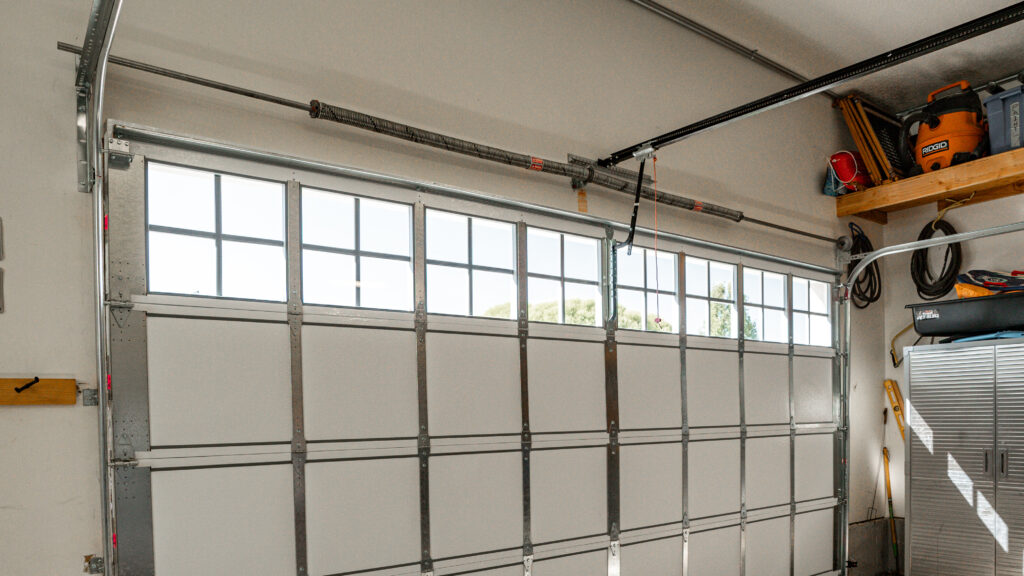
Garage door weather seals play a bigger role than many homeowners realize. These flexible strips along the bottom and sides of the door help block dirt, moisture, drafts, and pests from entering the garage while also helping maintain your home’s energy efficiency.
When seals begin to wear out, small gaps can develop, allowing outside air, insects, and debris to enter. This becomes especially noticeable during warmer months, when pest activity increases and hot outdoor air can easily enter the garage.
Replacing damaged weatherstripping is a relatively simple project that can help restore protection and improve comfort. In this guide, we’ll walk through the different types of garage door seals, the tools you’ll need, and the step-by-step process for replacing and maintaining them.
Signs Your Garage Door Seal Needs Replacement
Garage door seals are designed to compress tightly against the floor and frame when the door closes. Over time, frequent use and exposure to the elements can cause the material to stiffen, crack, or lose its shape. When that happens, even a small opening can create a surprising amount of airflow and leave your garage vulnerable to outside elements.
Danny Niemela of ArDan Construction notes that gaps along the bottom of a garage door can add up quickly. “When you have even a quarter-inch gap along the bottom seal, that equates to approximately 48 square inches of open space,” he explains. “To visualize how much air that is, think of it as cracking a small window in your home and leaving it open day and night.”
Small gaps can also invite pests inside. Rick Culbreth Jr. of Yates-Astro Termite and Pest Control explains, “Even a small gap around a garage door can be an open invitation for pests. Many insects and small rodents only need a space the size of a pencil or smaller to squeeze through.”
Temperature changes inside the garage can be another indicator that weatherstripping has worn out. According to Ori Pearl, owner of Nealon Insulation, when seals break down, “outside air can slip in through the gaps around the door, disrupting your home’s temperature and reducing its overall efficiency.”
Other signs your garage door seal may need replacement include:
- Light visible along the bottom or edges of the door
- Drafts or temperature changes in the garage
- Cracked, brittle, or flattened rubber seals
- Increased insect activity near the garage door
- Water entering the garage during rainstorms
If you notice any of these issues, replacing worn weatherstripping can help restore a proper seal and keep outside air, pests, and moisture from entering your garage.
Tools and Materials Needed to Replace a Garage Door Seal
Nobody wants to make multiple daily trips to the hardware or home improvement store for the same project. To help prevent this all-too-common DIY fail, gather all the tools necessary to complete the job before you start your garage door seal replacement project.
Essential Tools for Removal and Installation
As with any DIY project, safety should be your first priority. Wearing jeans, gloves, safety glasses and sturdy work boots helps protect you from scratches, cuts and flying debris. Here are the tools you’ll need after gearing up.
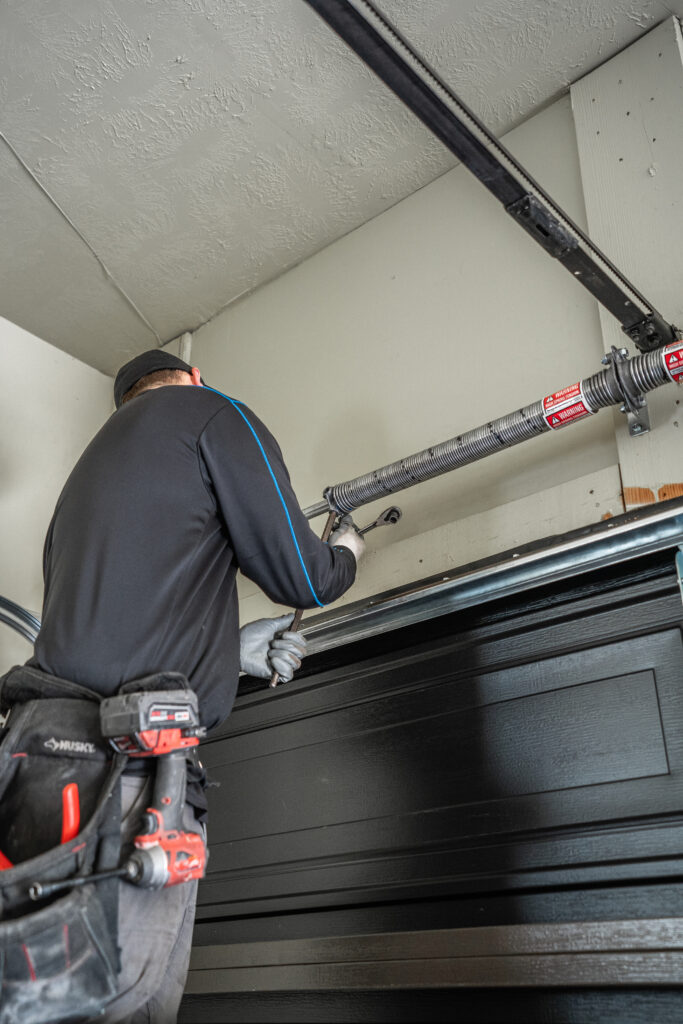
- Ladder: You’ll need a sturdy ladder to safely reach all sections of the garage door.
- Measuring tape: Precise measurements are crucial for selecting the correct seal length or accurately cutting it down to size.
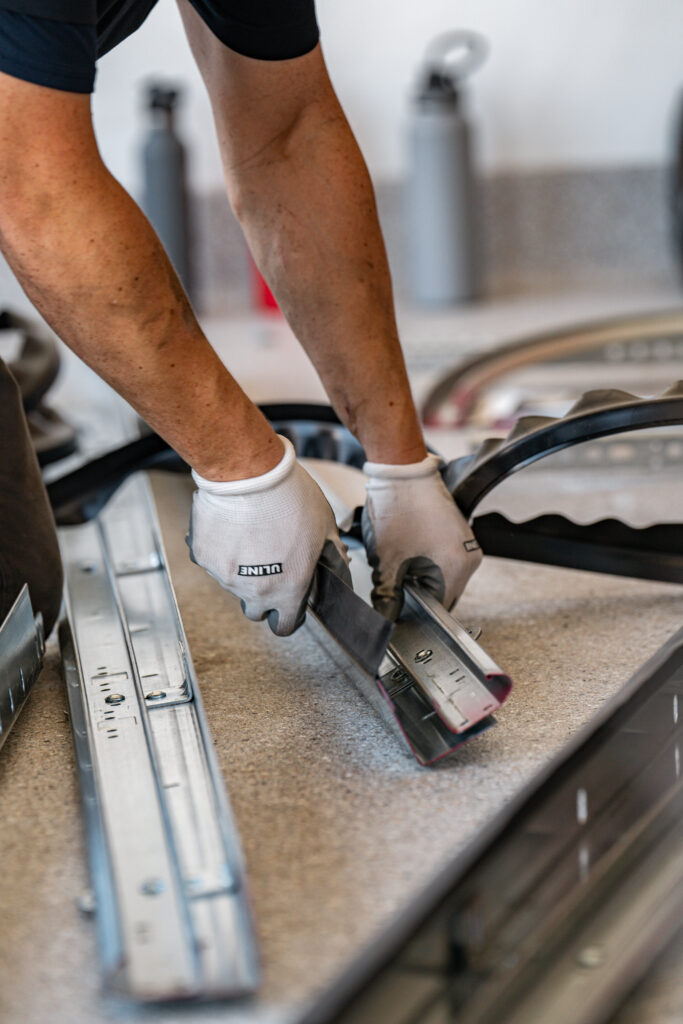
- 4-in-1 screwdriver: Multiple screwdriver types and sizes will help you remove the old seals and attach the new ones.
- Utility knife: For cutting the new seals to size.
- Impact driver: If you use screws to mount the seals, a cordless impact driver will speed things up significantly. You can also use it to quickly remove old screws.
- Soapy water: You’ll need to thoroughly clean the area where the old seals were.
Additional materials you may need to replace your seals are silicone spray to lubricate them after installation, a hammer or rubber mallet and wood sealer if you have a wooden door.
Selecting the Right Replacement Seals
There are six main types of bottom seals—t-shape, bulb shape, j-shape, p-shape, brush seals and threshold seals. Side and top seals are available in various materials and form a barrier around the perimeter of the garage door. Most standard residential seals are made of vinyl or rubber, but brush, foam and silicone seals are also available.
Some homeowners also consider pest-resistant seal options, especially in areas where rodents are common. Garrett Thrasher of Thrasher Pest Control notes that some garage door seals use reinforced cores to help prevent rodents from chewing through the weatherstripping. These reinforced designs can help protect seals from damage and reduce the risk of new pest entry points.
Before purchasing new weatherstripping, measure the length and width of your old pieces and take note of their style. If you have t-shape bottom seals, for example, you’ll want to replace them with new t-shape seals. Reputable garage door companies like Precision and A1 Garage Door Service have a variety of seals available for purchase. You can also buy them at Amazon, big box home improvement stores or local hardware stores.
Replacement seal prices vary widely, but as with most things, you’ll get what you pay. More expensive options typically offer superior durability, insulation and weather resistance. That said, there are plenty of budget options that offer solid performance and adequate lifespans.
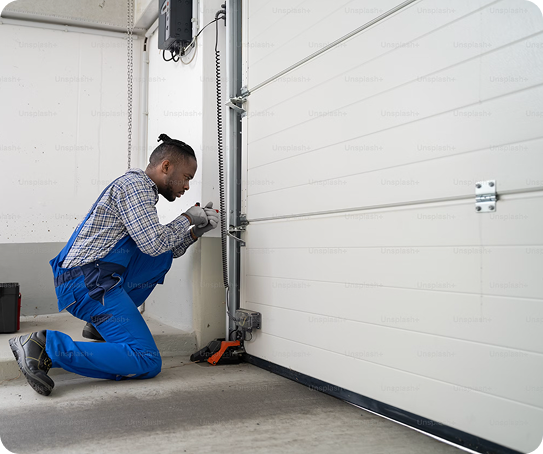
How to Replace Your Garage Door Bottom Seal
Replacing your bottom seal is one of the quickest and most straightforward DIY garage door projects you can take on. Following the right steps and knowing what to look out for can save you time, money and unnecessary headaches.
Measure and Cut the New Seal
If you’ve heard it once, you’ve heard it a hundred times: Measure twice, cut once. To make sure you’re cutting your bottom seal to the proper length:
- Measure the door’s width: Take multiple measurements at multiple points along the bottom of the garage door to account for any warping or unevenness.
- Measure the retainer itself: Take particular note of the retainer groove’s measurements so you can find the right match and shape.
- Account for the elements: Rubber seals can shrink when it’s cold and expand when it’s hot. To account for this, cut the seal about ½-inch to an inch longer than the retainer or door.
When you’re ready to cut, use a sharp utility knife and a ruler to help you keep a straight line.
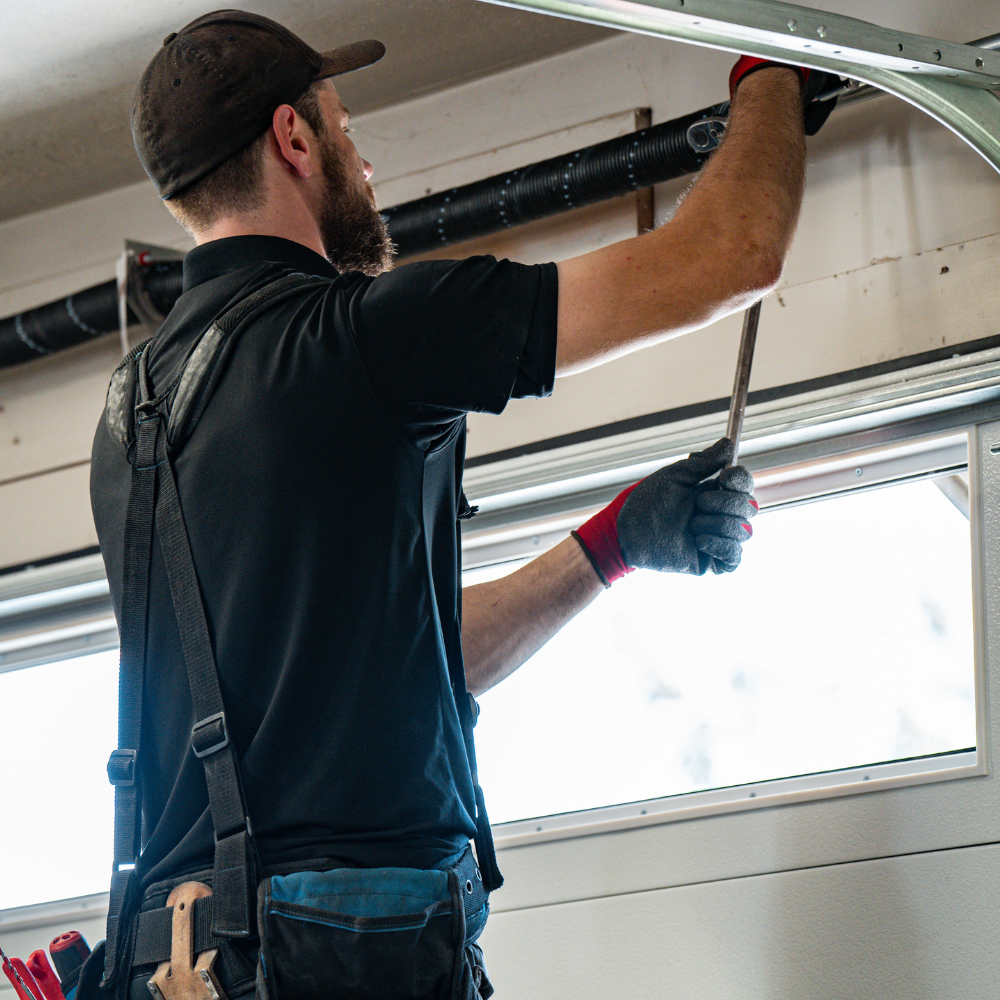
Install the New Bottom Seal
With the bottom of the garage door clean and the new seal cut to size, it’s time to slide, screw, nail or clip it in place. If there’s a retainer, simply slide the compatible seal into place. If it’s stubborn, apply a silicon-based lubricant to help move it along the track. If you’re nailing, clipping or screwing it to the bottom of the door, place the fasteners evenly and securely across the surface.
Once the seal is in place, test the door by opening and closing it multiple times. Check for gaps and inconsistent movements, and ensure the seal touches the ground evenly. If you discover a performance issue, retrace your steps to make sure the seal fits properly and that all fastening hardware is firmly in place.
How to Install Side and Top Weatherstripping
Installing perimeter seals is a similar process to installing the bottom seal, but there are nuances to be aware of. We’ll walk you through the process to help you maximize the energy efficiency of your garage.
Remove Old Side and Top Seals
Like you would with bottom seals, start by carefully removing any screws or nails using a screwdriver or pry bar. If the old seals were installed using an adhesive, use a mild soap or product like Goo Gone to remove any remnants and clean the surface. Avoid using a scraper or other tools that can damage the frame.
Measure and Cut Weatherstripping
With top and side weatherstripping, you’re dealing with significantly more surface area than the bottom seal. Before cutting, take multiple measurements in multiple places along the frame. Like bottom seal measurements, this allows you to account for any warping or unevenness in the frame.
With your measurements taken and notated, you’re ready to start cutting. Use a sharp utility knife and work in sections. When you reach a corner, cut the weatherstripping at 45-degree angles to ensure a snug fit between the vertical and horizontal pieces. Corner pads are also available to help you make smooth transitions from the sides to the top of the frame.
Secure New Weatherstripping
Before attaching the weatherstripping to the frame, start by reviewing the manufacturer’s installation recommendations. If you’re working with an adhesive product, run your hand firmly across the length of the seal to smooth out any bubbles. If you’re using screws or nails, space them about six inches apart. They should be flush with the weatherstripping material to avoid warping and unnecessary damage.
Use a level to make sure all sections are straight. When you’re satisfied with the installation, test the fit of the weatherstripping by opening and closing the garage door. You should not be able to see any visible gaps or areas where the weatherstripping is being pushed flat against the frame. Another testing method is to run your hand along the length of the frame to check for drafts.
How to Install Threshold Seals
Threshold seals attach to the garage floor itself instead of the door or frame. They’re a popular choice for homeowners with cracked or uneven garage door floors since they cover up the affected area. They’re also used to provide a barrier against rain and snow since they sit just above the surface of the garage floor. They’re typically made of strong, flexible rubber or vinyl.
Preparing the Garage Floor
Start by sweeping the garage floor or using a leaf blower to remove any dust and debris. From there, use a concrete cleaner like Zep or Simple Green to remove oil grease and other stains. If you notice any large cracks or gaps, use an epoxy to fill them. After lightly sanding the floor and sweeping up the remaining dust, you’re ready to measure and cut the threshold seal.
Measuring and Cutting the Threshold
Use a measuring tape to determine the exact length between both sides of the garage door. If any existing hardware such as door tracks or sensors get in the way, you may need to make custom cuts to make room for them. Cut the seal in a straight line using a sharp utility knife and a ruler. If it’s made of a combination of rubber and aluminum, you may also need a hacksaw to cut through the latter material.
Securing the Threshold Seal
The two most common ways to secure a threshold seal to the garage floor are by liquid adhesive and adhesives that come attached to the bottom of the seal. If your seal comes with an adhesive, peel the backing off and carefully work your way from one side of the garage door to the other. Firmly slide your hand down the length of the seal to remove any bubbles.
If you’re using a liquid adhesive, follow the manufacturer’s instructions and avoid regular use of the garage door until it’s had a chance to fully dry—typically 24 to 48 hours. For an extra tight fit, use a hammer drill to create pilot holes, then secure the seal with screws. As you would with other types of seals, test the installation by opening and closing the door multiple times.
Testing and Adjusting Your New Seals
There are a handful of ways to test your garage door seals for a proper and effective fit. Some of the easiest and most common are:
- Performing the light test: On a sunny day, turn your garage door lights off and make your way around the entire perimeter. If you see any light shining in from outside, there’s a breach in the seal. Make sure the garage door is seated firmly in the track and that the seals are securely attached.
- Trying the paper test: As Niemela explains, “Slide a sheet of regular printer paper under the closed garage door at five or six evenly spaced points across the width of the door. If the paper slips through easily, you’ve lost the compressed seal.”
- Observing seals during weather events: If it’s raining or snowing, go out to the garage to see if any water is finding its way in. Also check for cracking in the winter and swelling in the summer. Adjust the seals accordingly if needed, and replace them if you find extreme visible damage.
Also test your seals’ performance multiple times throughout the year by checking for loose hardware and components and making sure the garage door is opening and closing evenly to provide proper compression.
Maintenance Tips for Extended Seal Life
Protect your investment by establishing a regular cadence for maintaining your garage door system including seal maintenance. Many homeowners opt for a professional tune-up but there are some ways you can personally extend the life of your garage door seals:
Regular Cleaning and Inspection
For rubber and vinyl products, use a mild soap solution and a soft cloth to remove dirt and debris. You can also use a can of compressed air to remove stubborn items.
Before the change of each season, check for cracks or gaps that might be letting dust, pests or wind gusts into your garage. Pay particular attention to the seals around the bottom of the door since they’re the most exposed to wear and tear.
Seasonal Maintenance Procedures
There are a few steps you can take to keep the elements at bay throughout the year. Before winter, apply a silicone-based lubricant to rubber or vinyl seals to prevent them from cracking and becoming brittle. Before summer sets in, apply a UV protectant spray like 303 Aerospace Protectant to prevent UV damage to the seals. Avoid harsh chemicals that can degrade the materials over time.
Frequently Asked Questions About Garage Door Seal Replacement
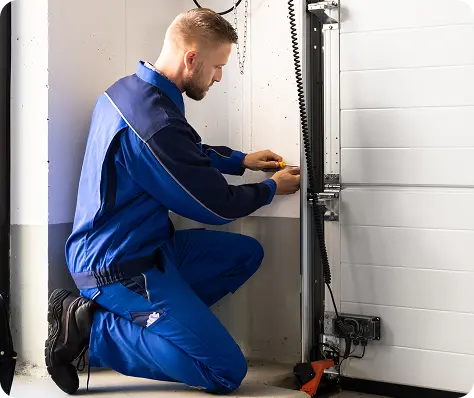
Get Your Free Quote and Schedule Your Garage Repair Today
Find top-rated companies for fast garage repairs and service to make sure your garage door system lasts. Get free quotes from garage door companies in your area.
Tips and Expert Advice for Your Garage
Stay informed with expert advice on garage door maintenance, garage door service, garage door replacement, and upgrades. Explore our blog for guides, troubleshooting tips, and more.