How To Adjust Garage Door Force Settings
Is your garage door acting stubborn? It might just be the force settings! Learn how to quickly adjust them using the controls on your opener—typically dials or buttons—to ensure smooth and safe operation. To adjust force settings simply tweak the “up” and “down” force until your door opens and closes perfectly. Read on for brand-specific guides and crucial safety tips.
By: Kelly Larson | Published: May 21, 2025
Find Garage Door Repair Services
Get a fast & free quote | Schedule your service today
If your garage door reverses course before opening or closing all the way, it could be due to a number of things, but incorrect force settings are a common culprit. Our guide details what force settings are, how to adjust them on various popular garage door opener brands and how to stay safe if you don’t plan on hiring a professional.
Never adjust the force beyond what it takes to close the door. To help prevent injury or even death, make small adjustments and, crucially, test the down force setting after each one. Place an object under the door such as a 2 x 4 or roll of paper towels. If the door doesn’t reverse on contact with the object, make the necessary adjustments and test again. Prefer to err on the side of caution? Garage.com can put you in touch with a licensed garage door professional in your area.
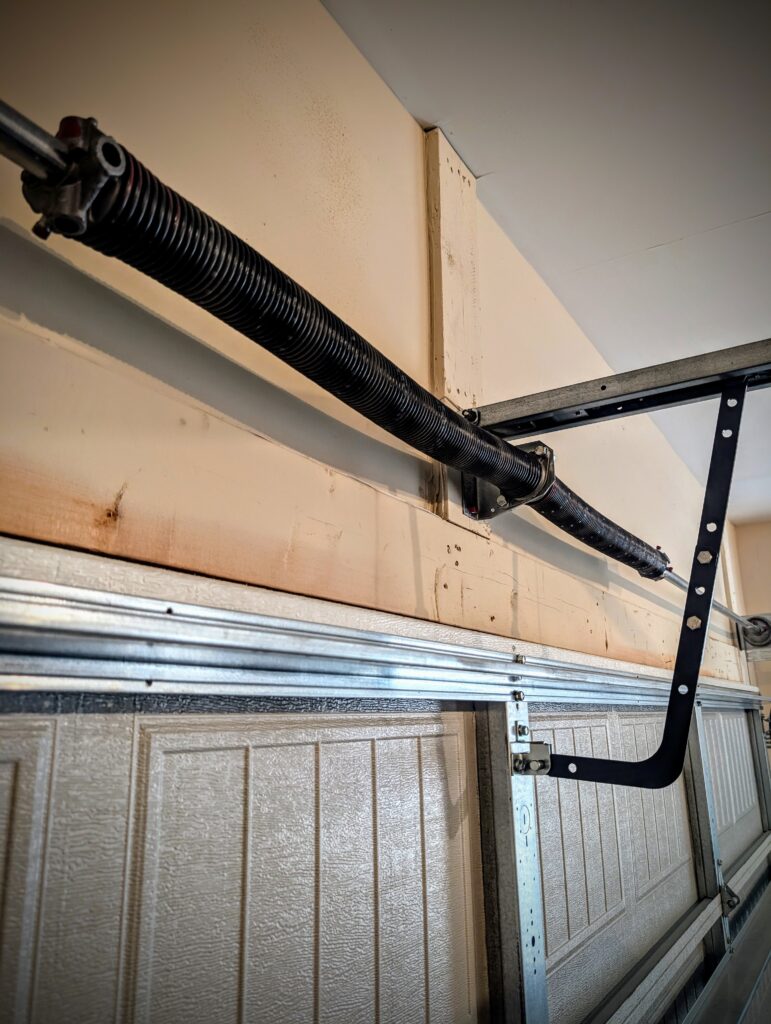
Understanding Garage Door Force Settings
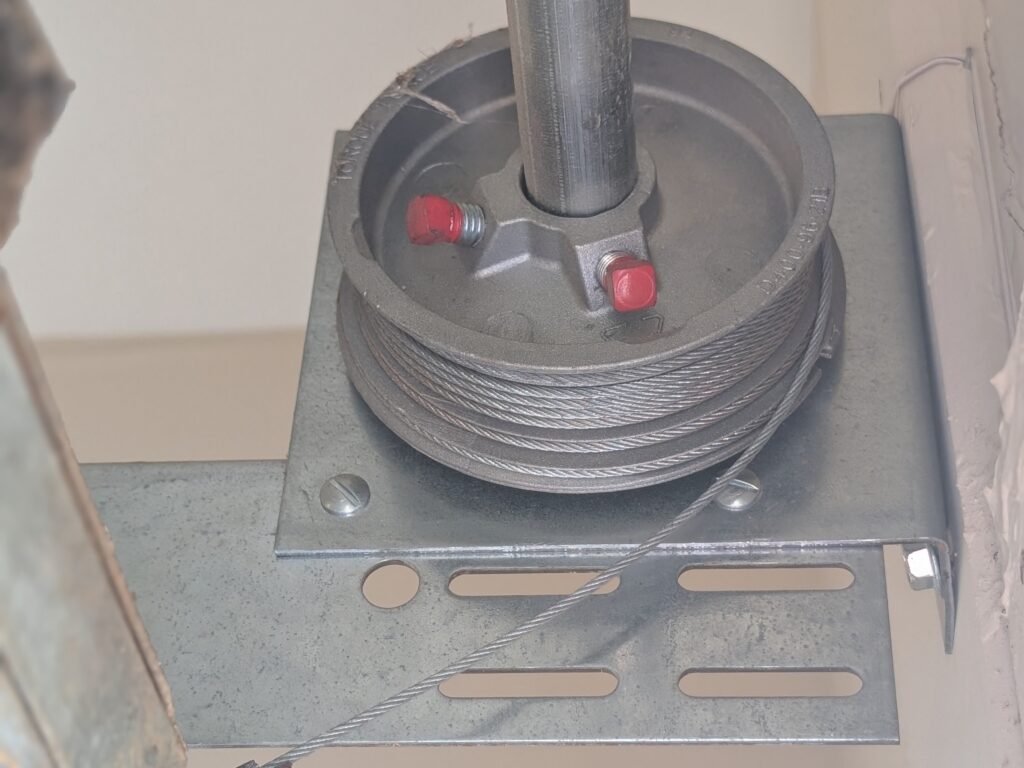
The up and down force settings on your garage door regulate how much resistance is needed to raise and lower the door. If you don’t have enough down resistance, the door won’t close all the way. If you don’t have enough up resistance, you guessed it, it won’t open all the way. Too much down force, on the other hand, is extremely dangerous. If the safety sensors aren’t functioning properly and the down force is set too high, the heavy door will close with too much force, potentially crushing anyone or anything below it.
Not to be confused with travel limit settings, which tell the garage door where to fully stop when opened or closed, force settings work alongside the safety sensors to help prevent accidents. They’re required in all residential garage door’s by the Consumer Product Safety Commision’s UL325 rule.
Signs Your Garage Door Force Settings Need Adjustment
Force settings play a critical role in the functionality and safety of your garage door system. Some common warning signs that your force settings need a tweak include:
- Door stops or reverses when closing: If the door only lowers partially before going back up, your down-force setting may be too low. Before making any setting adjustments, you’ll want to first rule out any other issues like debris in the track or problems with the safety sensors.
- Door stops or reverses when opening: Like above only in reverse, a door that won’t open all the way could indicate that the up force is inadequate. Rule out other issues before making this determination.
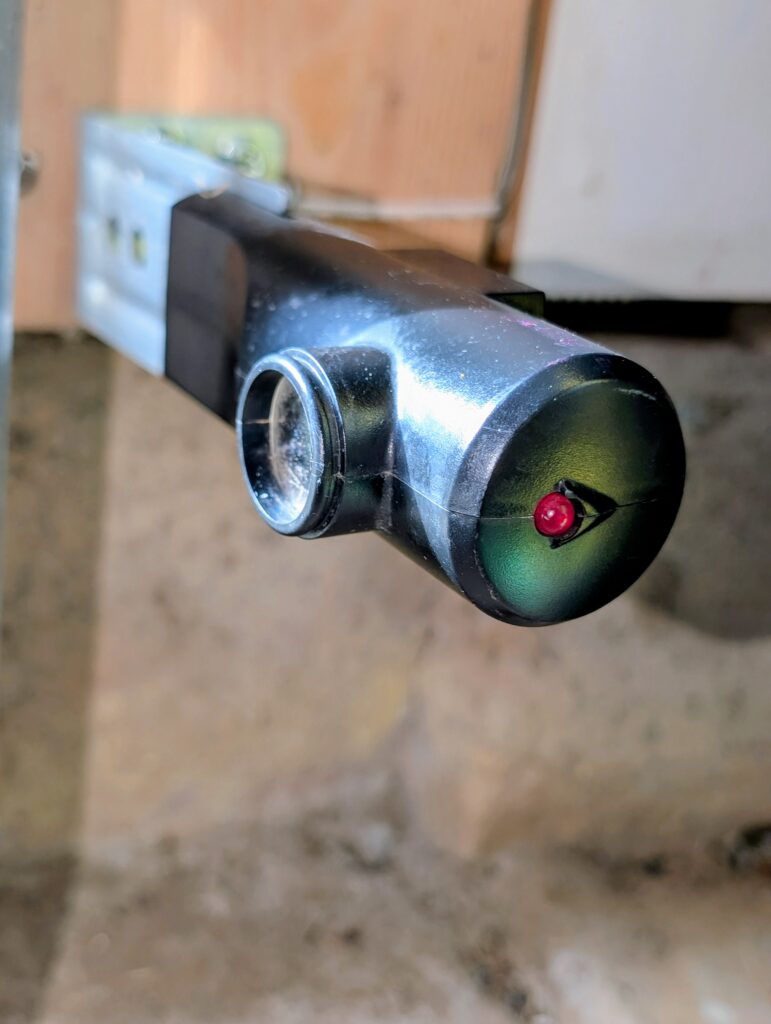
- Door doesn’t reverse when it should: A garage door that doesn’t reverse when it comes in contact with an obstacle poses a major safety threat. This can occur when the down-force is set too high or if the safety sensors are misaligned or obstructed. Inspect and test the safety sensors first. From there, gradually reduce the down-force using the step-by-step instructions outlined below. Test the door between each adjustment until it automatically reverses upon contact with an obstruction such as a 2 x 4 or roll of paper towels.
- Seasonal changes affect door operation: Your door’s hardware and components can tighten when it’s cold and loosen when it’s hot. These seasonal changes can trick the force settings into causing false reversals. To help prevent this, clean and lubricate the chain before the start of each season and test the door after each maintenance routine.
Safety Precautions Before Adjusting Force Settings
According to the U.S. Consumer Product Safety Commission, approximately 20,000 annual emergency room visits can be attributed to garage door injuries. Most of those injuries involve pinched fingers, but since 1982, 60 children have been killed by garage doors that did not automatically reverse upon contact. It’s a sobering statistic and puts an exclamation point on the need to follow safety protocols wherever force settings and safety sensors are concerned.
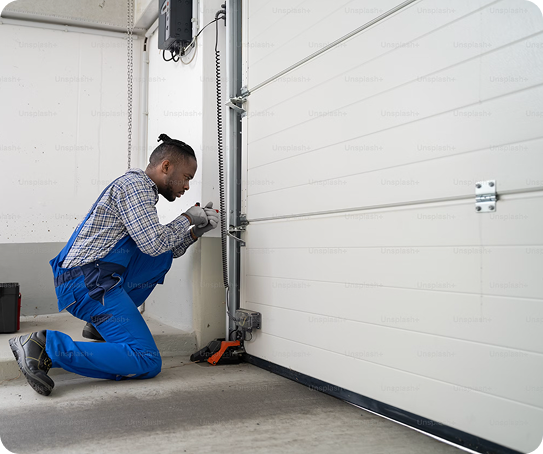
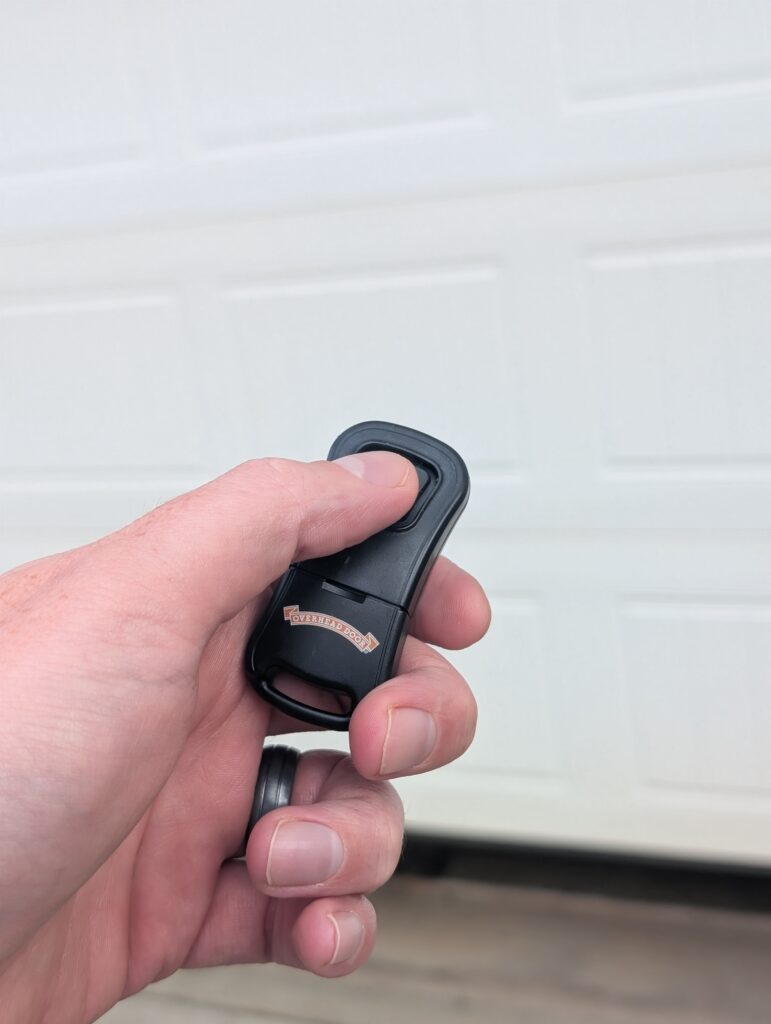
If you’re going the DIY route, never adjust the garage door’s force settings beyond what it takes to close it. Using your owner’s manual and our step-by-step instructions below, make small down-force adjustments and, crucially, test the door after each one. You can do this by placing an object under the door—a 2 x 4 or roll of paper towels will work—and using the remote or wall unit to lower the door. You can also “catch” the door as it lowers, applying enough force to automatically reverse it, but use caution when doing so. If it doesn’t reverse upon contact with the object or your hands, make the necessary adjustments and test again.
Force-Setting Adjustment Safety Checklist
Though it’s not exhaustive, our checklist will help you keep safety top of mind while adjusting your garage door’s force settings:
- Read your garage door opener’s owner’s manual
- Let your family know you’re working on the door and not to activate it
- Put on a pair of work gloves
- Clear the workspace
- Check the tracks for damage or obstructions
- After each adjustment, test the door until it reverses course when contacting an obstruction such as a 2 x 4 or a roll of paper towels
- Observe for any irregular door movement or noise
Prefer to err on the side of caution? Garage.com can connect you with a licensed garage door professional in your area.
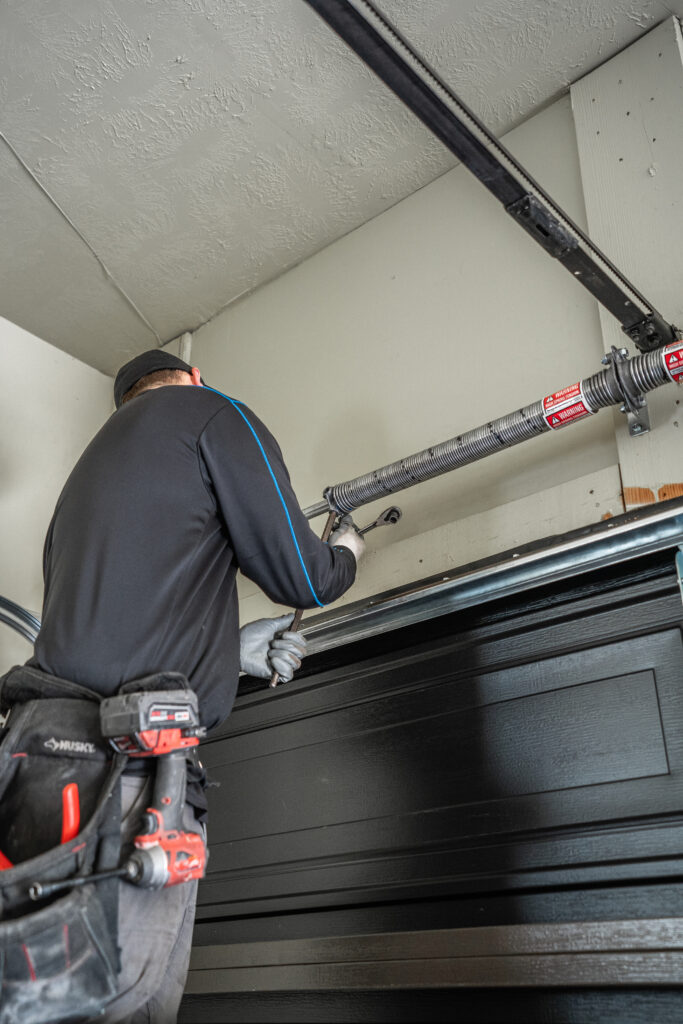
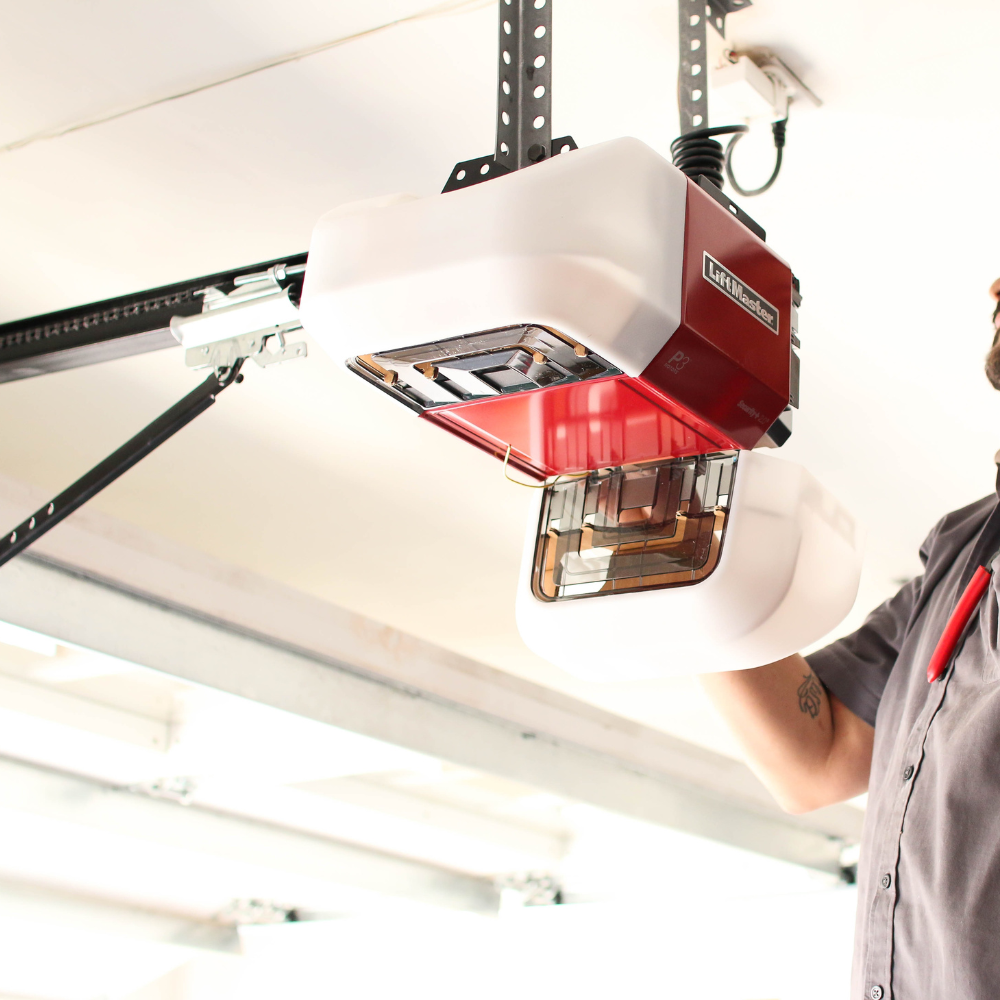
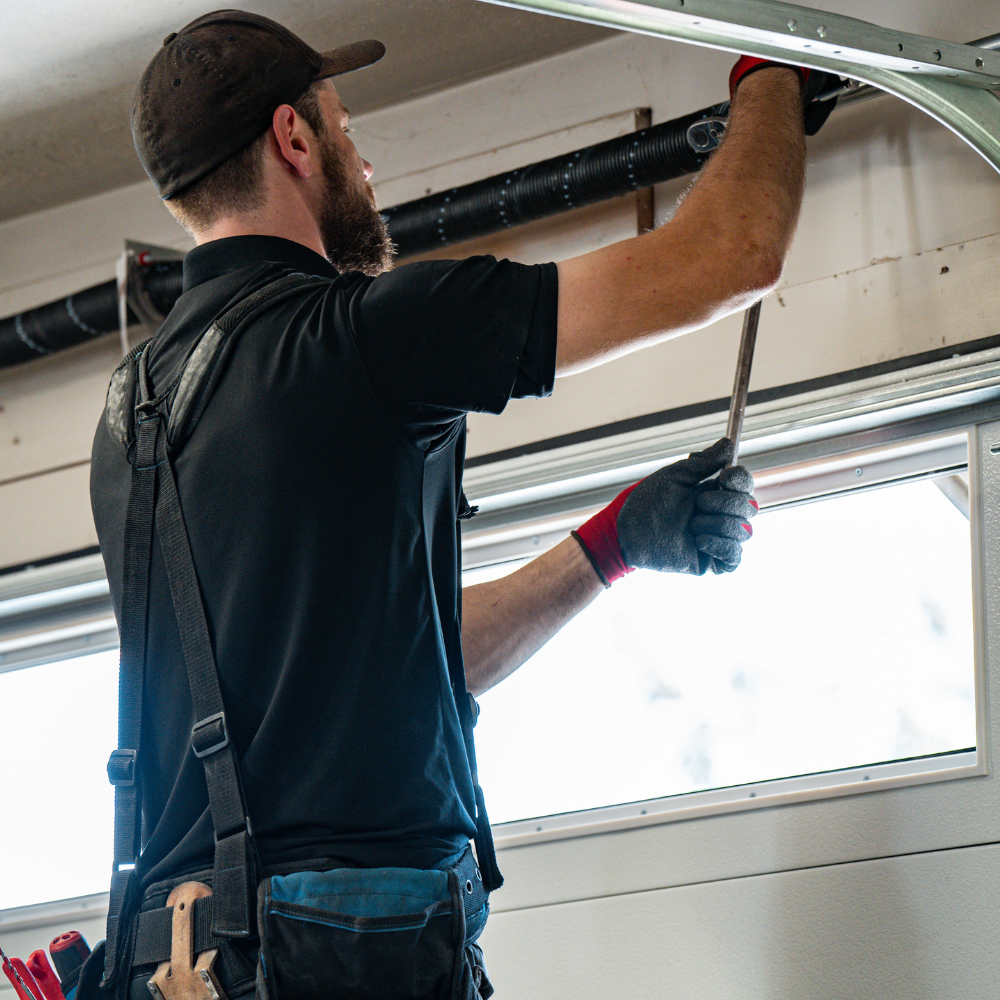
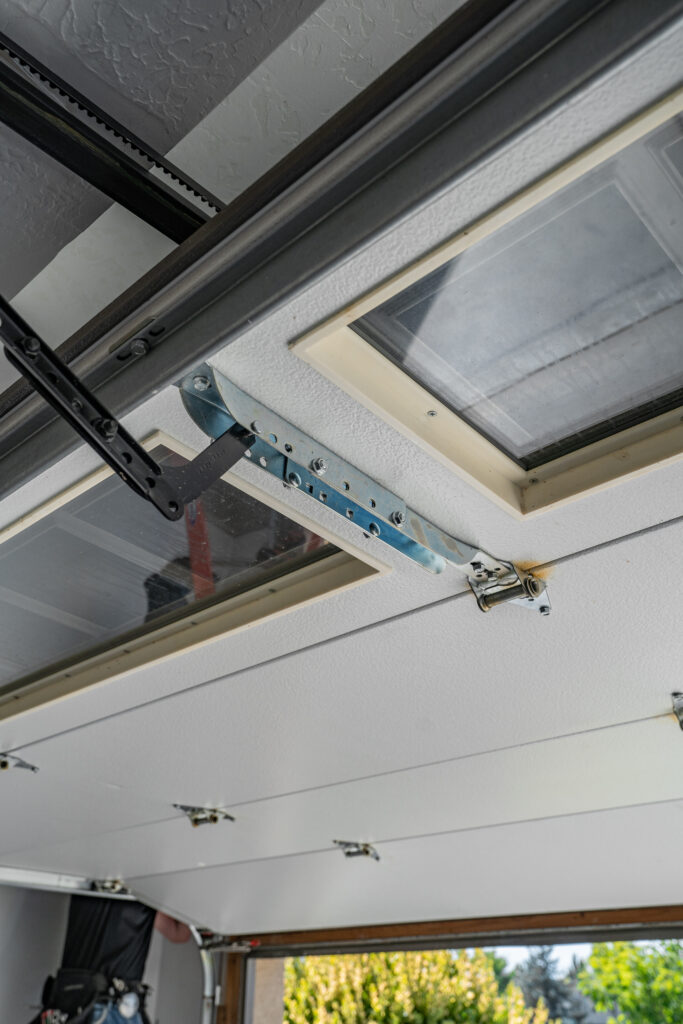
How To Locate Force Adjustment Controls on Different Openers
Before you can begin working on your garage door opener’s force adjustment controls, you need to know where to find them. Their location depends on the brand of the opener and how old it is.
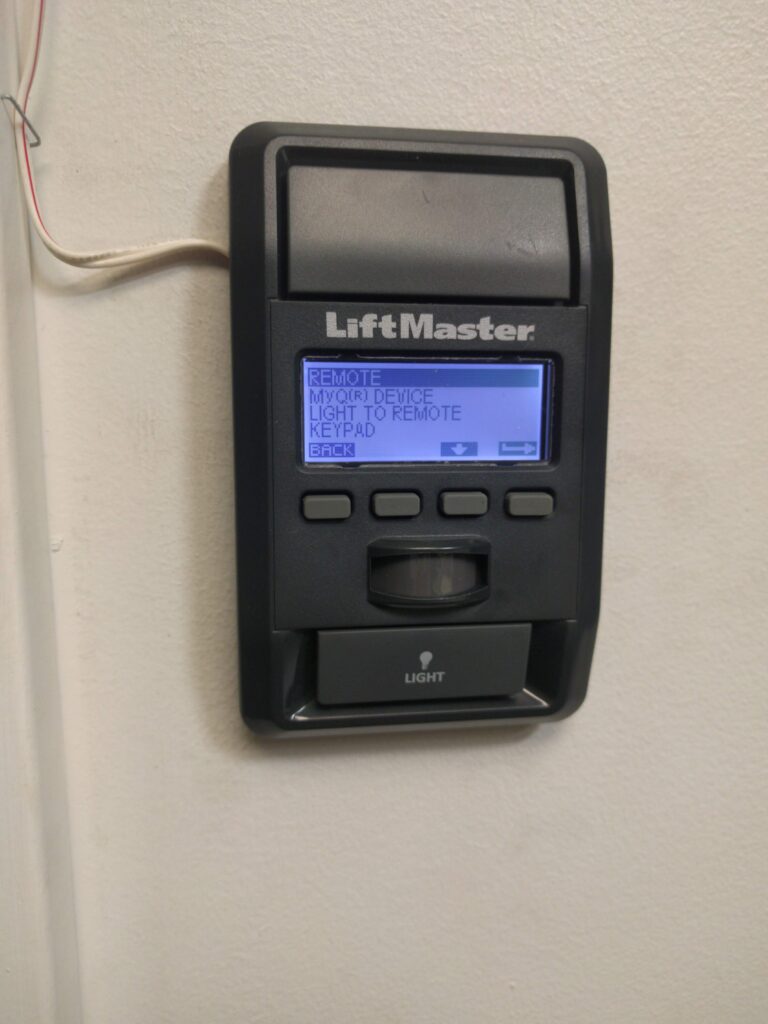
Force Controls on Modern Openers
Several modern garage door openers (LiftMaster’s 87504-267 model, for example) automatically set the force after you manually program the travel. The digital controls for that particular LiftMaster model are in a compartment on the site of the unit, but another common location for both digital and manual controls is on the back of the opener.
Older Models with Manual Force Adjustments
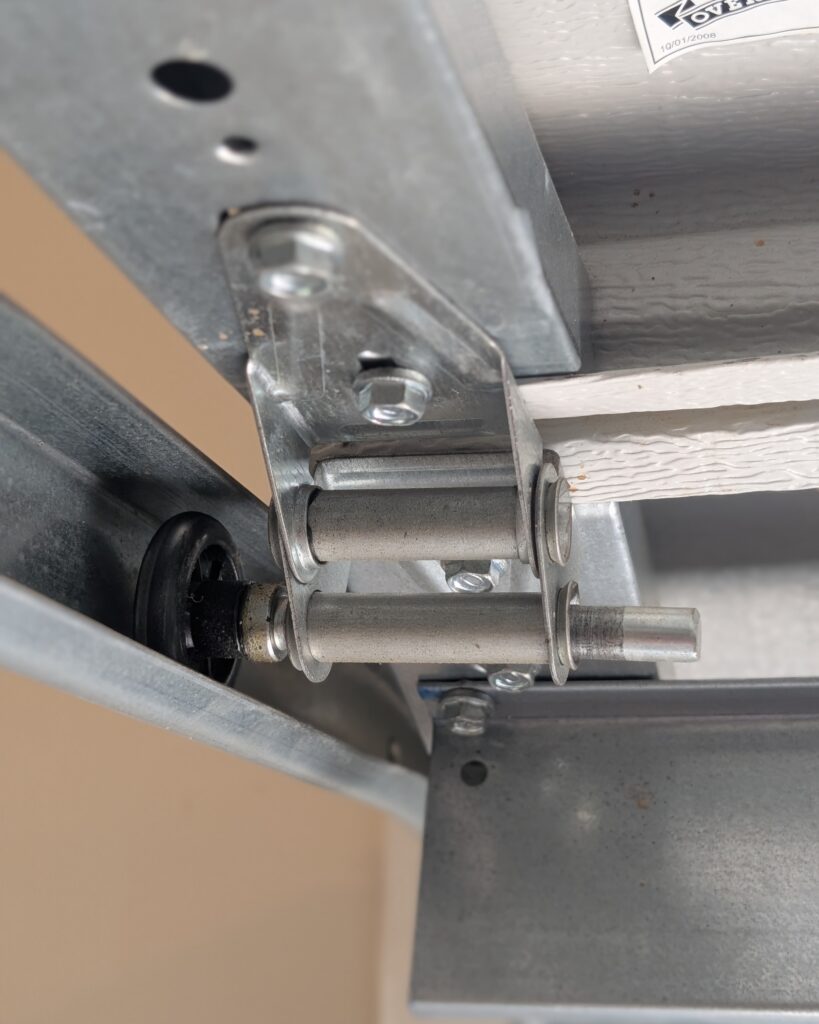
Older models almost always have manual force adjustment controls. The location can vary by brand, but they’re most commonly found on the back of the unit on the opposite side of the track. Some garage door openers conceal the controls in a small compartment for aesthetics, but most are open.
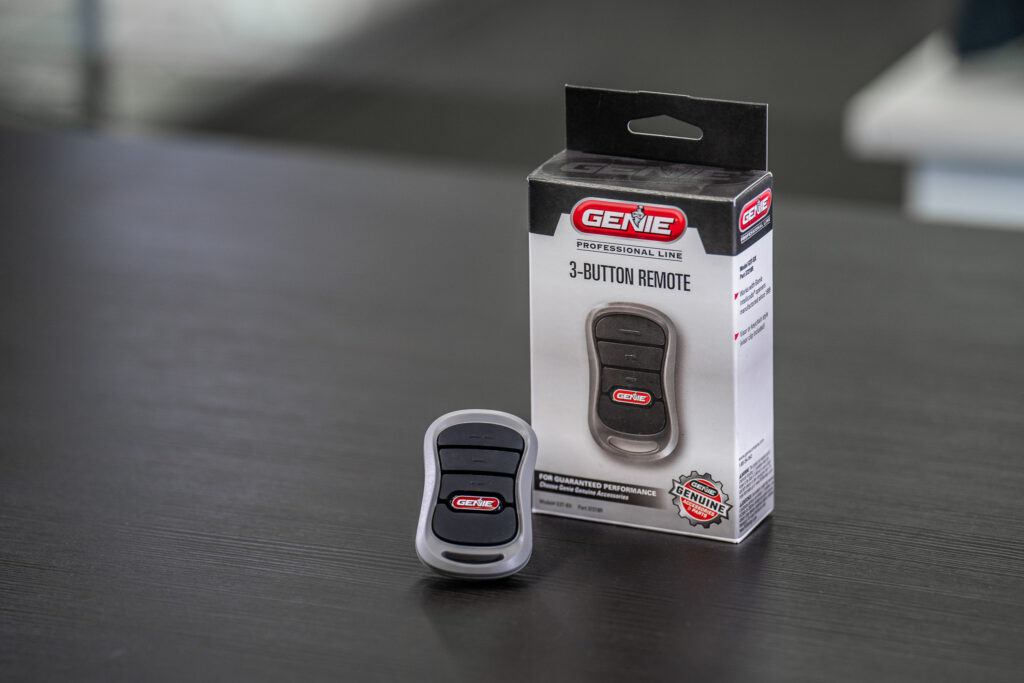
The controls will either be labeled with up and down arrows or with some type of verbiage. Most Genie models, for example, are labeled “Open Force” and “Close Force” with the word “Increase” located between two clockwise-pointing arrows.
Step-by-Step Force Adjustment Guide by Brand
Though there are plenty of throughlines when it comes to where different garage door brands place their force controls, how they’re labeled and how to adjust them, you’ll need to be aware of some nuances.
Follow these steps to adjust the force settings of older Chamberlain and LiftMaster models:
- Locate the force setting controls, which are typically manual and located on the back of the unit. The up-force control is labeled with an upward-facing arrow, and the down-force control is labeled with a downward-facing arrow. They may also say “Open Force” and “Close Force.” Force settings range 1 through 9 and are located within a white clockwise-pointing arrow.

- If the garage door automatically reverses before closing all the way, you’ll need to increase the down, or close, force. If the door doesn’t automatically reverse when it comes in contact with an obstacle, a major safety hazard, you’ll need to decrease the down force. If the door won’t open all the way, increase the up, or open, force.
- To increase increase or decrease either the up or down force, grab a flathead screwdriver and insert it in the appropriate control slot. Rotate the control clockwise to increase the force and counterclockwise to decrease.
- To ensure the garage door opener is only using the minimum amount of force required to safely open and close the door, make minor adjustments and test the door between each one.
- When you’re satisfied with the adjustments, take the time to visually inspect the safety sensors, clearing any debris and realigning them if necessary. Place various obstructions under the door and test the safety reverse features a few more times.
Newer Chamberlain and LiftMaster models, like those from their Secure View series, adjust the force settings automatically when you set the travel. To do this, locate the controls which are either on the side or the back of the unit. You’ll see two triangular buttons, one facing up and the other down, with a rectangular button between them. From there:
- Manually adjust the travel settings using your owner’s manual.
- Standby as the Automatic Force Setup feature automatically raises and lowers the door.
- If you hear three beeps from the opener, the force adjustment has completed successfully. If you hear one long beep, something went wrong with the setup and you’ll need to start the process over.
- Test the door’s safety reverse system by placing an obstruction under it to make sure it automatically reverses.
To adjust the force control settings for older Genie garage door openers:
- Locate the force setting controls, which can typically be found on the back of older units labeled “Open Force” and “Close Force.”
- If the garage door automatically reverses before closing all the way, you’ll need to increase the down, or close, force. If the door doesn’t automatically reverse when it comes in contact with an obstacle, a major safety hazard, you’ll need to decrease the down force. If the door won’t open all the way, increase the up, or open, force.
- To increase increase or decrease either the up or down force, insert a flathead screwdriver in the appropriate control slot. Rotate the control clockwise to increase the force and counterclockwise to decrease.
- Test the door’s safety reversal system and make further adjustments as necessary.
Newer Genie units, like Model D7155L from the Signature Series, come with force settings that were pre-set at the factory. If for some reason you need to manually adjust the settings, follow the instructions in the owner’s manual using Genie’s Force Setting Chart as a guide.

The Chamberlain Group manufactures Chamberlain, LiftMaster and Craftsman garage door openers. As such, the force controls for both older and newer Craftsman models are set up similarly to those of LiftMaster and Chamberlain. Follow the Chamberlain and LiftMaster owner’s manuals and the steps above to properly adjust your settings.
Common Mistakes When Adjusting Force Settings
Unless you hire a professional to adjust your force settings, which Garage.com can simplify for you, you’re likely to make a mistake or two along the way. A few of the most common include:
- Not adjusting the travel limits before adjusting the force limits: Modern garage door openers often come with force settings pre-installed in the factory, but you still need to manually adjust the travel settings beforehand.
- Over or under adjusting: Over correcting down force is dangerous. Making small adjustments, whether to up or down force, and testing in between each one is a crucial step.
- Adjusting the wrong controls: The travel and force control knobs look similar to one another, especially on older models. Before adjusting the force, make sure you’re in the right place.
- Skipping the testing: Testing the door to make sure the safety reverse features are working and that the force isn’t too high should be considered a mandatory safety procedure.
When To Call a Professional
Improperly adjusting your garage door’s force settings can result in safety issues like the door not reversing upon contact with a family member or pet. Always read your owner’s manual and familiarize yourself with the procedures and steps to perform the job safely.
If you don’t feel confident in your ability to do the job yourself, Garage.com will help you find a reliable licensed professional in your area.
Maintaining Proper Force Settings Over Time
If you’ve already established a routine maintenance schedule, add checking your travel and force settings to the list. At least twice per year, visually inspect and lubricate your garage door system’s hardware and components, then test the safety sensors and make sure there aren’t any signs of the force settings being off. These can include the door not opening or closing all the way, banging noises, misalignment and other signs.
If you suspect that the force settings need to be adjusted, follow the steps above depending on the brand and year of your unit. By incorporating setting adjustments into your annual maintenance schedule, you can help prevent damage to the system over time.
FAQs About Garage Door Force Settings
Get Your Free Quote and Schedule Your Garage Repair Today
Find top-rated companies for fast garage repairs and service to make sure your garage door system lasts. Get free quotes from garage door companies in your area.
Tips and Expert Advice for Your Garage
Stay informed with expert advice on garage door maintenance, garage door service, garage door replacement, and upgrades. Explore our blog for guides, troubleshooting tips, and more.