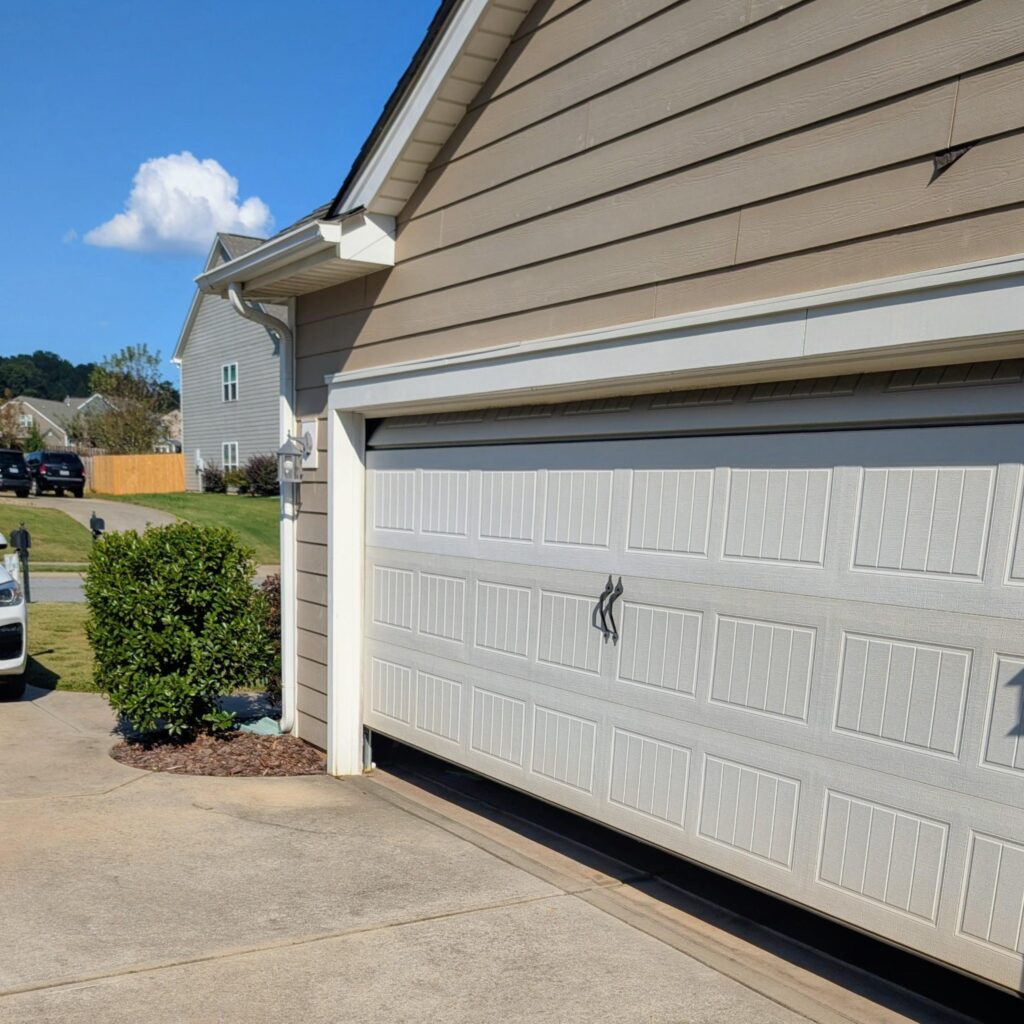
Garage Door Cable Replacement
Garage door cable replacement typically costs $100 to $350 and should be handled by a professional due to the high tension involved in garage door systems.
By: Abby Drexler | Published: March 27, 2026
Find Garage Door Repair Services
Get a fast & free quote | Schedule your service today
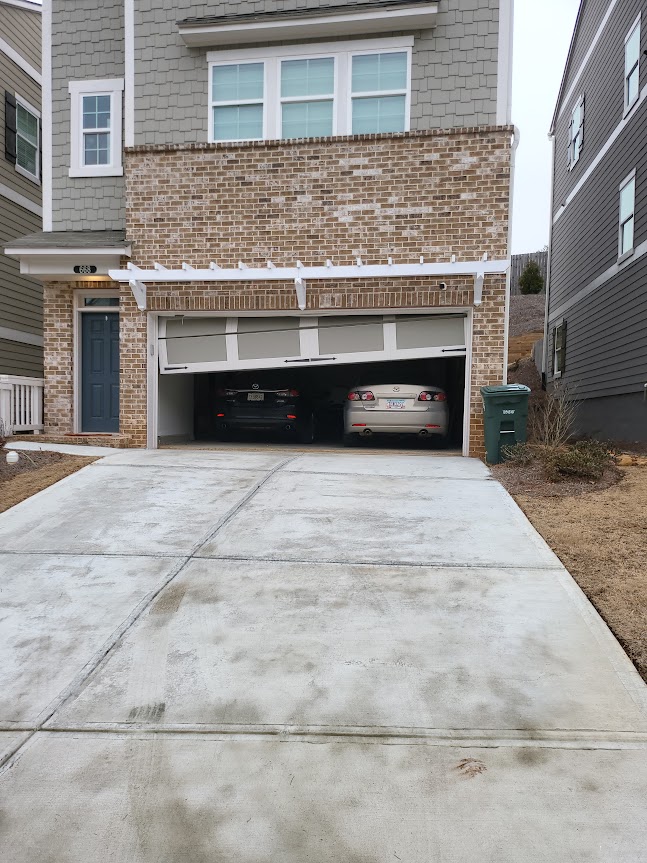
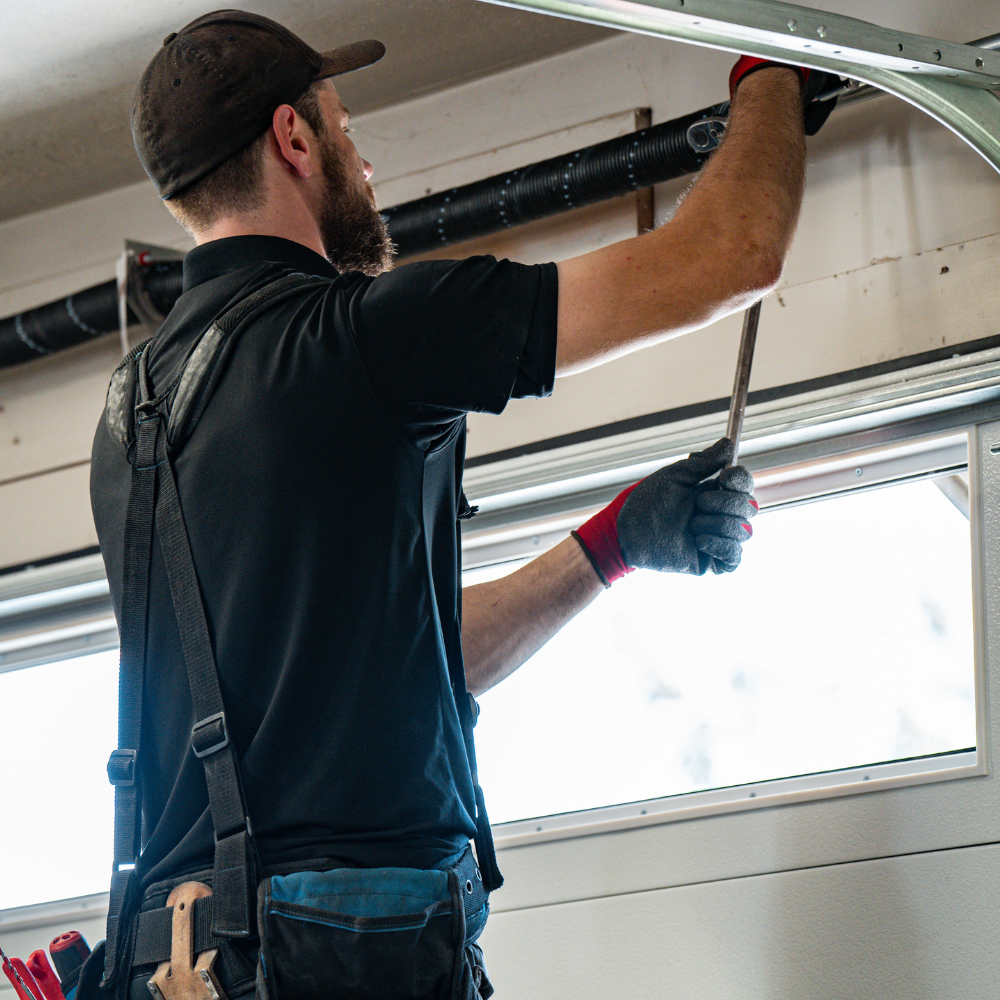
A broken garage door cable is one of those problems you can’t ignore. It can leave your door uneven, stuck, or unsafe to use, often without much warning. Since garage door cables operate under extreme tension, this is not a repair most homeowners should attempt on their own. Knowing what to look for and when to call a professional can help you avoid bigger repairs and potential safety risks.
If you’re already dealing with a cable issue, Garage.com makes it easy to get connected with local garage door pros, compare quotes, service your garage door, and get it working safely again.
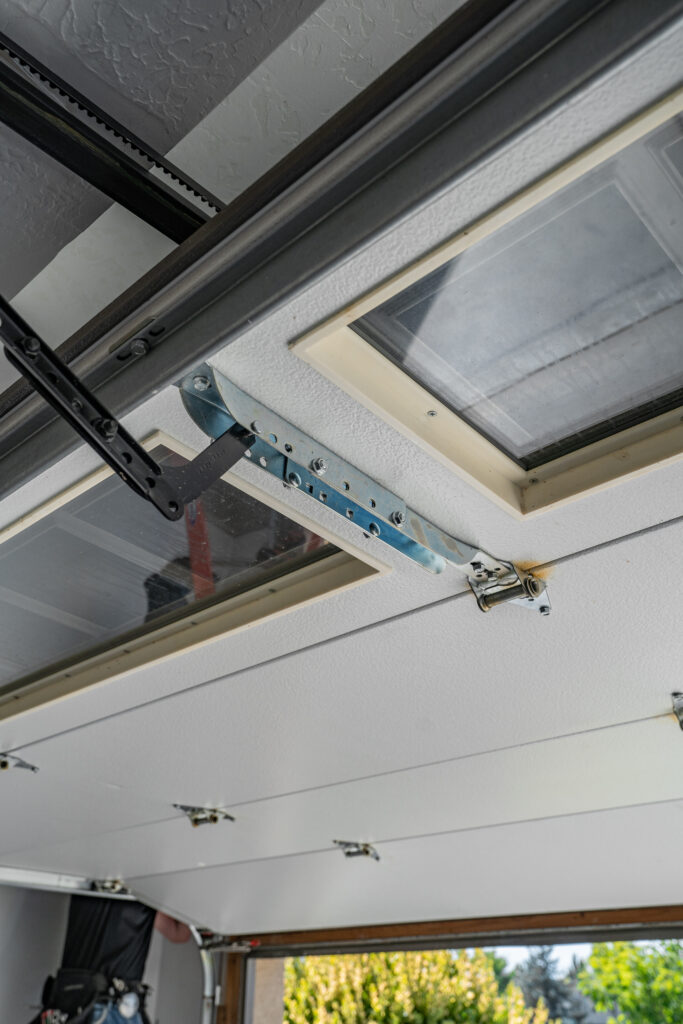
How Garage Door Cables Work
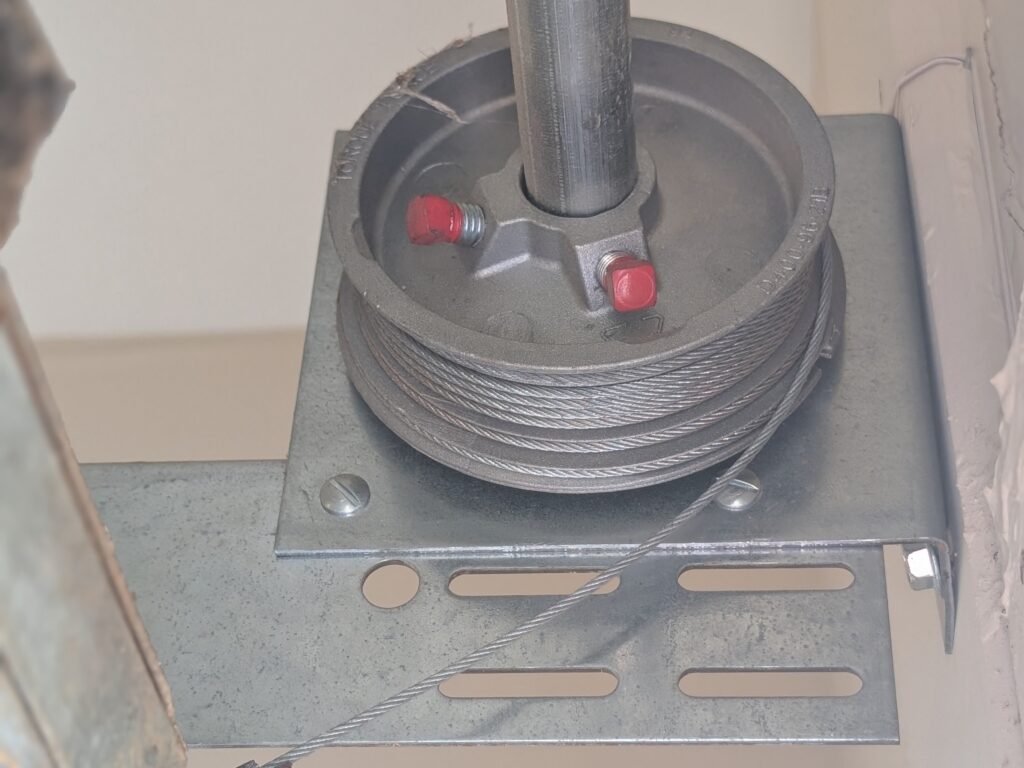
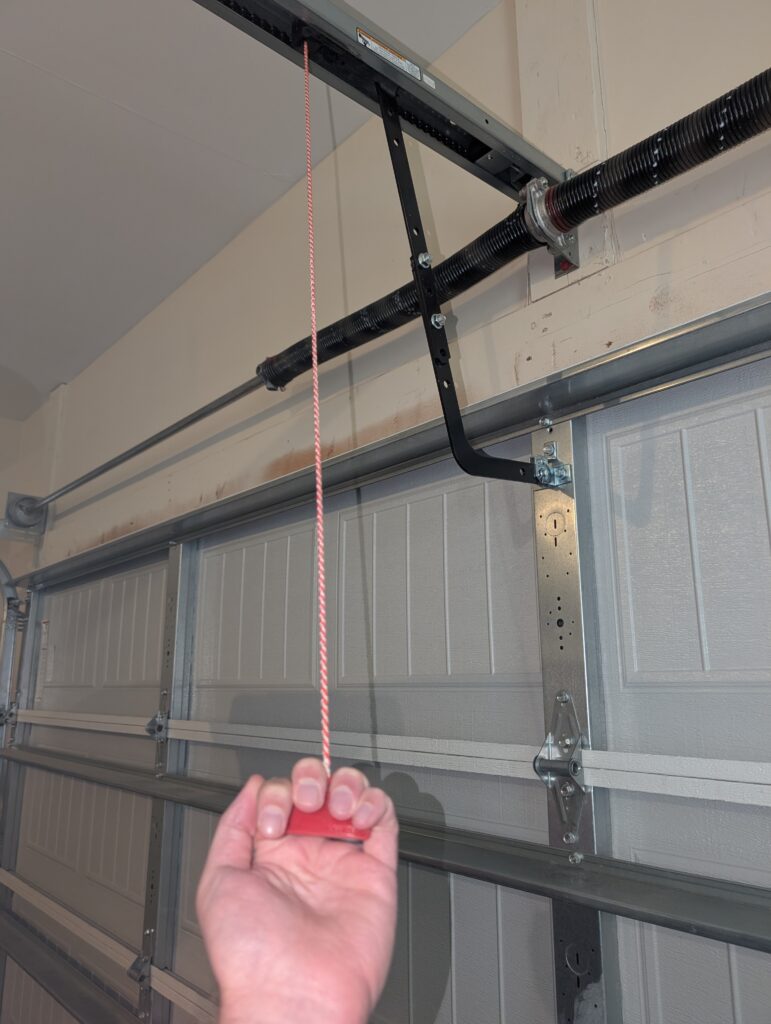
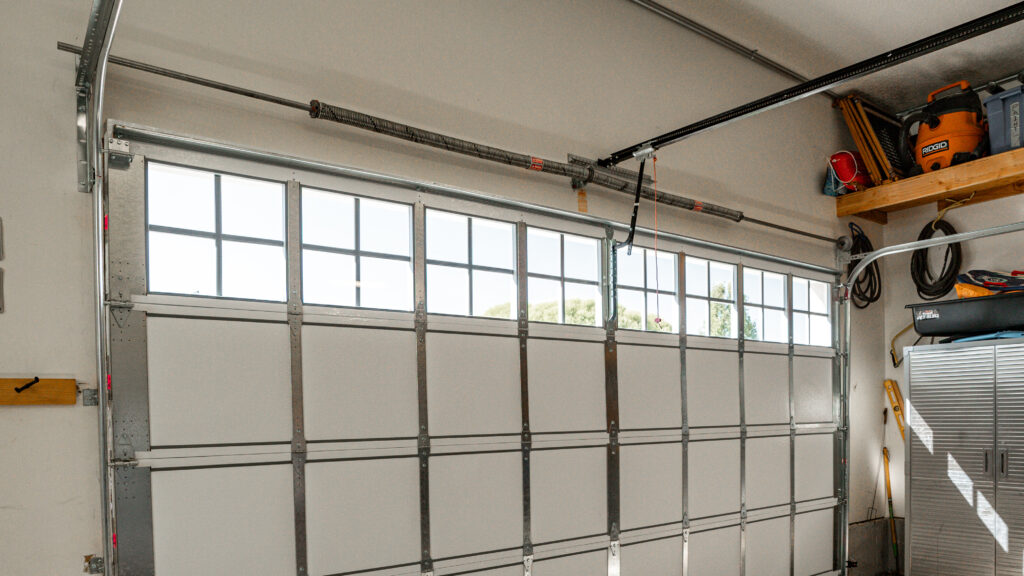
Garage door cables are part of a larger system that includes springs, drums, and tracks. Together, these components counterbalance the door’s weight so it opens and closes smoothly.
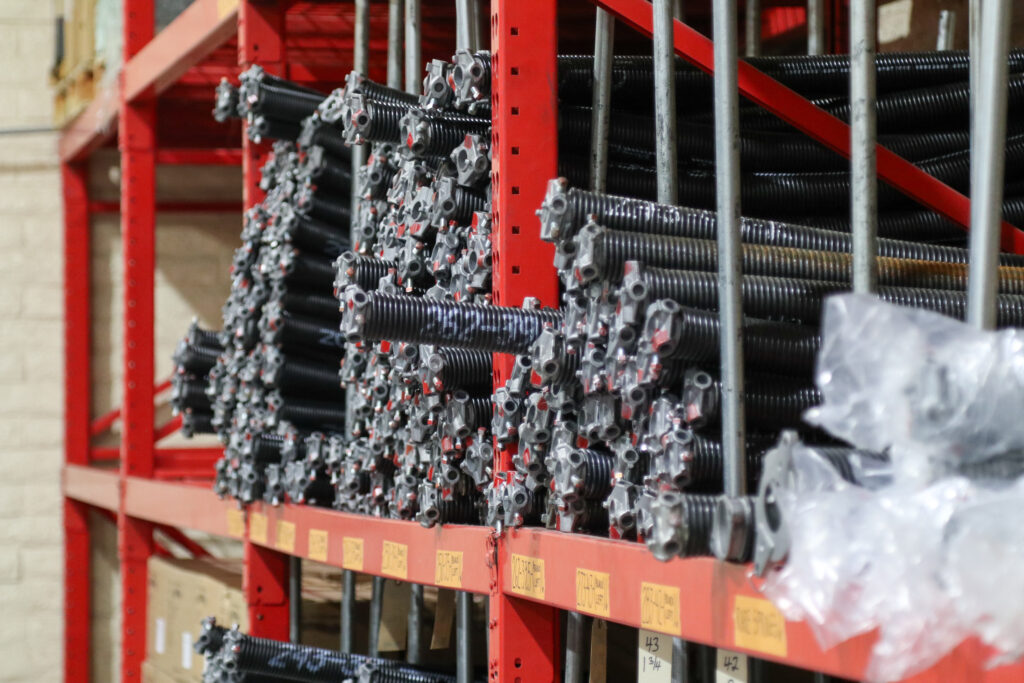
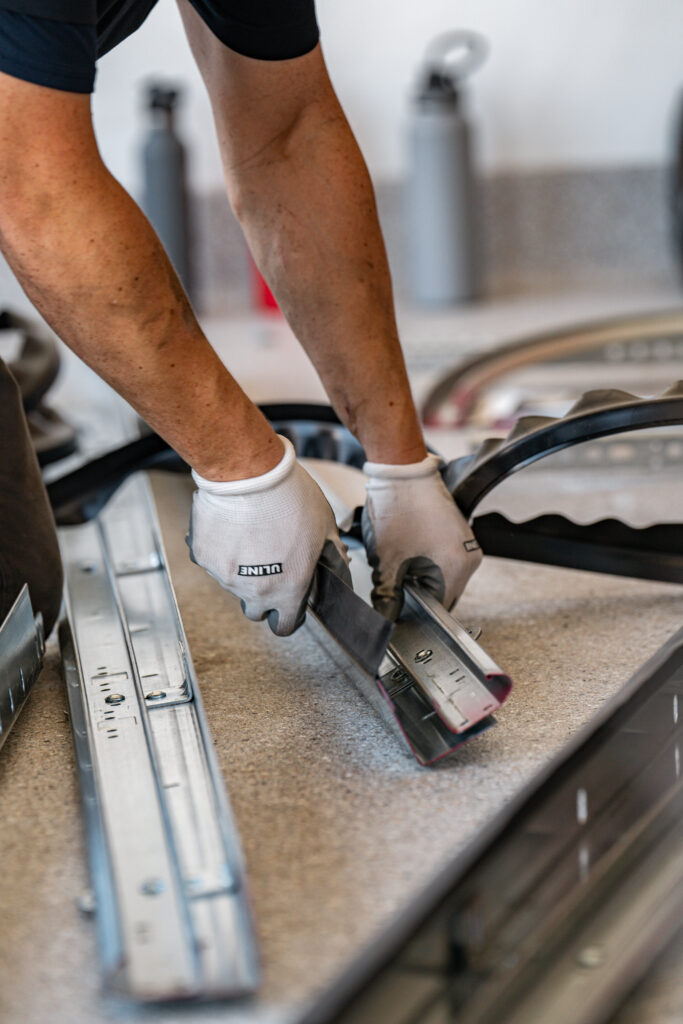
Most residential garage doors use two cables, one on each side, connected to the bottom brackets and routed through drums or pulleys depending on the system. These cables are typically made from galvanized or stainless steel and are designed to handle repeated tension over time.
When everything is working correctly, the cables:
- Help lift and lower the door evenly
- Keep the door aligned in its tracks
- Prevent sudden drops if a spring fails
If a cable breaks or slips out of place, the system can no longer distribute weight properly. This is when the door may pull to one side, struggle to open, or become unsafe to operate.
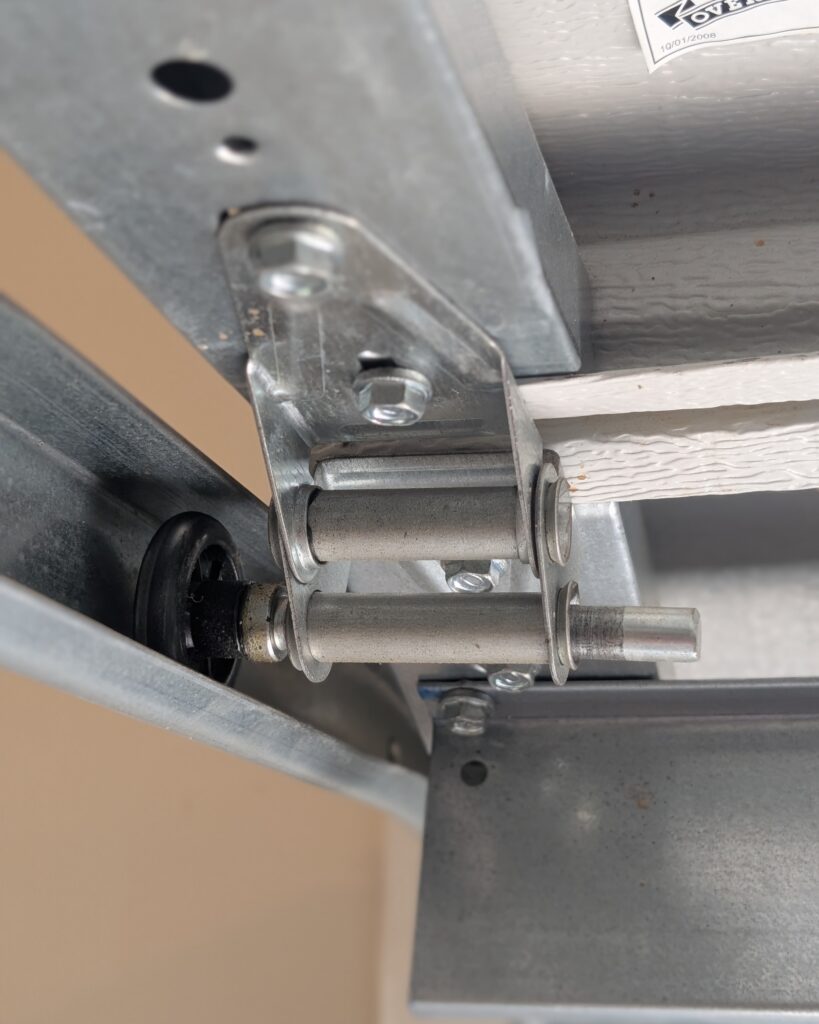
Torsion vs. Extension Spring Cables
Not all garage door systems are built the same. The type of spring system determines how the cables function and how repairs should be handled.
Torsion Spring Cables
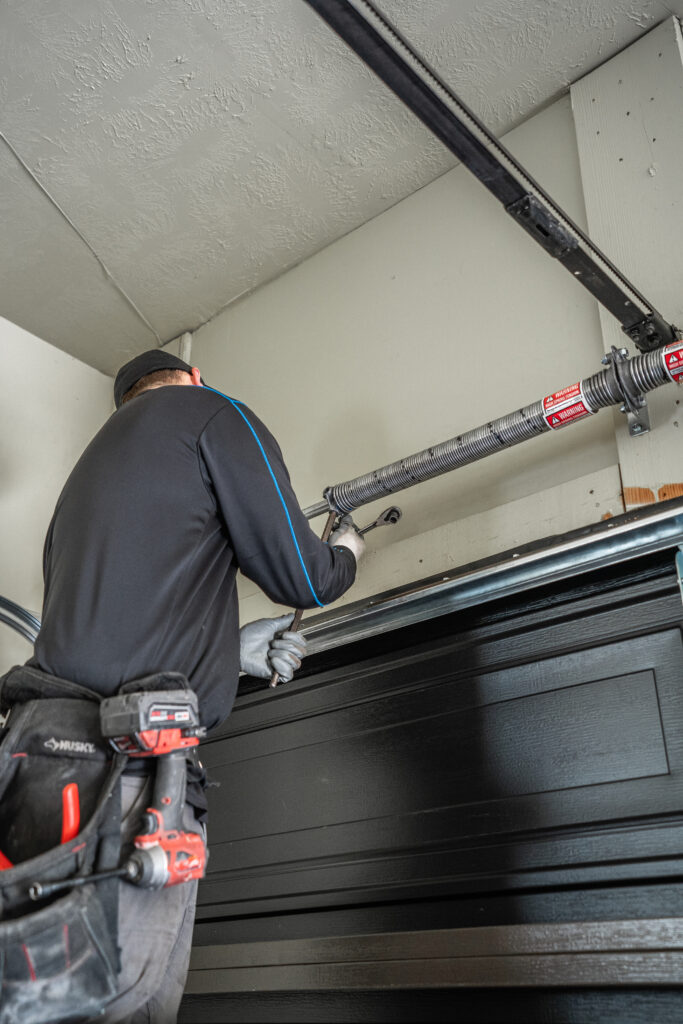
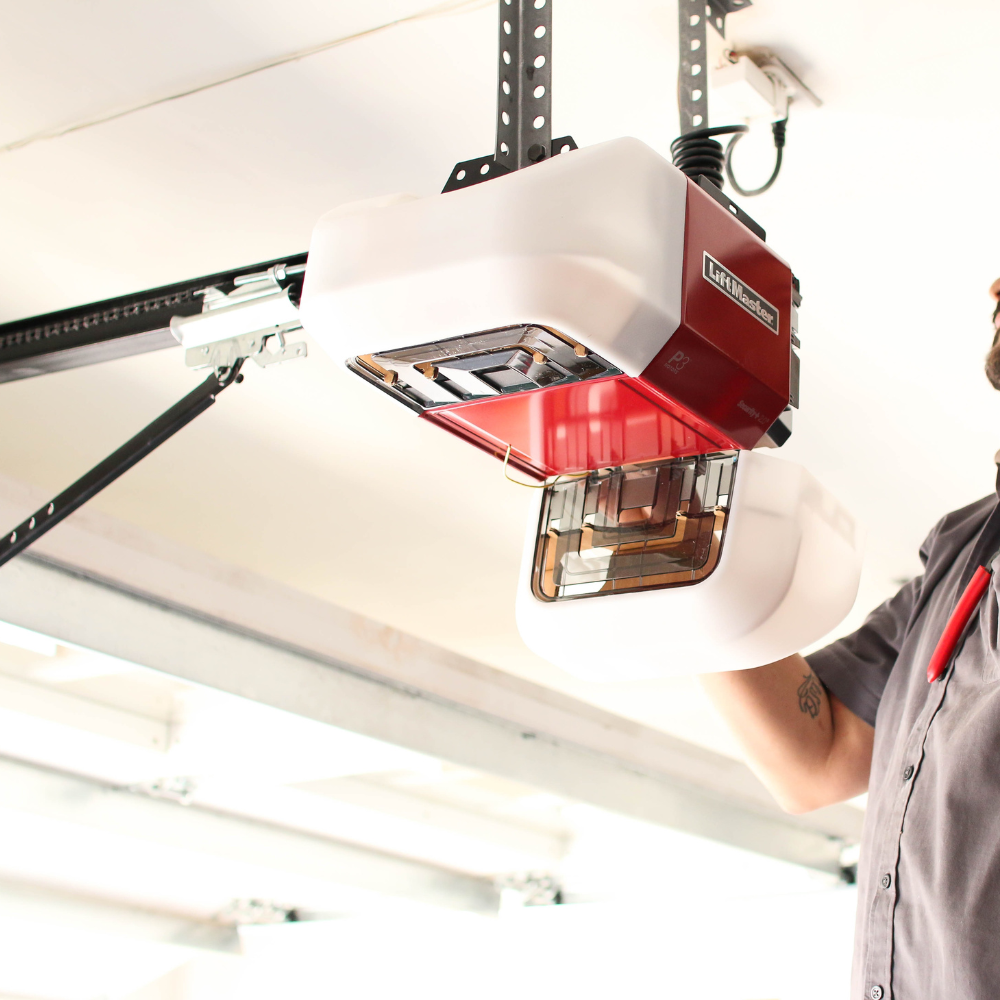
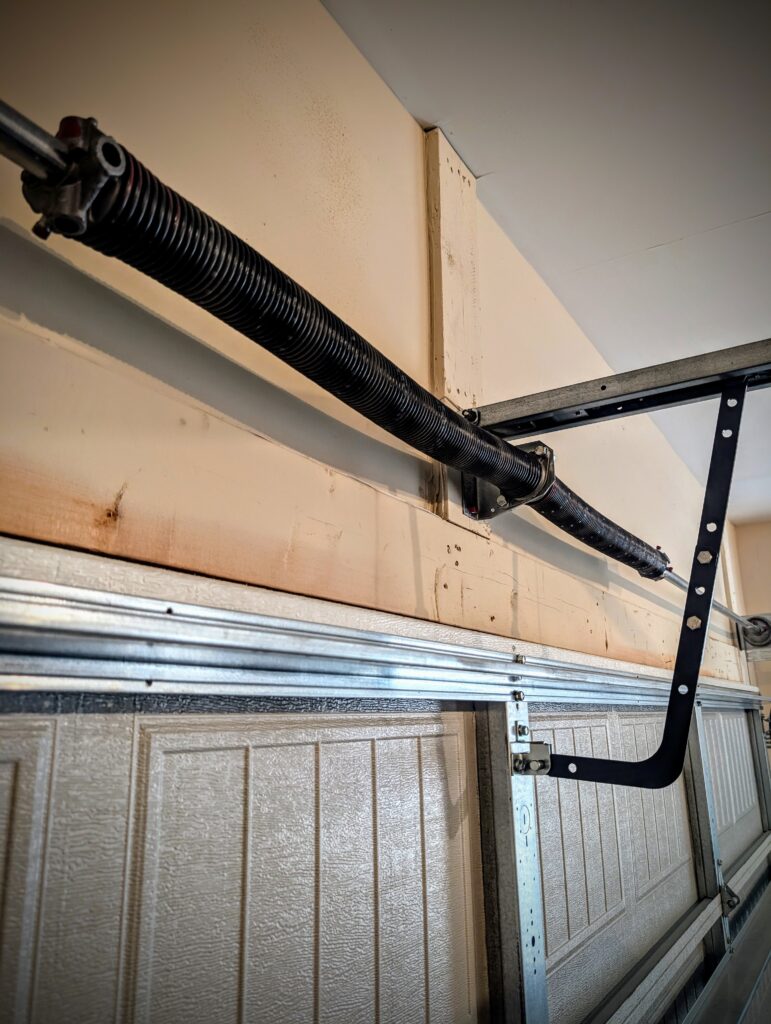
Torsion systems are the most common in modern homes and use tightly wound springs mounted above the garage door. In this setup, cables wrap around drums near the top of the door and lift it evenly as the springs unwind. Because these springs are under significant tension, repairs require specialized tools and experience.
As Alan Bernau Jr., Owner of Alan’s Factory Outlet, explains, “when a garage door system has torsion springs, cable replacement is not a DIY project. You are working with forces that require specialized equipment and knowledge.” If a cable fails in a torsion system, the door can quickly become extremely heavy or uneven.
Extension Spring Cables
Extension spring systems are more common in older garage doors and use springs along the sides of the door. These cables run alongside the horizontal tracks and stretch as the door moves. If a cable breaks, the spring can snap or shift unexpectedly, creating a hazardous situation if someone is nearby.
Signs Your Garage Door Cable Needs Replacement
Garage door cables usually show warning signs before they fail completely. Catching these early can help prevent more expensive repairs. You should look for:
- Fraying or visible wire strands
- Rust or corrosion
- Loose or slack cables
- Uneven movement when opening or closing
- Loud noises or jerking motions
- Door getting stuck or tilting
Even minor damage should not be ignored. As Randy Oliver of Hollywood-Crawford Door Co. explains, “if you notice fraying, that is an early warning sign… the cable is already wearing down.”
What to Do If Your Garage Door Cable Breaks
If a garage door cable snaps, it is important to act carefully to avoid injury or additional damage.
- Stop using the garage door immediately
- Do not try to force it open or closed
- Keep a safe distance from the door
- Disconnect the opener if the door is stuck
- Call a professional to inspect the system
When a cable fails, the door is no longer balanced. This can cause it to shift suddenly or place additional strain on other components. As Randy Oliver explains, “if the cable has already broken and the door is uneven or stuck in place, the door can move in ways people do not expect.”
What Causes Garage Door Cables to Break?
Most garage door cable failures are not sudden. They develop over time due to repeated use and system stress. As Randy Oliver puts it, “nine times out of ten, it is nothing dramatic. Just age catching up with the door.”
Every time your garage door opens and closes, the cables are carrying weight. Over time, this constant strain wears down the metal strands.
Other contributing factors include:
- Rust and corrosion from moisture exposure
- Lack of regular maintenance
- Worn springs or hardware
- An unbalanced garage door
Alan Bernau Jr. also notes that “an unbalanced door produces uneven tension on the cables, creating significant additional stress and contributing to failure.” In many cases, the cable is not the root problem. It is simply the first part of the system to fail.
How Much Does Garage Door Cable Replacement Cost?
Most homeowners will pay somewhere between $100 and $350 for garage door cable replacement, with many jobs landing around the $200 to $250 range, depending on the repair.
That said, the final cost depends on what is actually going on with your garage door.
What affects the cost?
- Whether the cable needs adjustment or full replacement
- Torsion vs. extension spring systems
- Local labor rates
- Emergency or same-day service
- Additional repairs to springs, tracks, or hardware
Most garage doors use two cables, which is why professionals often recommend replacing both at the same time to keep the system balanced.
If the cable failure is tied to a larger issue, such as worn springs or an unbalanced door, the total cost can increase. In many cases, replacing the cable alone is not enough. If the underlying issue is not addressed, the new cable may fail prematurely.
Garage Door Cable Safety
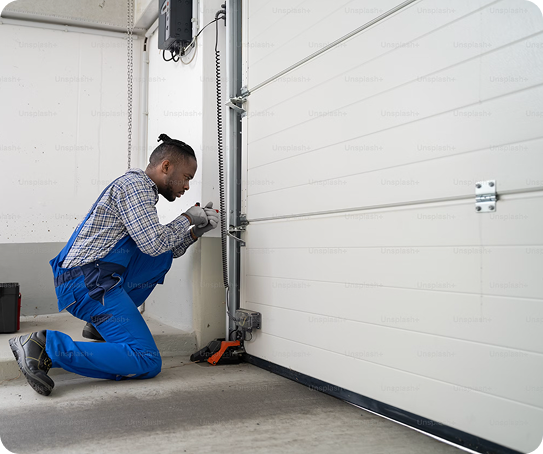
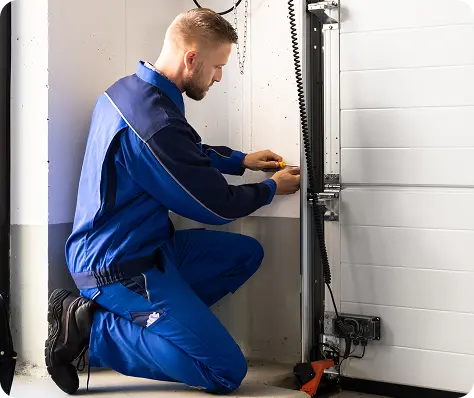
Garage door cable replacement is not a typical DIY project. These systems operate under high tension and can cause serious injury if handled incorrectly. As Alan Bernau Jr. explains, “garage door cables operate at extreme levels of tension. If a cable is improperly released, it can strike with enough force to seriously injure someone.”
Randy Oliver adds, “There is a lot of stored energy there, more than most folks realise… it is not something I would recommend learning as you go.”
If a cable has snapped or the door is uneven, stop using it immediately. Continuing to operate the door can cause additional damage or lead to a more dangerous failure.
When to Call a Professional
You should contact a garage door professional if:
- A cable has snapped
- The door is uneven or stuck
- The system uses torsion springs
- The door feels unusually heavy
- You hear loud snapping or grinding noises
When a cable breaks, the door is no longer properly balanced. Without the right tools and training, attempting a repair can make the situation worse.
How to Prevent Garage Door Cable Problems
While cables will eventually wear out, regular maintenance can help extend their lifespan and reduce the risk of sudden failure.
- Inspect cables for fraying or rust a few times per year
- Keep components clean and free of debris
- Schedule routine garage door tune-ups
- Address balance issues early
- Replace worn springs or hardware when needed
As Alan Bernau Jr. notes, neglected hardware and imbalance can increase the workload on cables and lead to premature failure.
Common Mistakes to Avoid With Garage Door Cables
One of the biggest mistakes homeowners make is treating a damaged cable as a minor issue and continuing to use the door.
As Alan Bernau Jr. explains, “continued use of the door places increasing stress on the remaining strands until the cable fails completely.”
Another common mistake is replacing the cable without addressing the root cause, such as worn springs, misalignment, or imbalance. This often leads to repeated failures and additional repairs.
Get Help With Garage Door Cable Replacement
If your garage door cable is frayed, loose, or broken, it is best to address the issue early before it leads to larger repairs or safety risks.
Garage.com can connect you with trusted local professionals who can inspect your system, provide accurate pricing, and complete repairs safely.
Get free quotes from garage door pros near you and restore your door’s performance with confidence.
Common Questions About Garage Door Cable Replacement
Get Your Free Quote and Schedule Your Garage Repair Today
Find top-rated companies for fast garage repairs and service to make sure your garage door system lasts. Get free quotes from garage door companies in your area.
Tips and Expert Advice for Your Garage
Stay informed with expert advice on garage door maintenance, garage door service, garage door replacement, and upgrades. Explore our blog for guides, troubleshooting tips, and more.